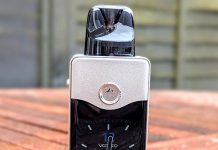
The Yosta YPod kit is one of a new style of Pod Mods which have a screen.
Similar ideas include the Tesla TPod and the Asvape Touch.
 I have generally enjoyed most of the products I have reviewed from Yosta including the excellent Livepor 230 and the Livepor 200 so I hope this can live up to their standards.
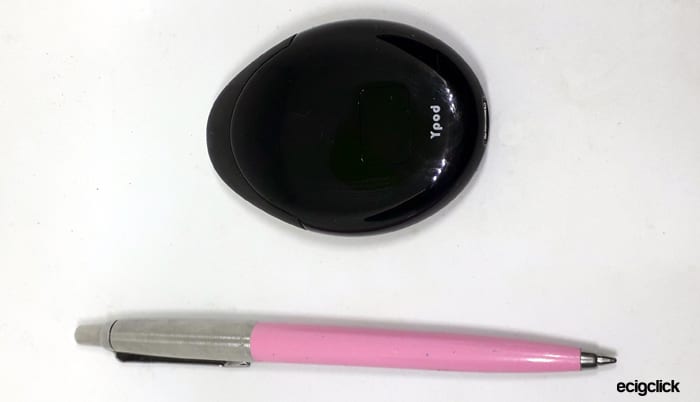
The YPod is a compact little low power device designed for use with high nicotine or nicotine salt e-liquid. As the power can be lower for these high strengths the battery can be smaller hence the handy size.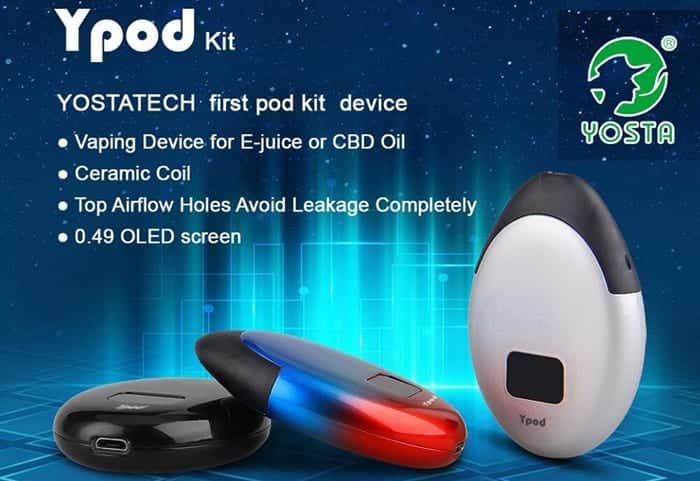
The battery in the YPod is 500mAh which is pretty decent for the size when you consider a lot of pod mods only have around 300mAh.
I know what you are thinking – without the screen this is doing a damn good impersonation of the Suorin Drop! In fact it feels exactly the same in the hand. However the Battery in the YPod is actually larger but the coil resistance and pod capacity are both the same.
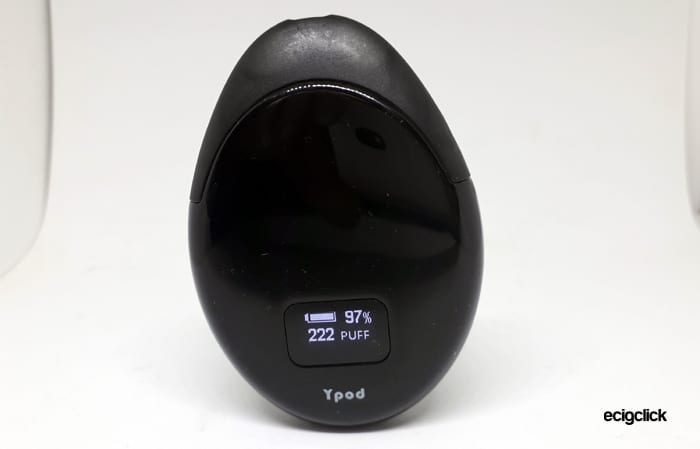
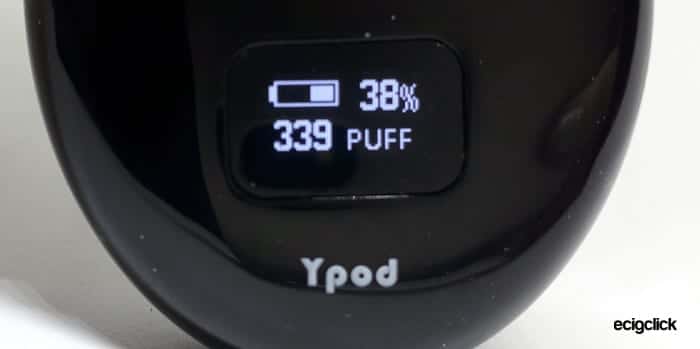
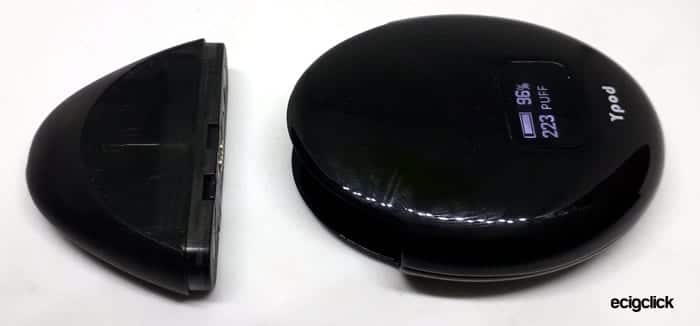
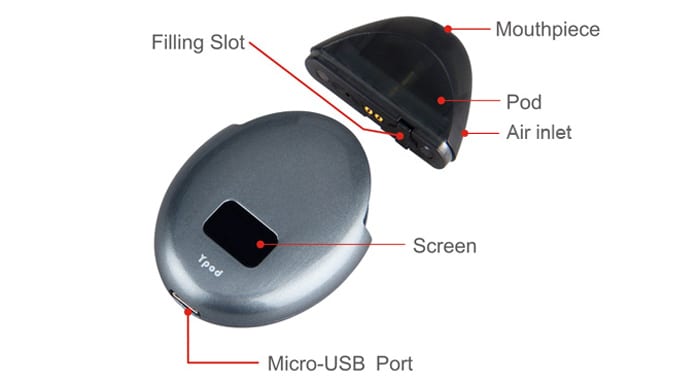
On the front of the body is a 0.49in screen which displays the puff count and battery power remaining.
The pod part is where you add your own e-liquid and where the heating element lives.
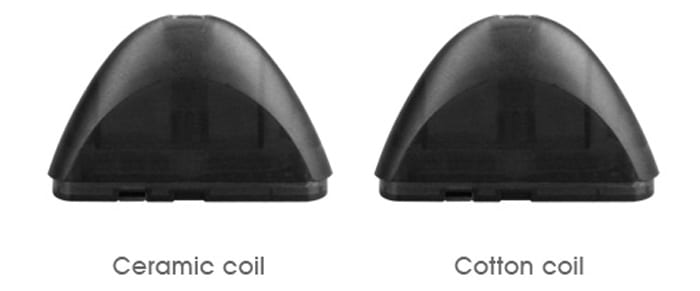
You can choose between two types of pod – both have the same coil resistance however the wicking material can be either Cotton or Ceramic.
There are no buttons or adjustments to make – the fire mechanism is triggered by inhaling so should be pretty simple to use!
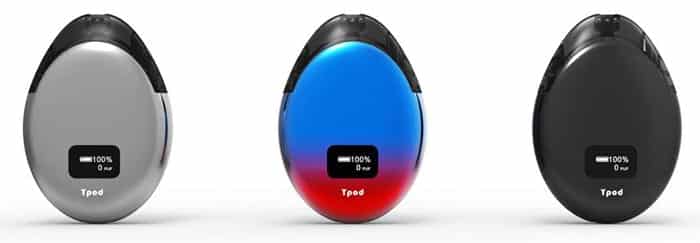
You can choose from 3 colours – Light Grey, Black and 7-Colour.
Right let’s get this little fella on the go.
Thank you to Yosta for sending this Free for the purpose of review and I will report back honestly on my findings on the device I have.
What’s In The Box
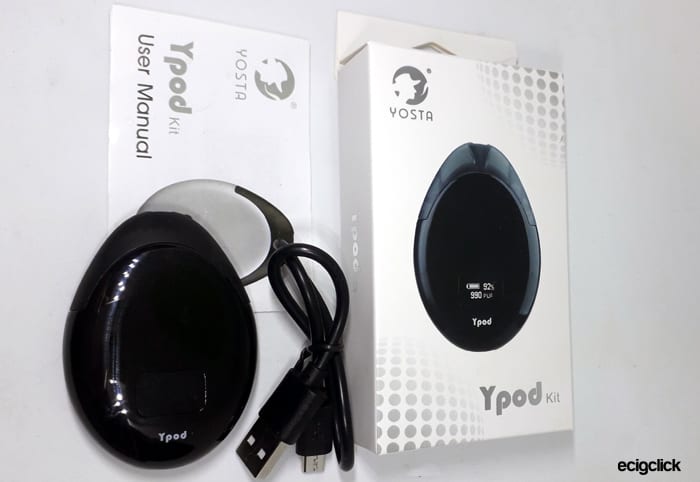
- Yosta Ypod battery
- Pod (Cotton)
- USB Cable
- User manual.
I also received a Ceramic wicked pod – you will only get 1 pod in the kit.
Features
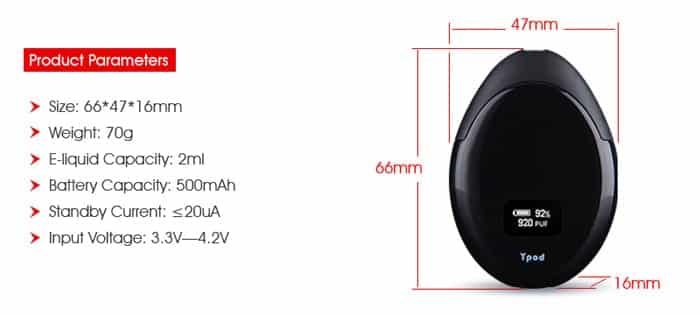
- Size: 66x47x16mm
- Battery Capacity: 500mAh
- Pod Capacity: 2.0ml
- Coil Resistance: 1.4ohm ceramic or cotton coils available
- Screen:0.49in OLED
- Material: Zinc alloy and PCTG
- Finished with Hard UV paint which is abrasion resistant
- Power Range: 12W
- Vaping Device for E-liquid or CBD E-liquid
- Charge in 50 minutes
- Displays vaping status including power, puffs, and vaping time
- No button design
- Unique side airflow
Build Quality & Design
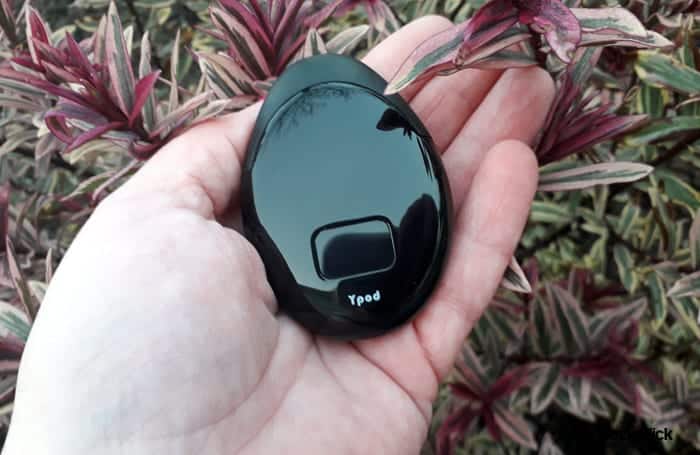
I received the Yosta YPod Kit in the Black version.
Ooh yes it is a total fingerprint magnet – which I am sure will be obvious when you see my photos – so sorry I did try to keep wiping it…
This has a shiny zinc alloy body which has a decent weight and doesn’t feel at all cheap. Which when you check out the price for this little kit – it really is inexpensive – it will surprise you!
The finish has held up well so far even rattling around in my handbag.
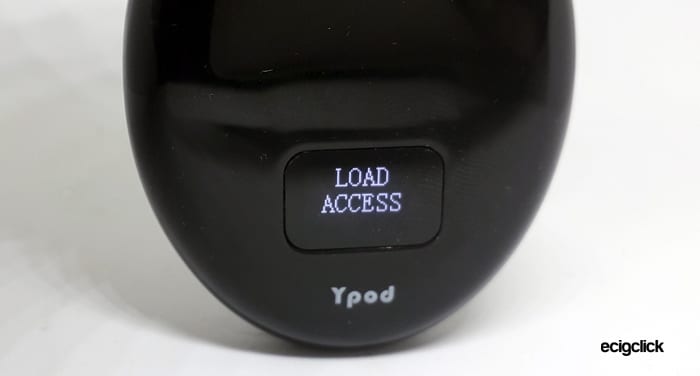
There is a 0.49in screen located on the front which sparks into life when you inhale, charge or remove/install a pod. This is nice and clear to read.
When vaping the screen will display the vaping times in seconds of each vape. Then for a few seconds after the screen will display the puff counter and the battery capacity remaining in both a graphic and a digital %.
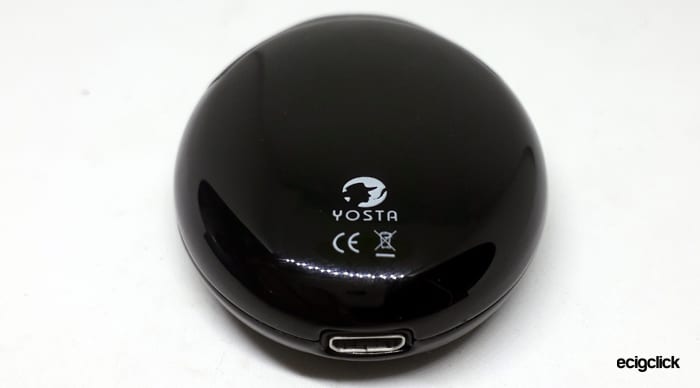
At the base of the mod is the micro USB port for charging.
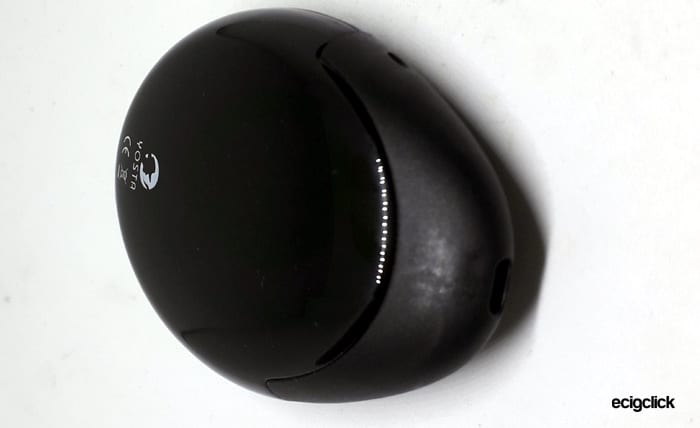
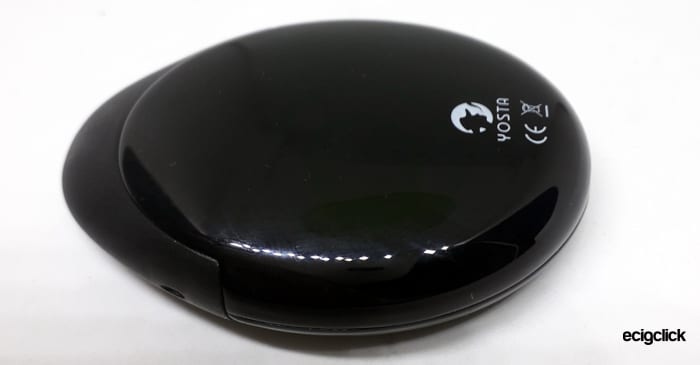
The rear of the device is pretty plain apart from the Yosta Logo and Branding and the required Legal logos. The front only has the “YPod” logo.
Pod
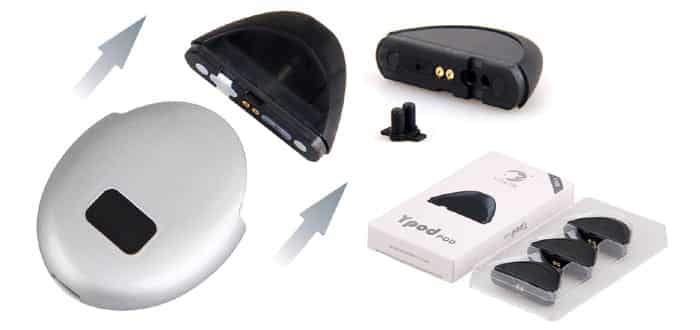
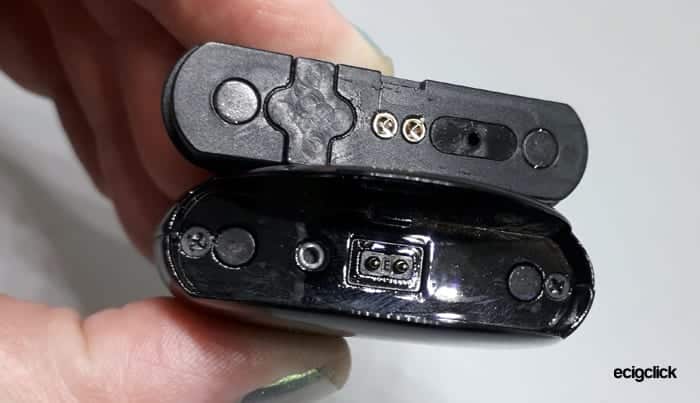
The pod (where the e-liquid and heating element lives) just pulls out of the mod with a slight resistance as there is a magnet to hold it in place. When you go to replace the pod you can feel the magnet pulling the pod in from about halfway installed.
There is no rattle or movement from the pod in any direction and it hasn’t once fallen out.
You can only install the pod one way around – if it is the wrong way around it will not push fully into the battery.
There is an airflow slot on the right side of the pod (looking from the screen side) and a small mouthpiece hole.
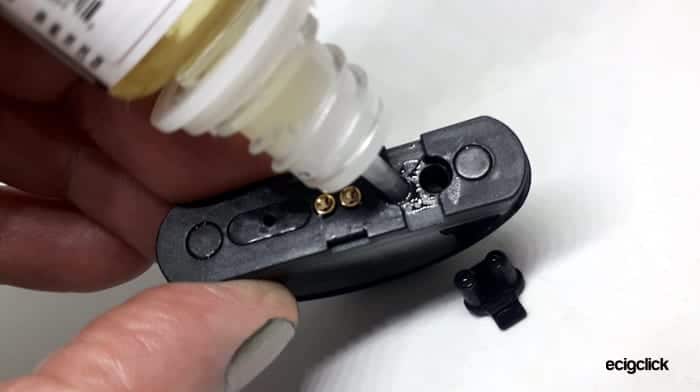
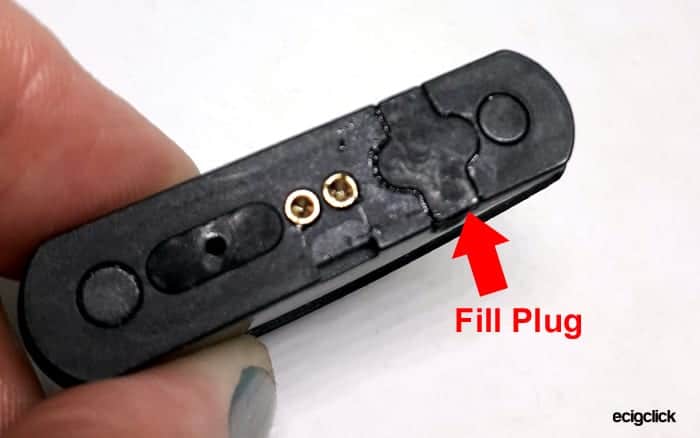
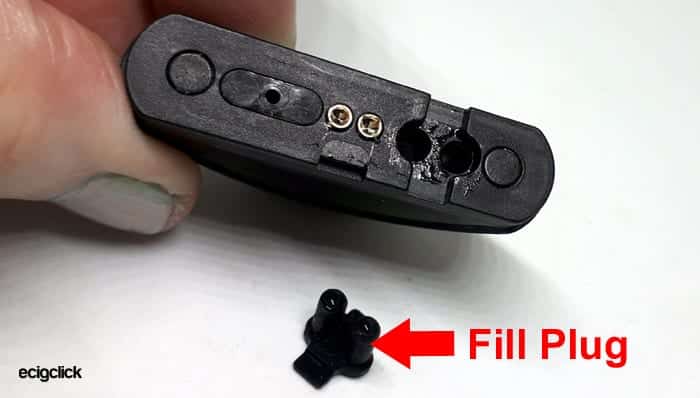
On the base of the mod is a removable plug which seals 2 filling ports.
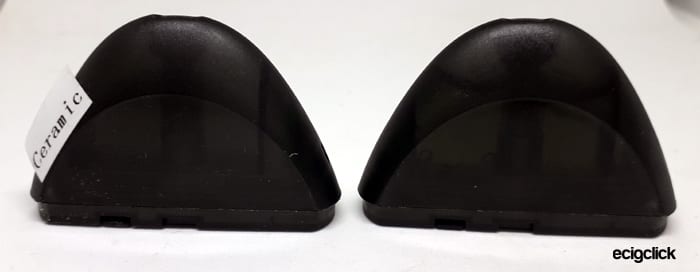
The pod is a dark frosted black and almost impossible to see the liquid level without removing the pod, putting it in front of a light and shaking it about a bit.
The only way to tell the two different pod types apart is a sticker. Which you have to remove before use.. not great really. There needs to be either a stamped on indication or a colour code or something.
Set-up Guide
The device is supplied assembled but you will need to remove the pod and fill before you dare even take a test vape on it as it will fire up immediately. If you have no liquid in the pod this will burn the coil out and knacker up the only pod you get – so please don’t risk it!!
 Basic operation
Really easy-peasy to use this is – it is draw activated – so when you inhale it will fire up and give you vapour!
I will also say the instructions, whilst brief, are pretty good too. They do not however guide you on what type of e-liquid would be best for this.
- When a pod is correctly installed the screen will display “LOAD ACCESS” and go to the standard vaping screen showing battery level and puff count.
- When a pod is removed the screen will display “CHECK ATOMISER”. This will also display if the pod is loose, incorrectly installed or has a fault.
- Below 3.3V the screen will display “LOW BATTERY” so get and stick it on charge for a bit.
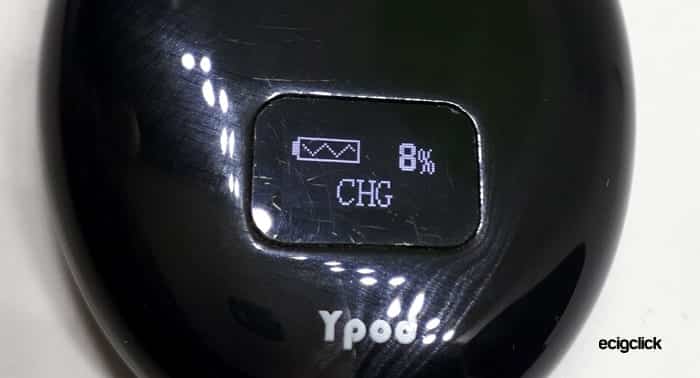
- During charging the screen will display the battery capacity percentage and the word “CHG”.
- If you inhale for longer than 8 seconds when vaping on this then the fire will cut off. This is to prevent overheating or if the fire sensor was triggered by a fault.
- Puff counter resets once it has reached 999 puffs – you can’t manually change this.
- When vaping the screen displays in seconds how long it has been firing.
How To Charge The Battery
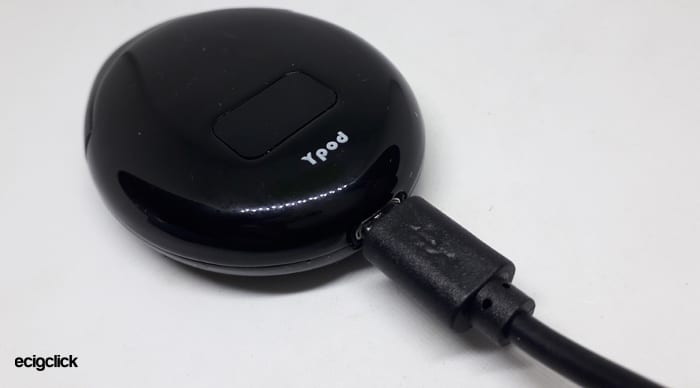
- Use the supplied USB cable and plug the small end into the port on the base of the mod.
- Plug the large end of the USB cable into a suitable USB outlet.
- When charging the screen will display the percentage of charge and the word “CHG”. When finished charging the screen will go blank.
I didn’t try to see if this was “Pass-Through” – i.e. vaping whilst charging – as the USB cable is very short and I am not going to sit on the flipping floor vaping. But this charges so quickly you are unlikely to need the pass-through function anyway.
How To Fill The Pod
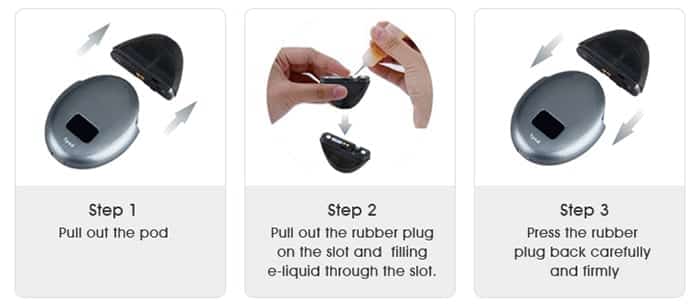
- Pull the pod out from the device – it is only held in magnetically.
- Turn the pod upside down and remove the filler plug.
- Make sure to put that plug somewhere safe yeah!
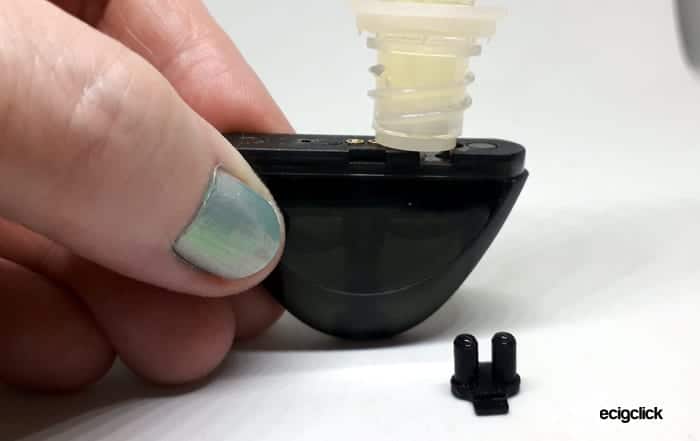
- Fill up the pod in either fill hole.
- I have used a large 60ml bottle and 10ml bottles and it has been fine. However you do need the nozzle to fit into the filling hole. Larger nozzles might be an issue.
- Keep an eye (as well as you can through the dark pod) on the liquid level.
- It will fill both sides of the pod from one hole but it can take a few seconds to even out. If you are a bit too eager it might splurge back out the hole.
- Replace the filling plug and push down firmly so it is level with the base of the pod.
- The pod will slide back into the battery. If it will not fully locate in the battery take it out and turn it around.
How To Replace The Pod
- A new pod will come with a sticker on the electrical contacts on the base so remove this.
- Fill the pod as described above.
- Slide the pod into the battery – again it can only go in one way around. If it is the incorrect way around it will not push in fully.
How Does the Yosta YPod Kit Perform?
Flavour & Cloud Production
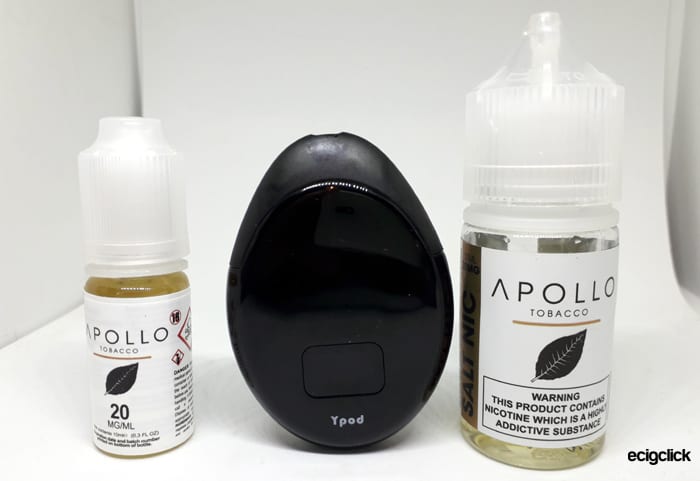
For this device I have used my Apollo Nicotine Salt e-liquid which is 50%VG / 50%PG and 20mg Nicotine. Ideal for this kind of kit.
If I had some more pods I would have tried a few thicker liquids in this but I only have one of each type of pod.
Sadly the instructions do not state the best e-liquid mixture type or strength to use in this kit. I would suggest no more than 60%VG – however I have not tried this – again as there is only one of each pod.
This pod device is designed for MTL (Mouth to Lung) style vapers. This is a style favoured by those wanting a quick nicotine hit like a cigarette. The airflow is more restricted and there will be more of a throat hit. These are not mega powerful “Cloudz Bro” devices. These are to be used with high nicotine strengths and for a quick blast to quell the cravings.
We tell you all about the terms above in the following guides:
The Cotton wicked pod was included in the kit and I also received a Ceramic wicked pod too packaged separately so I will see how they both perform.
1.4ohm Cotton Pod
This was the first pod I tried as it came in the kit and I am so impressed.
The inhale is a pretty tight MTL draw – not so tight it sucks your underwear up your crevice however it is not a DTL draw at all. It is for instance a tighter draw than the Innokin EQ pod mod.
There is a lovely little crackly noise when you vape which tells me things are purring away nicely in the pod.
I found the flavour to be excellent and surprisingly good vapour for a low power MTL kit on 50/50 liquid.
The pod is on its 3rd refill now and still tastes great – it has already out-lasted its way more expensive competition the Hava One pod mod!
Just make sure to keep an eye on the e-liquid as it is so hard to see the level from just a glance, but I did find the battery needed charging before a full pod had run out.
1.4ohm Ceramic Pod
Sadly this pod was faulty.
I filled with liquid – left it to stand for 10 minutes and installed it into the device.
I then sat there trying to get a draw from it – whilst going dizzy and inhaling to the point my lungs must have inflated like bouncy castles.
And – nothing.
The screen lit up with the seconds of the draw – but it didn’t fire and the airflow is so tight it was making me dizzy.
So this pod appears to be malfunctioning – possibly the airflow is blocked/too small and this is enough to tell the device I am inhaling but not enough to fully trigger the automatic fire.
Removing the pod and trying to just inhale on it does give the feeling that the airflow inlet is blocked. I tried the same on the Cotton wick pod and there is airflow.
I poked a thin screwdriver down the tiny airflow slot in the pod but it is just a dead end sadly.
After persevering I did manage to get it to fire a bit – despite nearly sucking one of my tonsils out. I got some vapour but no flavour and it didn’t feel as though it had actually fired. The fact I exhaled some vapour was a bit of a surprise!
Battery Life
Both pods are the same resistance so it shouldn’t affect the battery life whichever you are using – unless you are taking longer/shorter draws because of their performance.
Using this regularly I got 3.5 hours and 206 puffs. Remember I am using nic salt in it so it isn’t a constant chain vape like you can do with Sub Ohm devices – or else you would be puking up your tea from all the nic. So this was more of a bundle of 2-3 vapes and then a gap for say 5-10mins.
The performance did not appear to drop as the battery remaining decreased.
Pros
- Sturdy and feels good quality.
- Lovely little screen
- Cotton Wicked pod gave beautiful vapour and flavour – really lovely.
- Perfect MTL vape and quick automatic fire
- Battery capacity remaining is clearly displayed on screen – so no having to guess how much battery is left.
- E-liquid usage is very economical and one charge of battery will last less time than a full pod of liquid.
- Very quick charging time.
- No leaks, spitting or dry hits.
Cons
- Pod refill plug is small, fiddly and easy to lose as not attached to the pod. You don’t get a spare.
- Only 1 pod in the kit – really I think Yosta should add a couple of quid to the kit price and let you try both types of pod.
- Pod is too dark coloured to see e-liquid level without really trying.
- Ability to reset puff counter would be good.
- Ceramic and Cotton wicked pods look exactly the same apart from a sticker – which you have to take off too!
- Can be a bit slippy in the hand and a complete fingerprint magnet.
- Ceramic wicked pod was faulty – unable to review
Final Review Verdict
So for Yosta’s first Pod Mod device how did they get on?
This is a little beauty. It is very similar to the Suorin Drop in a design way, the flavour for me is as good and the battery is a slightly larger capacity at 500mAh (as opposed to the 300mAh of the Drop). Bear in mind the YPod is SIGNIFICANTLY cheaper than the Suorin!
The screen really helps you know the battery level at all times so no surprises of it suddenly running out of charge – like some pod mods do.
There are niggles, the Pod colour, pod filling plug, faulty ceramic pod and the fact you only get 1 pod in the kit do stop me giving this higher marks. But hey… go and look at the price of this and compare it to the Suorin one and you will see why I rate this very highly.
This is super easy to use – the only thing which might be hard for some people is the fiddly pod filling plug – which could do with being attached to the pod. My hands are a bit poo and I kept dropping it and then you need a new pod.
Yosta need to put some sort of indication on the pods of what type they are and perhaps make the pods a lighter colour as it is really hard to see the liquid level.
Apart from those minor niggles the Yosta YPod has become my handbag dweller for those times I want a sneaky vape without lugging around anything big or leaky.
 Basic operation