The Yosta Pillar is a sub ohm tank which uses replaceable coil heads.
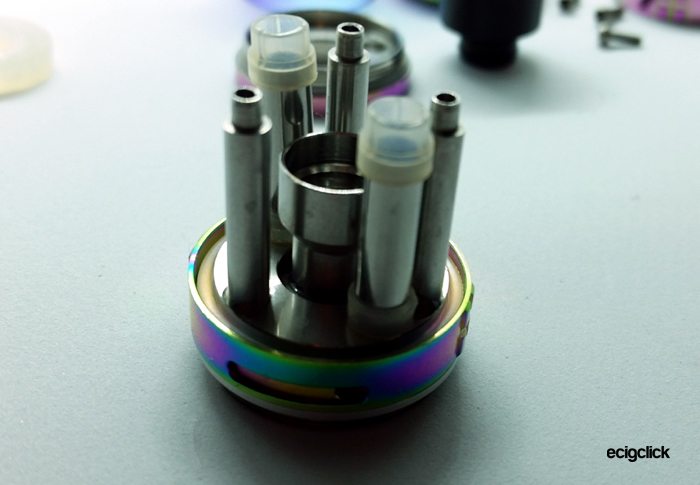
 The pillar system is part of the airflow – with pipes running the length of the body directing the airflow from the top cap down the pipes and through the coil head.
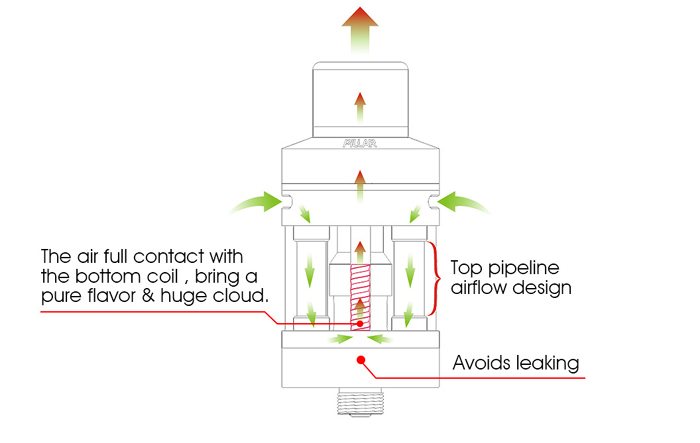 The coil head is a push in fit in the base of the tank and the design promises to be leak free.
I have seen a few times online that this is designed for MTL vapers. Hmmm I’m not sure I will agree with that – the coil head is 0.5ohm to start with and the drip tip is pretty wide too!
Anyway let’s see how this vapes huh!!
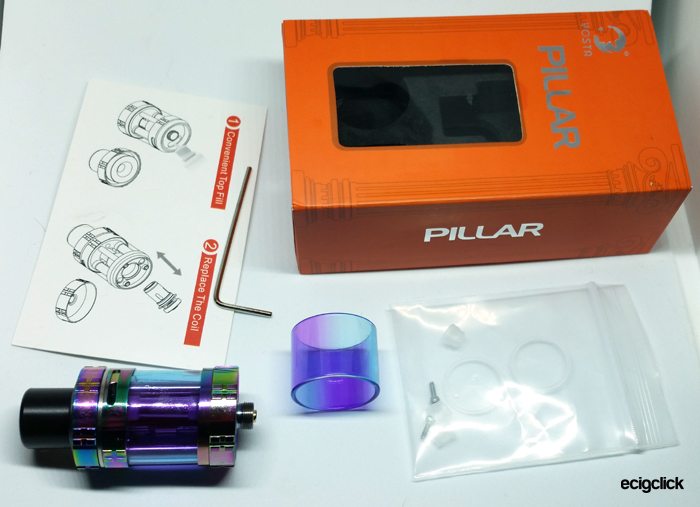
What’s In The Box
- Yosta Pillar Tank
- Spare 0.5ohm coil head
- Replacement glass
- Allen key
- O-rings
- Spare bottom cover screws
- Quick start card
Features
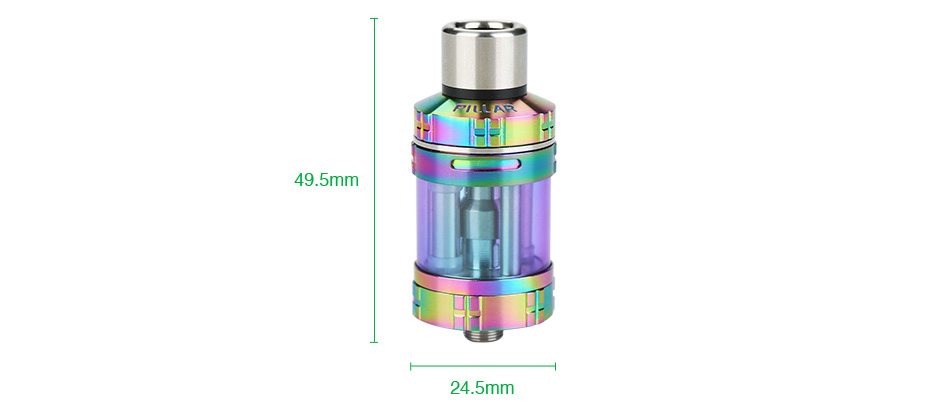
- Size: 24.5 x 49.5mm
- Capacity: 3.5ml
- Coil Resistance: 0.5ohm
- Material: Stainless Steel
- Thread: 510 thread
- Adjustable airflow via pipe system
- Top fill
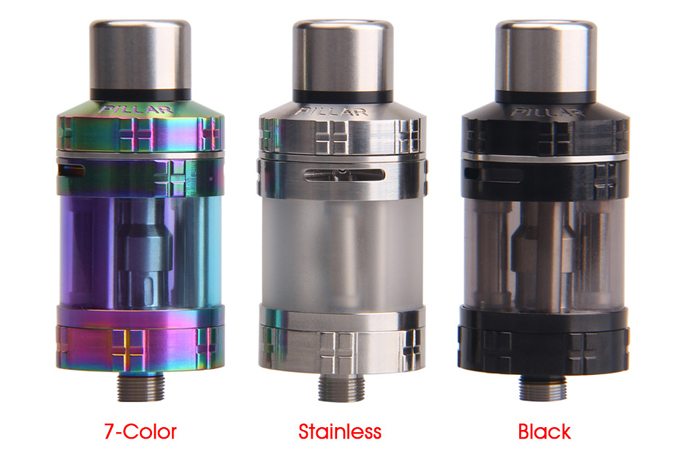
- Colour: Black, Stainless, 7-Colour
Build Quality & Design
This is just beautiful!
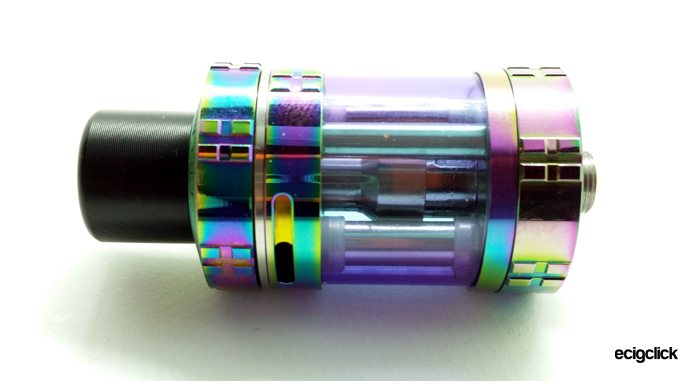
I received 2 of these tanks as the first one had a fault. The first tank was the beautiful Rainbow version.
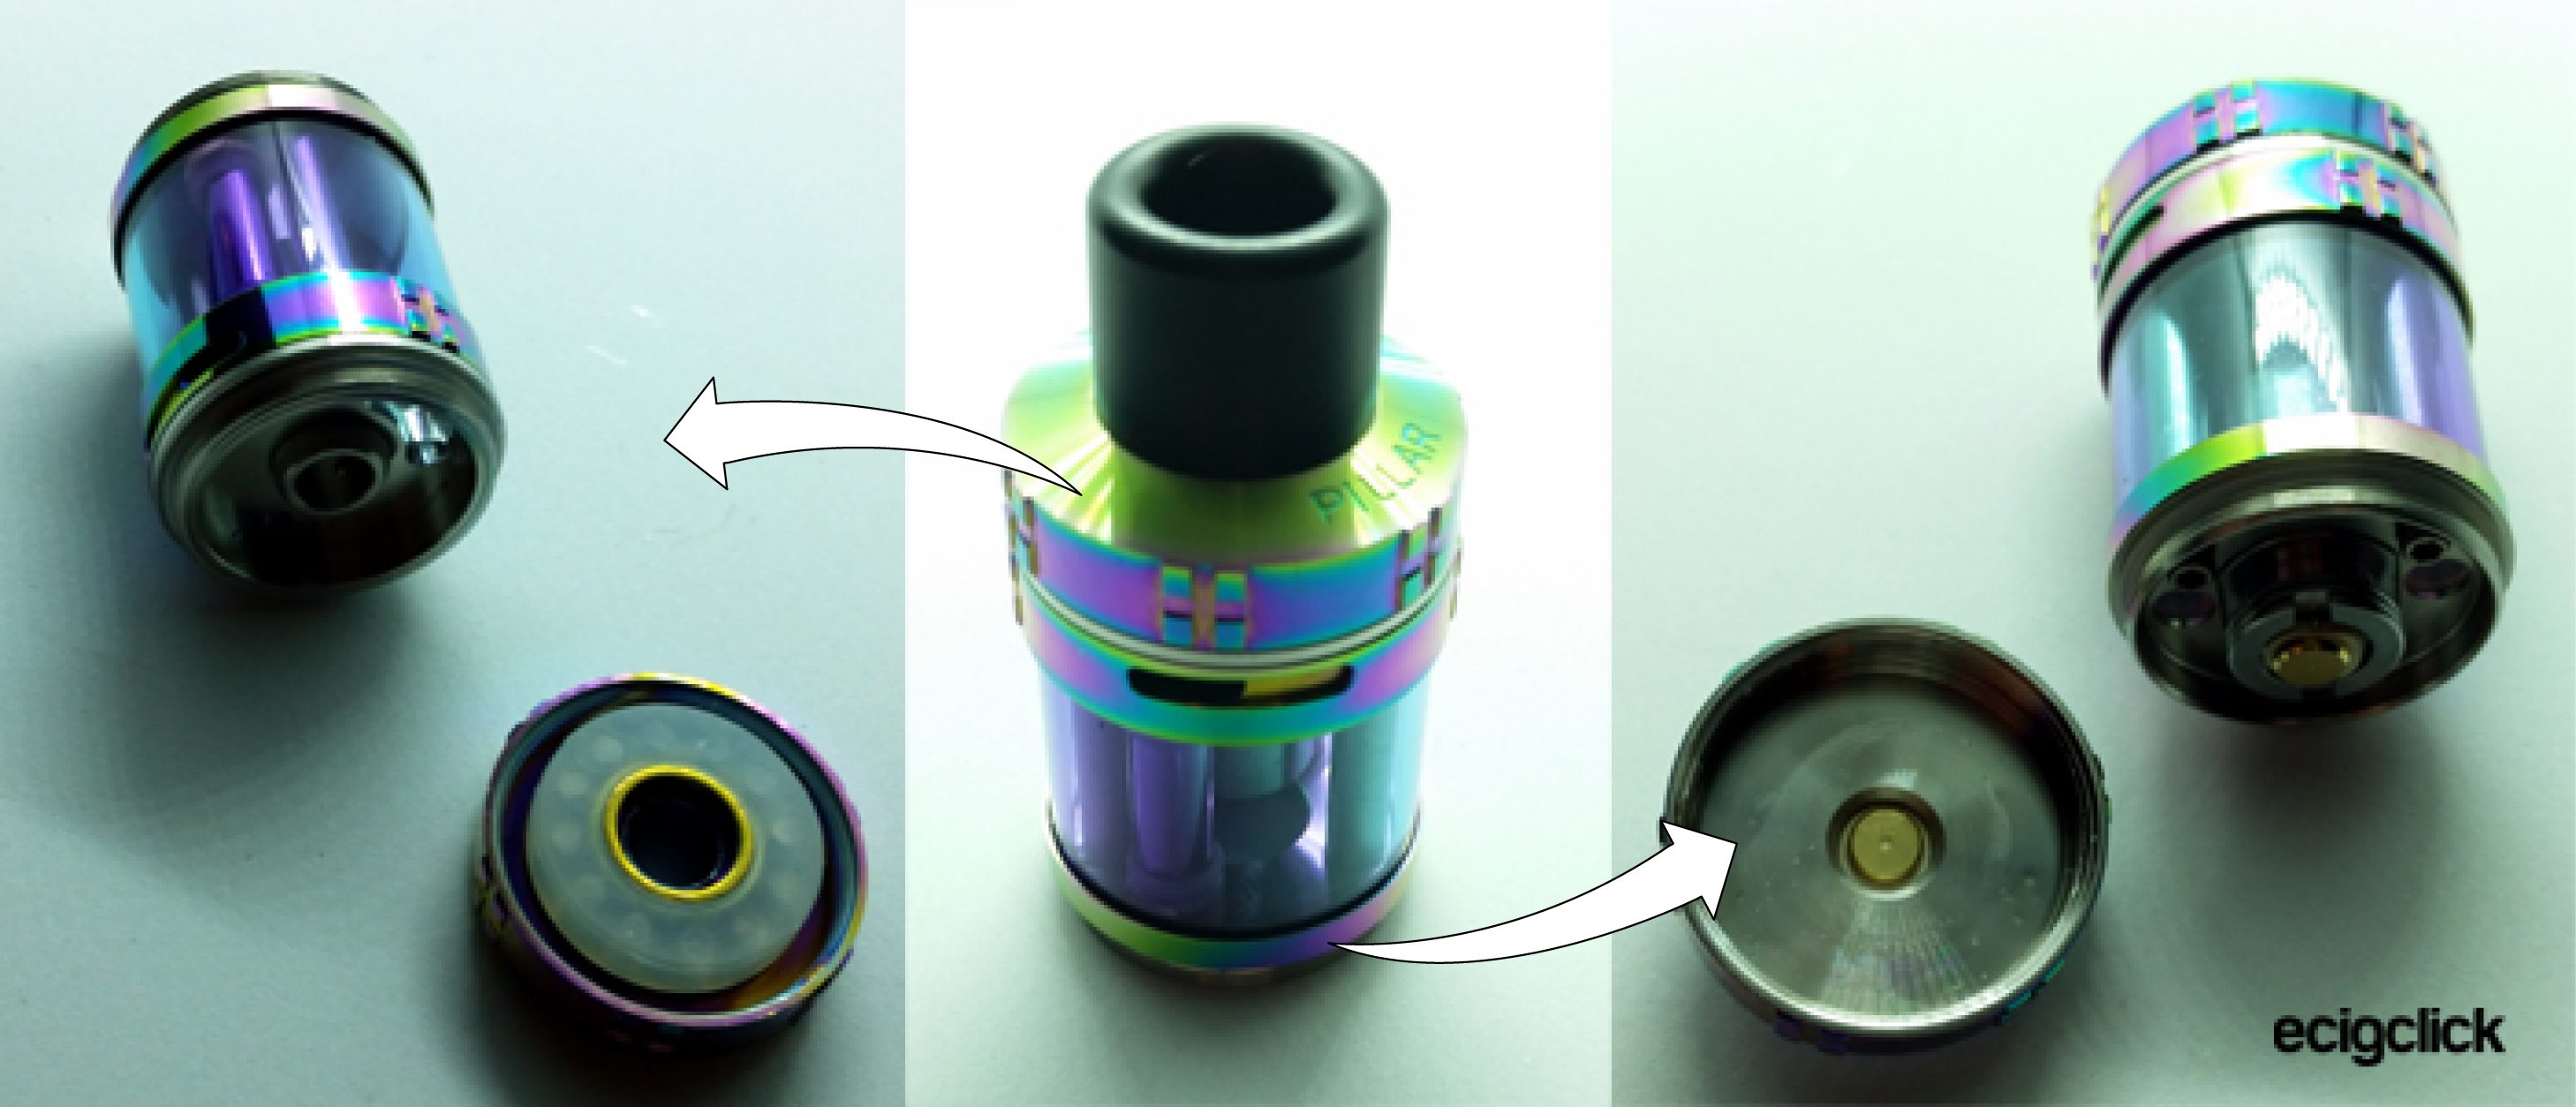
The second tank was the stainless steel with frosted white glass which was also gorgeous. Sadly as you can see the second I turned it over it leaked E-liquid out of the airflow hole – not a great start!
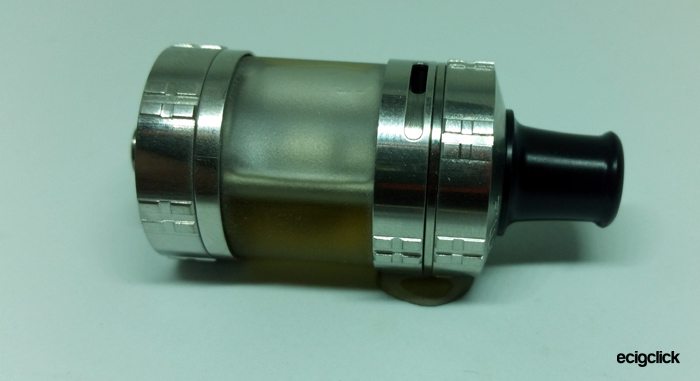
I did only get a black drip tip with this, I have seen some kits offering a metal one too.
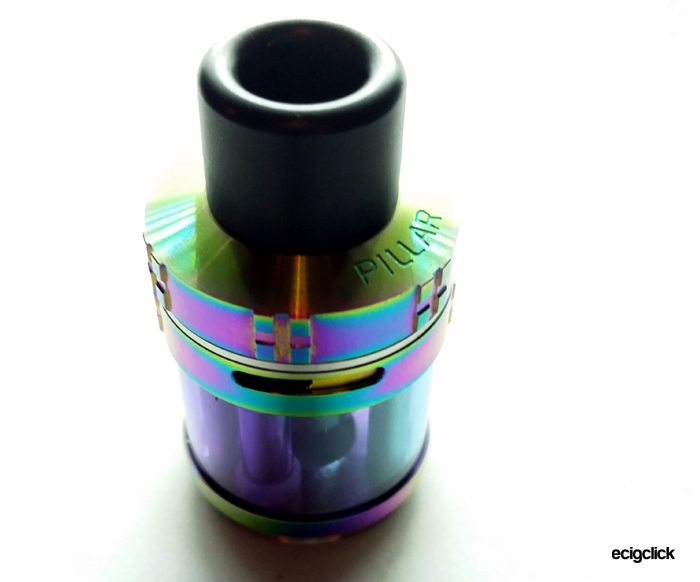
In the second kit I got 2 drip tips, one the same as above and the other was a thinner shaped tip.
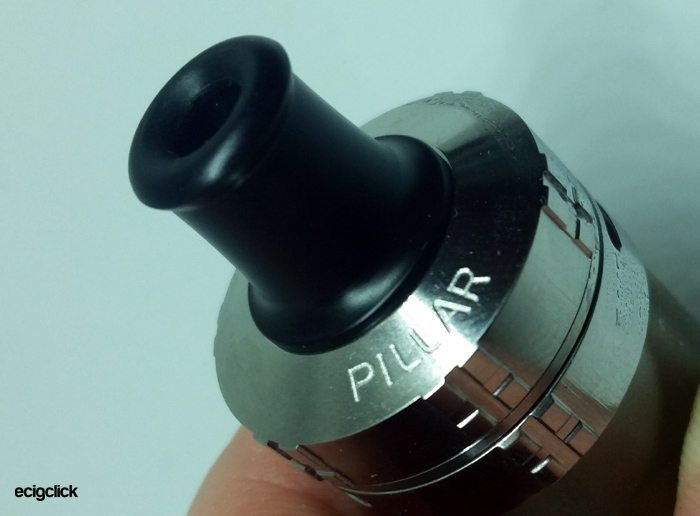
When you think of the really low price of this tank it is surprising how well made it is!
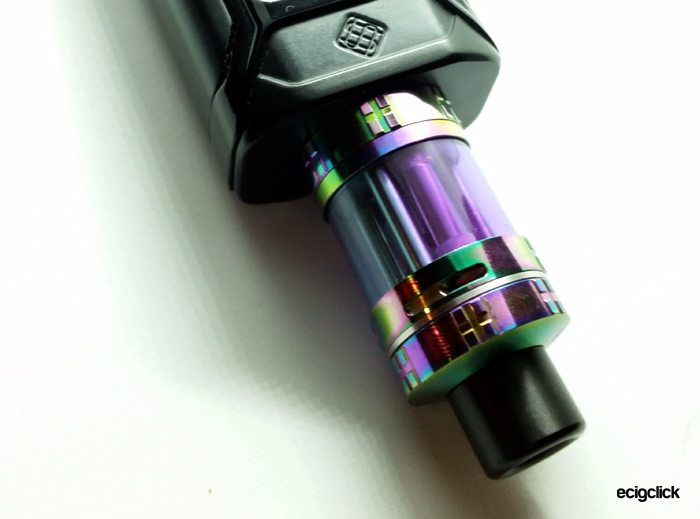
Yosta Pillar On A Mod
How Does the Yosta Pillar Perform?
I used the Yosta Pillar on my Wismec Sinuous Ravage 230W mod. The mod has a nice central 510 connector and can accommodate the 24.5mm diameter of this.
How To Fill The Yosta Pillar
This is lovely and simple to refill and the viewing window is really clear.
- Unscrew the top cover.
- Squeeze E-liquid into the smile shaped hole only.
- Watch through the viewing window to make sure you only add liquid until the level is just below the airflow ring.
- Sometimes it looks as though only one chamber of the tank is filling up, so take it slowly and it does equalise across the chambers.
- Replace the top cover.
How To Change The Yosta Pillar Coil Head
A coil head sadly doesn’t last forever, signs your coil has had better days is there is little taste or vapour – even with a full tank and well charged battery. Also burnt taste, low resistance or atomiser errors on your mod will indicate the coil will need changing.
- Remove the tank from the mod.
- Turn the tank upside down.
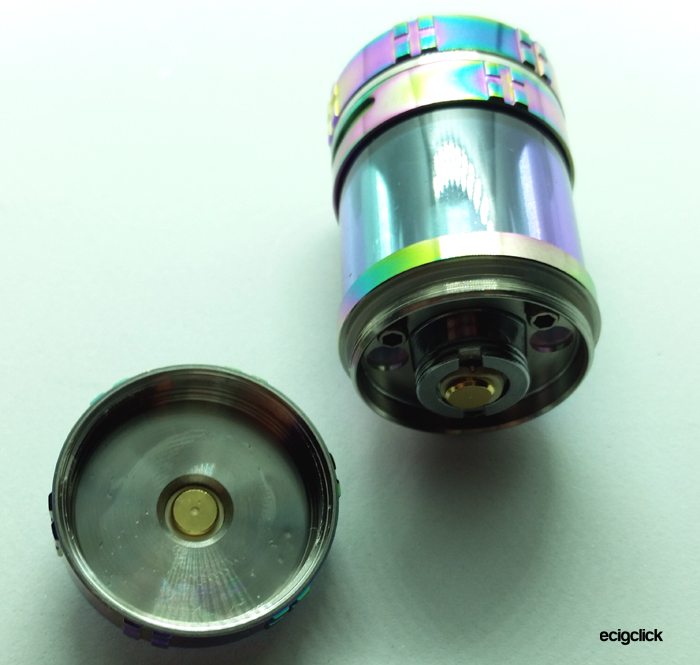
- Unscrew the bottom cover.
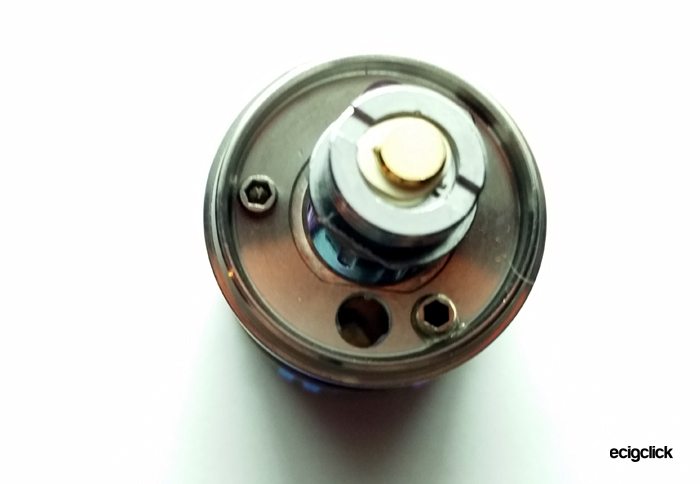
- The coil simply pulls out from the tank.
- Install a new coil by aligning the straight sides in the coil body.
- Push the coil fully into the tank. This is a VERY important step!
- Replace the bottom cover.
- Fill the tank as described above.
- Leave the tank 5-10 minutes for the cotton to soak up the liquid.
- I usually take a few inhales on the drip tip without pressing fire just to pull some more liquid through.
I found it’s easy to forget to push the coil fully into the tank.
When you align the side slots in the coil it looks like the coil is installed. However I would then get “atomiser low” or “no atomiser” error messages.
So you need to push the coil in after aligning and you will feel it just pop in a bit further.
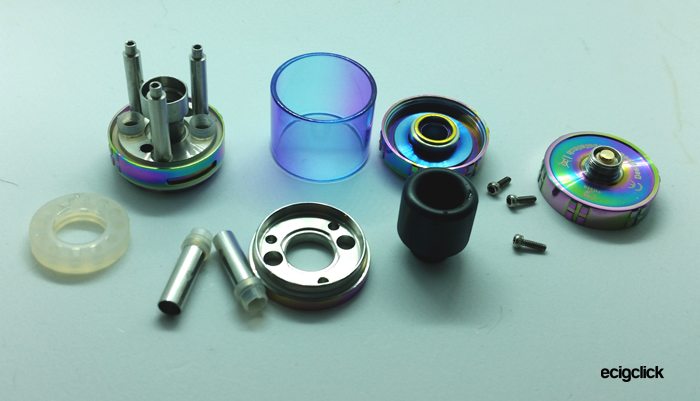
How To Dismantle The Yosta Pillar
I had to dismantle mine as I had reviewed an E-liquid which I could not get rid of!
- Unscrew the bottom cover.
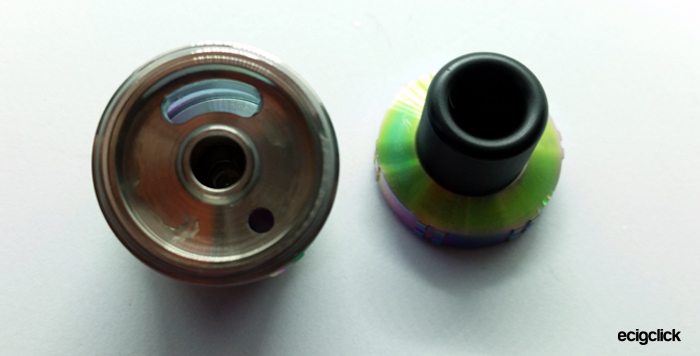
- Remove the top cover and drip tip.
- Remove the seal on the underside of the top cover.
- Pull out the coil head.
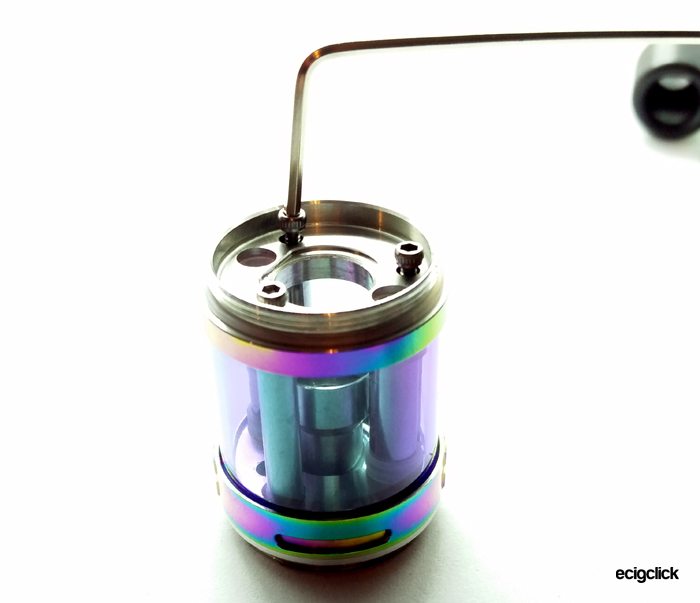
- Remove the allen head screws.
- Remove the tank glass.
- The Pillars have seals at the top and bottom and can be removed – just don’t lose the seals. There are a couple of spares – but they are easy to drop.
- You can now wash out or soak all the components.
- To reassemble – just reverse the dismantling procedure – making sure all O-rings and seals are in place.
Flavour & Cloud Production
I used a new E-liquid range for this – from the Vaping Outlaws called Most Wanted. They are 0mg nicotine and 100%VG.
To make sure this didn’t leak I did also try a lower VG E-liquid. My 80% VG E-liquid performed exactly the same so I was very happy!
0.5 ohm Yosta Pillar Coil
The text below is for the first tank I was sent in the Rainbow Colour:
Well that was a good start.
I used the installed coil, added liquid and put the Yosta Pillar onto my mod.
“Atomiser Low” or “No atomiser” errors were displayed.
I tried again and again, cleaning contacts, removing and replacing coil etc and even tried the tank on another mod – and nothing.
Thankfully there was another coil in the box – nice thinking Yosta and I popped the new one in and BINGO! We are away!
However if you see in my how to guide about installing the coil – I found the error of my ways – if you fail to fully push the coil in when installing you will get an error.
At 40W I can get a taste and a vapour.
Keep going up to 50W and this little princess starts singing.
Lovely vapour and taste, and at 55W more of the same although more intense.
60W was good still but weeny bit of spitting now – and was getting a bit harsh – however the E-liquid was a very strong Strawberry Menthol flavour – so no wonder I was wincing a bit haha!
I didn’t go much higher in wattage as I didn’t want to risk burning the coil out!
With this E-liquid I liked this best at 55W.
This is a cracking performance well done Yosta!
So this little 0.5ohm coil coped with 100%VG E-liquid!
I also used an 80% VG liquid and no leaks and still wonderful taste and vapour.
For the Second Tank – Stainless Steel Version:
I used the 80% VG liquid straight away in this. I tried to take a photo of the tank and as you saw above the liquid started to leak from the airflow slots.
Upon then trying to use this the coil was flooded and I had a right game to try and get it to clear.
However on this tank I didn’t get any “Atomiser Low” errors, it did fire up straight away.
What I Like
Excellent kit, spare glass, spare coil and spare O-rings.
Really excellent price and replacement coils are inexpensive too!
It does look great if not a bit lanky!
It is a great all round tank – good flavour, vapour, heat – worth every penny.
What I Dislike
This isn’t a MTL tank, the drip tip is huge. Plus yes you can fully close the airflow but the slightest opening of the air adjustment is still very open airy vape – more DTL.
Final Review Verdict
I had no leaks on the first tank, it works well – as long as you take on board the need to make a good job of putting the coil in!
The second tank leaked out of the top airflow holes when the tank was on its side.
It has been a real solid performer and even coped with 100%VG E-liquid – which really is a big ask!
It does look great too, a bit tall but it is well built and a very clever design.
This is not the best sub ohm tank I have ever used but it is nothing at all to complain about either. It does all you ask of it. For this price it really is incredible.
It is a great DTL tank – not a MTL – in my opinion.
Update…
Now I am having to update this on 3/1/18 as this lovely little tank isn’t working.
I have been using this tank since I wrote this review. Yesterday I used a different device. I came back to use the Pillar again last night and it had leaked and I could not get the coil to fire up at all.
Kept getting “atomiser short” errors on all my mods.
I have cleaned everything, checked the coil, checked the coil connections are not touching where they shouldn’t be, cleaned out the bottom cap, cleaned the contacts on my mod, the lot. I manage to get the resistance to register on my mod – but the second you press fire you get the short circuit error.
So I can only assume this coil has had it. I haven’t any more spare ones to try so I can’t further test if this is the case.
So I will leave the ratings in this review as they were as this leak and fault may be due to the coil having reached the end of its life.
If I get some more coils I will update this review.
Update 28-1-18
I have had a brand new Yosta Pillar kit sent to me from Yosta – so I have updated the above review.
I am more confused now – the first tank was amazing until it stopped working. The second tank is leaking.
I just tipped this upside down to remove the base to clear out all the E-liquid and try and dry the inside of the coil and more e-liquid ran out of the airflow holes. However this did work and the flooding has cleared so back to the lovely operation of the first tank.
When I get time I will have to dismantle this and see if there are seals missing on the pillars?
Sadly this has had to drop a few marks as two tanks which are not functioning correctly isn’t great. This tank doesn’t come out with me as the moment it is not vertical it is leaking and then the coil is flooded.
I do feel terrible about dropping the marks even lower as the Yosta Pillar is great when it works correctly. But I can’t ignore the fact that 2 tanks have not performed as expected.
Pros
- This coil managed 100% VG E-liquid without a single problem!
- Lovely flavour and vapour.
- Nice looking tank and coloured glass is beautiful.
- Easy to fill.
- Easy to change coil with a full tank.
- Inexpensive – coil heads are cheap too!
- Good kit including lots of spares.
Cons
- You need to make sure the coil head is fully pushed in.
- Not a MTL tank more DTL which it performs well.
- Second tank was leaking through the airflow holes.
- The first tank just stopped working and gave errors when used on my mod.
