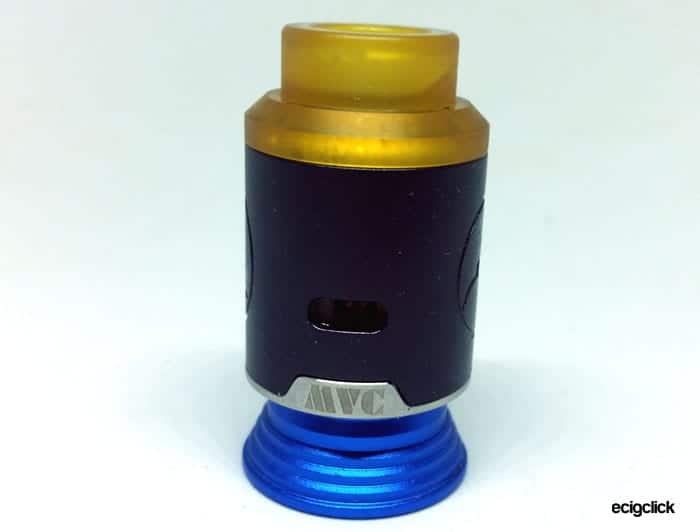
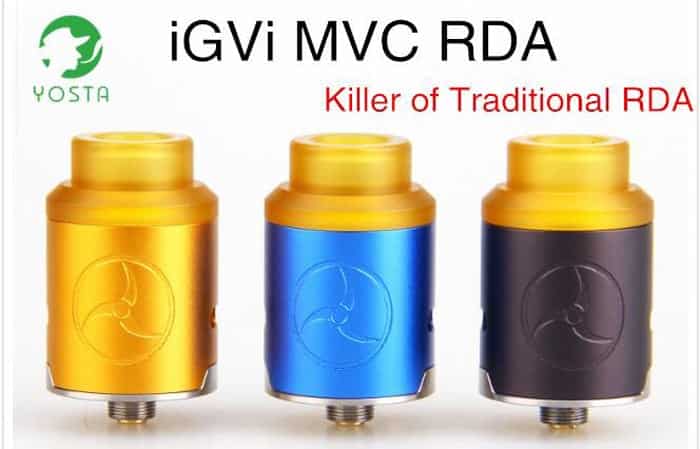
The Yosta IGVI MVC RDA name may (*probably not) have come from someone tipping all the Scrabble letter tiles out of the box. The “IGVI” part of the name has been used on several other tanks and atomisers from Yosta including the recently reviewed IGVI M2 tank.
I am not sure what MVC means – possibly “Mesh Vertical Coil” at a guess.
Which comfortably brings me to the main feature of this RDA…
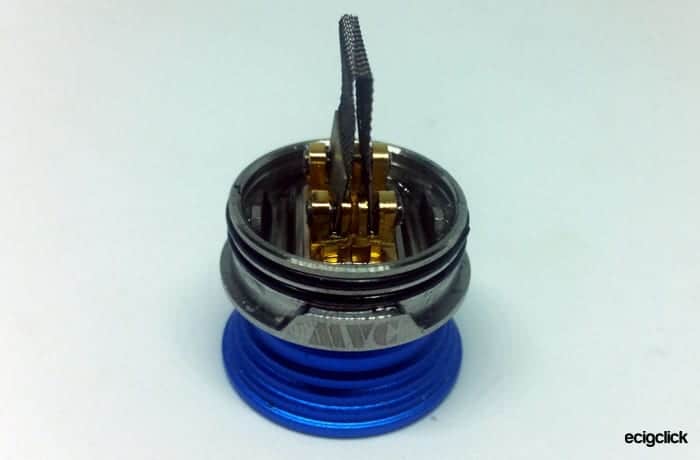
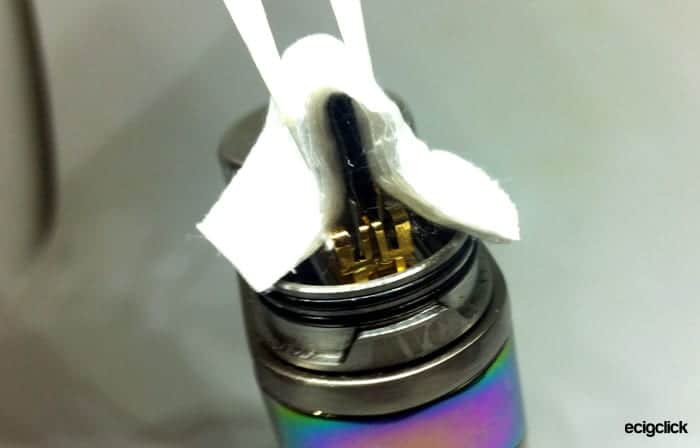
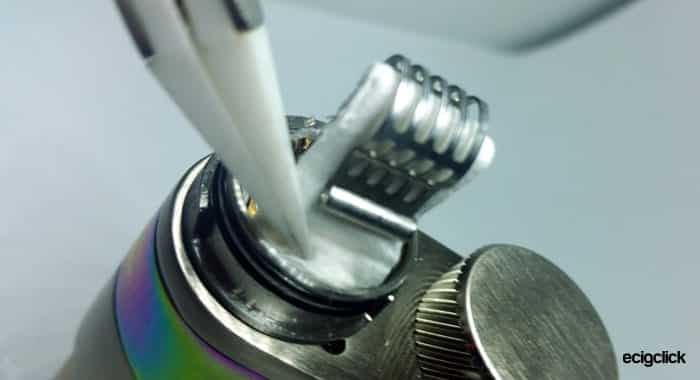
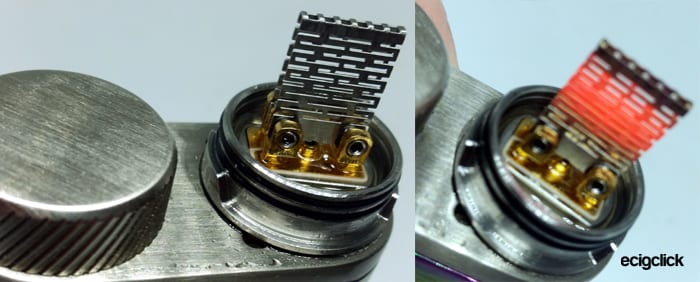
The heating element is very strange. You use a mesh sheet which is bent over and covered in cotton. Like a wall of mesh!
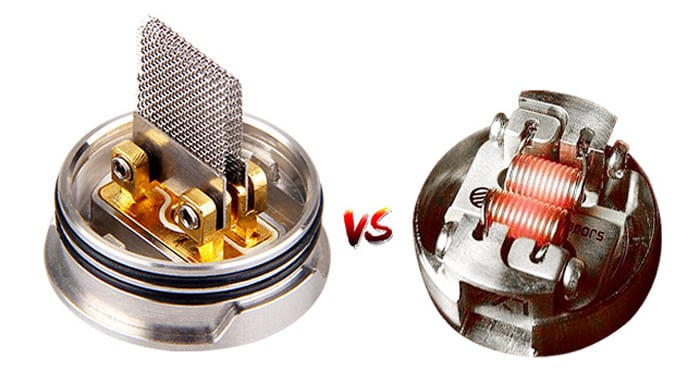
Mesh coils tend to give better performance due to the increase of surface area in contact with the e-liquid plus a more even heating of the element. However this comes with a down side – the “Mesh Dry Hit”. Anyone who has experienced this will not fondly remember the experience.
So for mesh to be user friendly there needs to be an excellent method of keeping the element saturated with e-liquid.
On the Yosta IGVI MVC RDA the cotton sits on top of the mesh and soaks up the liquid from the juice well. On a lot of mesh tanks the cotton is below the mesh meaning when it gets heavy with e-liquid it can sag away from the mesh and its lung exploding dry hit time.
So this design could be a better way of doing things – we will see!
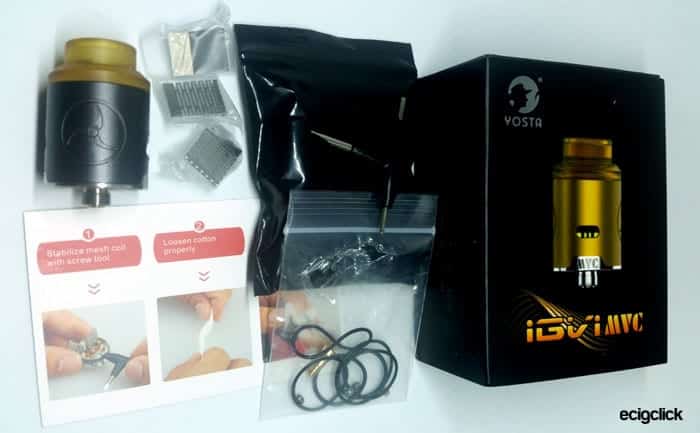
You get adjustable side airflow slots and a good kit of goodies including spare mesh elements too.
Not mentioned anywhere in the specs or on the website the kit includes a 510 bottom feed pin so you can convert this to use on a squonk mod too – so I will try and test that out to see if it works as well as a bottom feed RDA.
You can choose from 3 colours – Gold, Blue and Black.
Thank you to Yosta for sending this to me for review – but as always I report back honestly on the device I have in my possession and how it performs.
Right then let’s get building huh!
What’s In The Box
- Yosta IGVI MVC RDA
- 4x replacement mesh
- Japanese organic cotton
- Spare parts
- Bottom feed 510 squonk pin
Features
- Size: 25x40mm
- Mesh heating element – larger heating area
- More even heating
- Easy to clean
- Side adjustable airflow
Build Quality & Design
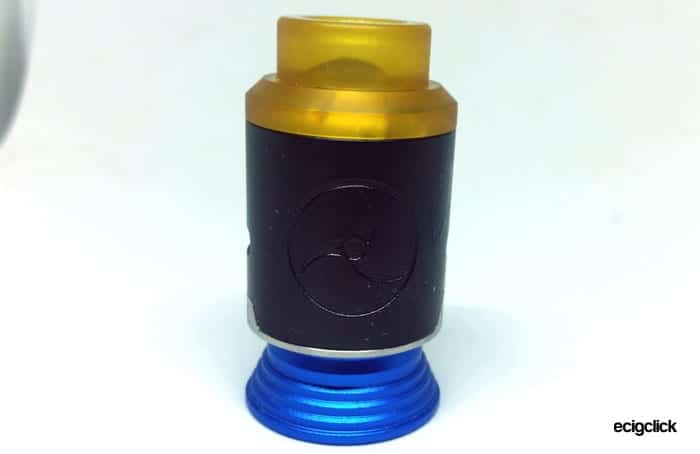
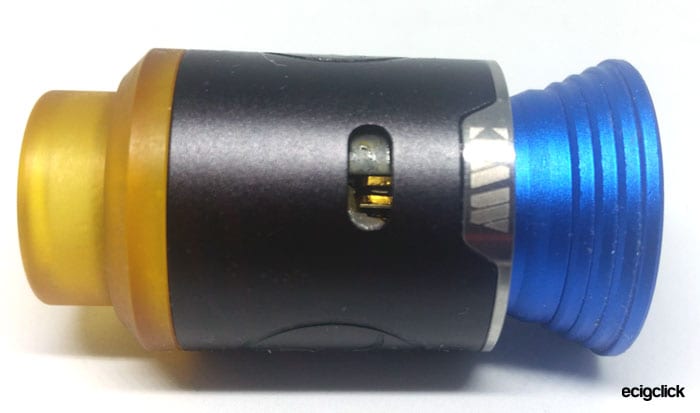
I received the Yosta IGVI MVC RDA in the black colour.
All good apart from the Ultem and I know you knew I was going to say that. It looks terrible on most colours but stands out even worse on a black RDA. I have done wee samples with a similar colour.
Anyway kit wise this comes nicely laid out in a sleeve covered padded box with a good kit of goodies. I would like to have seen a different colour top cap and drip tip – but hey.
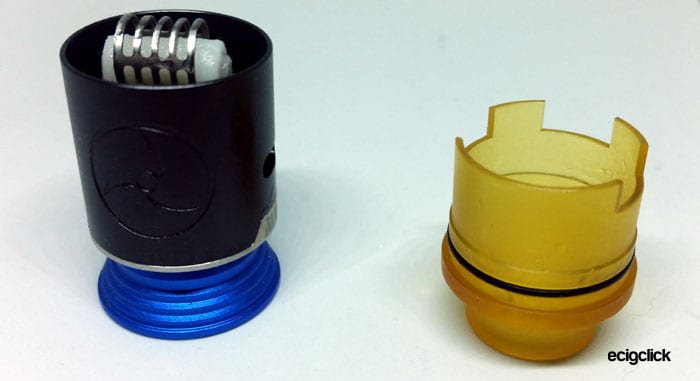
The wee coloured top cap and drip tip are all one component. Remove this to get access to the top of the coil to add e-liquid if using as a dripper.
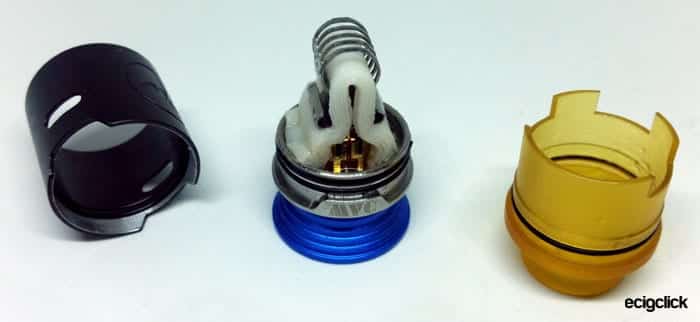
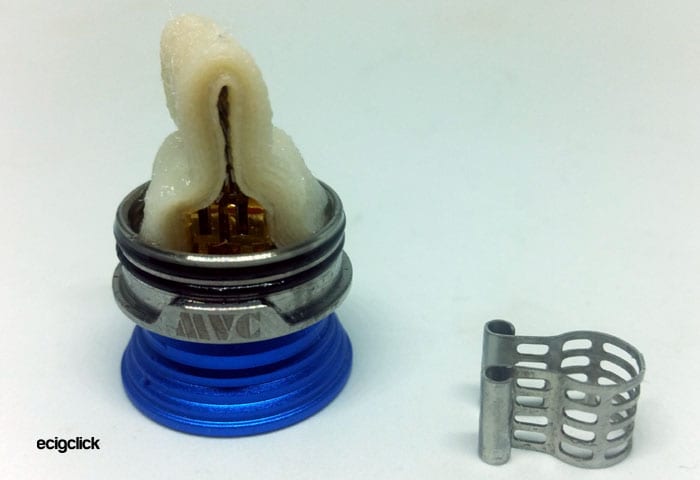
The main barrel of the RDA was a bit difficult to remove but once I had I was greeted by the very welcome sight that a heating element, cotton and securing clip were already installed on the deck!
None of the photos on the Yosta website show the securing clip installed and the enclosed instruction card doesn’t show it either – so I am at the moment unsure if this is to be removed before use? I kept it on anyway!
Earlier models had a different system for clamping the cotton onto the element.
The RDA in the hand weighs nothing – I compare this to my Kaees Aladdin RDA which weighs a lot more and feels a lot more robust. The barrel of the IGVI MVC feels very thin and light.
There are cutouts on the barrel to make sure it is properly located on the deck for the airflow to hit in the correct place. You simply turn the wee-wee cap to obstruct or open up the air inlet slots on the barrel.
It is a very plain looking RDA with a stamped in logo on the side of the barrel which is the same colour and MVC written on the notches on the deck which show through.
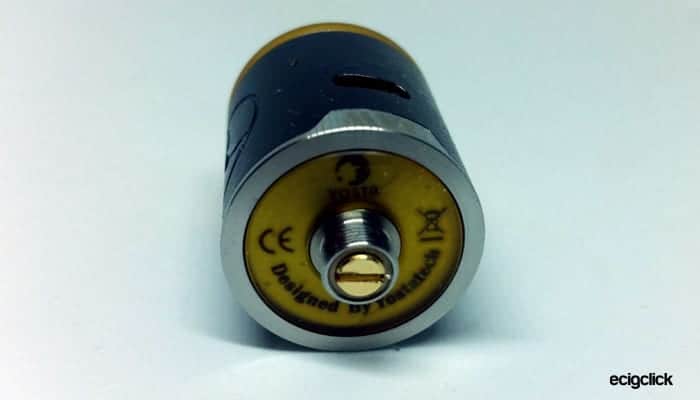
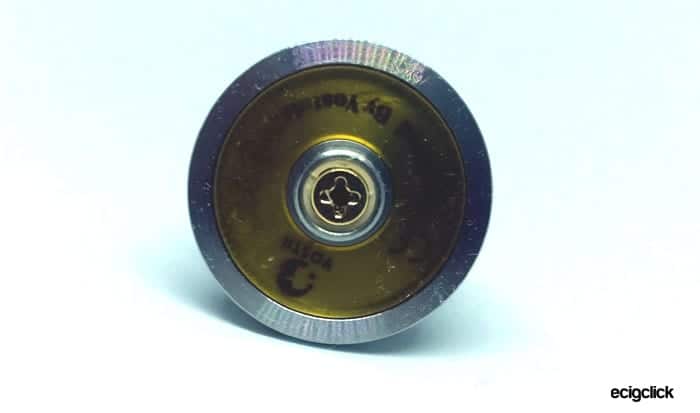
The base of the RDA carries the majority of the branding set in what appears to be an Ultem coating.
Set-up Guide
So the main question you need to ask before you even start with this RDA is whether you will be using it as a dripper or a squonker.
With a dripper you simply drip the e-liquid through the drip tip or remove the top cap.
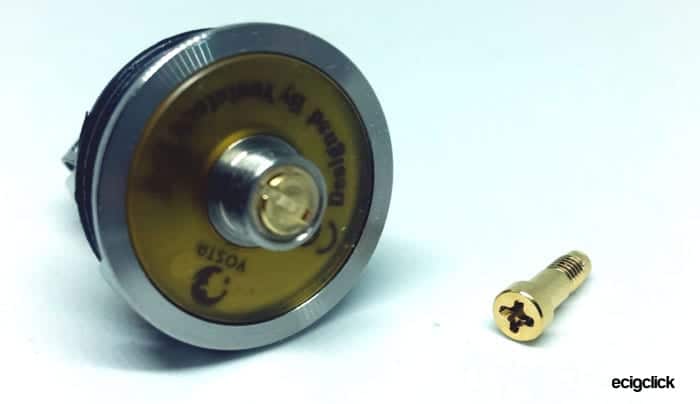
If you want to use this on a squonk mod you will need to replace the 510 connector pin for the bottom feed hollow pin included in the kit.
Simply unscrew the slotted head 510 pin and screw in the Philips head hollow pin.
The airflow is adjustable by turning the top cap to close off or open up the side airflow slots.
In the fully closed position there is still some airflow but very restricted. In the fully open position it is still slightly restricted so not the most open airflow you can get. Ideally if you like a restricted DTL vape then I think you will be happy. I used this mainly in the mid position.
Build Tips
We have some guides to help you with the basics of building:
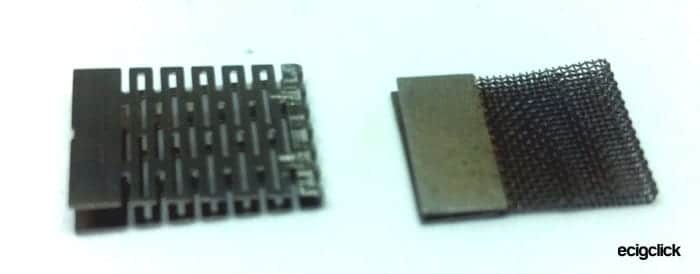
In the kit you get 3 of the coarse mesh coils and 1 fine mesh coil.
I found this pretty simple to build.
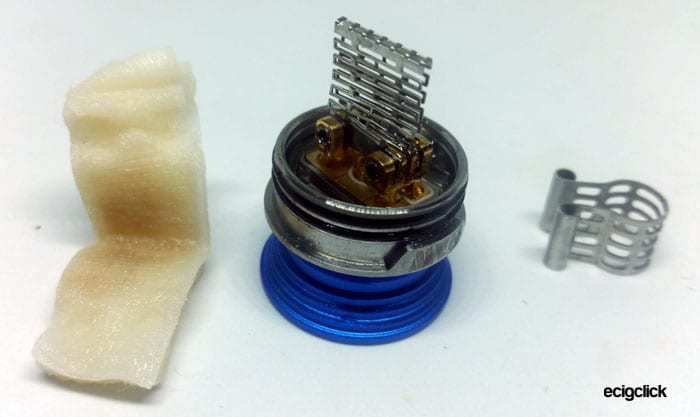
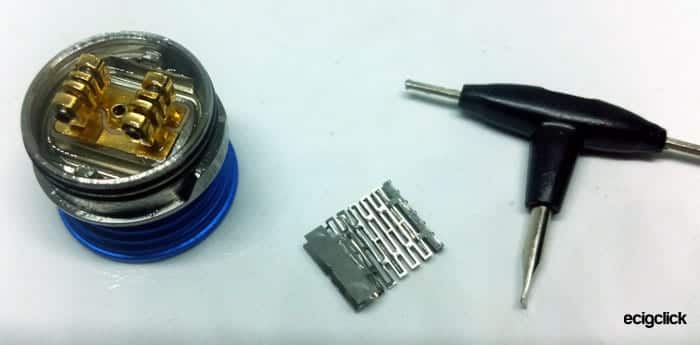
- Remove the cotton clamp by simply pulling it off.
- Remove the cotton from the mesh. Yosta say you can turn the cotton over and re-use it.
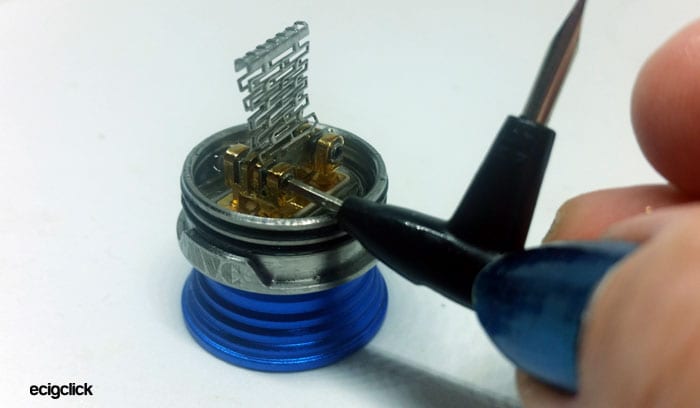
- Loosen the clamp screws using the allen key on the tool provided.
- Using tweezers remove the old mesh from the deck.
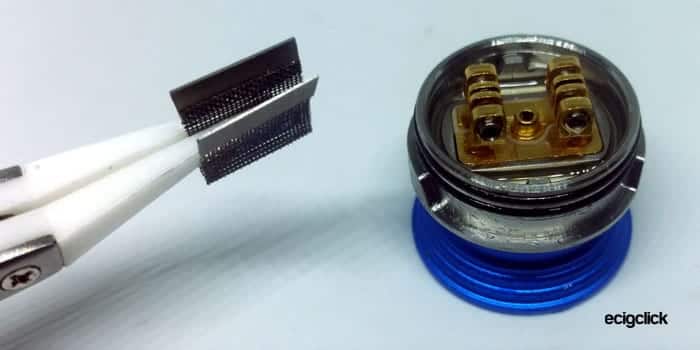
- Prepare a new mesh by opening it slightly with tweezers so it is wide enough to fit between the clamps.
- Place the mesh into position and tighten the clamps.
- Check the resistance on a resistance checker to make sure there are no short circuits.
- Fit the RDA to a mod and set to a low power to do a dry burn to check all areas are heating evenly and remove impurities.
- I did use the tweezers to gently scrape the surface of the mesh.
- Once it is burning evenly allow to cool.
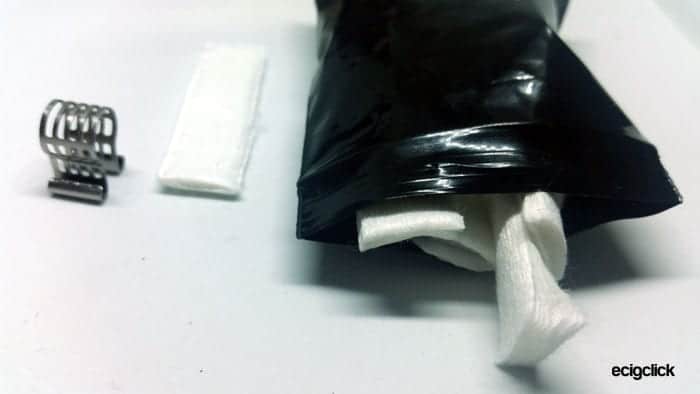
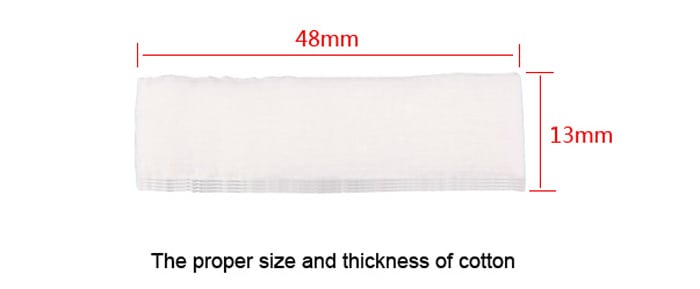
- Remove a piece of the pre-cut cotton from the bag or cut a piece to the specified size.
- Place the centre of the cotton over the top edge of the mesh.
- Secure the cotton to the mesh using the clamp clip.
- Make sure to push the ends of the cotton into the juice wells.
- Soak the cotton with e-liquid and replace the barrel and top cap.
When you have used up the included cotton Yosta tell you the correct dimensions to cut your cotton when replacing. 48x13mm is the size they recommend.
How Does the Yosta IGVI MVC RDA Perform?
Flavour & Cloud Production
This is designed for sub ohm vaping so it is best to use High VG e-liquid. We tell you all about VG and PG in our handy guide.
Again you won’t be needing high nicotine strengths either – the e-liquid I am using is my usual Stika Bombz Fruit Salad which is 6mg nic and 80%VG.
Obviously the liquid type, flavour, temperature/wattage settings and airflow preferences will dictate how this tank performs so performance could vary.
Make sure to check the e-liquid frequently to reduce the risk of a dry hit which will kill the cotton and probably a lung. However be mindful of not allowing the e-liquid level to be as high as the airflow slots as it will leak or spit out from there.
Dripping – Coarse Mesh Coil
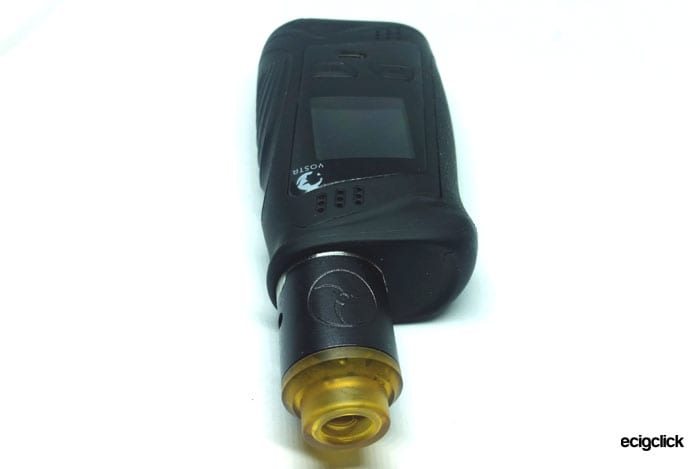
I thought it was only good and proper to re-unite the IGVI MVC with the Yosta Livepor 230 mod – as they are like distant cousins.
This showed the resistance of the pre-installed coil to be 0.18ohm.
There are no real instructions other than a brief card to tell you how to build the deck. There are also no guide power settings for the heating element to give you an idea of what power to start at. So I am going to start pretty low!
I set the airflow setting to the mid position and started at 30W as I really have Dry Hit Phobia when it comes to mesh.
I dripped enough e-liquid in to almost come up to the airflow inlet slots and didn’t get a leak so those deck O-rings are doing their job well.
OK I am nervously upping the power to 50W and lots of really thick vapour now – still not much taste yet.
Heading up to 65W and things still improving – then when I hit 75W I can start tasting my e-liquid. Still quite cottony – like you would get from a new coil head which hasn’t broken in yet. I did also try 80W which seemed to be where this ran nicely for me – I didn’t really want to risk going much higher.
So after about 30 vapes at 80W this is starting to bed in nicely.
Plenty of lovely warm vapour and good flavour too. Very smooth to inhale on no spitting or turbulence either. I am really enjoying this – not the cleanest flavour I have ever had from an RDA but the smooth clouds are most pleasing!
After a few days of use I am really finding the flavour dropping sadly. If you look at the photos in the build section this was not due to the coil being “cacked up” as it still looked pretty clean when removed.
Squonking – Coarse Mesh Coil
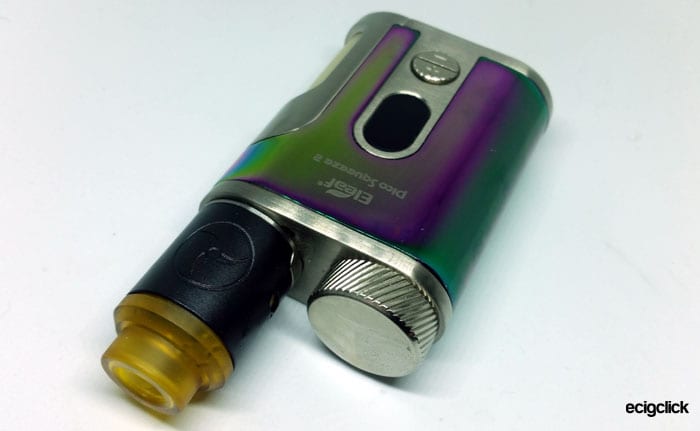
I thought as I own the Eleaf Pico Squeeze 2 I might as well give this a run as a squonk RDA and see how it gets on. It’s fine to say there are no dry hits when you are dripping liquid from the top of the tank directly onto the cotton – but it could be a different matter expecting the liquid to wick up from the juice well effectively.
It seems to work well as a squonker – only thing that worries me is the cotton doesn’t always seem to be fully immersed in the juice well, so make sure it is before you attempt to squonk.
As long as you keep the juice well full it seems to wick really well which has surprised me.
Don’t over squonk though or else the liquid will come back out of the airflow inlets in the barrel.
Squonking – Fine Mesh Coil
The resistance of the fine mesh coil showed on the Pico Squeeze 2 to be 0.11 ohms.
Dry firing this before installing the cotton I had to go up to 30W as it was taking too long on lower power and the 10 second fire cut out kept kicking in.
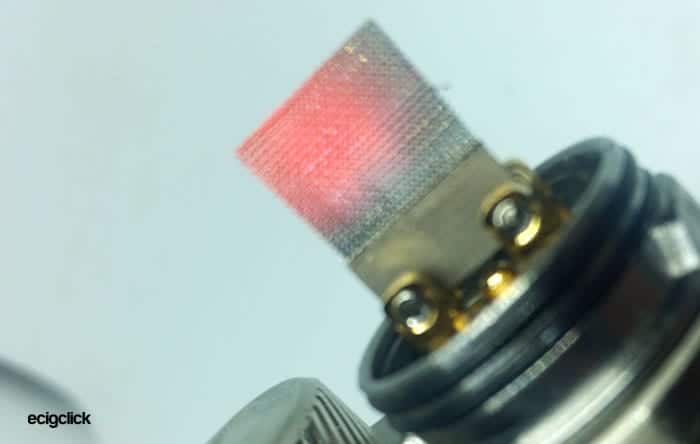
I was struggling to get this to burn evenly too – as you can see one side didn’t glow at all – I tried re-positioning the mesh but still no better?
Anyway I started off at 60W and moved up. The vapour was pretty dense. Things started to warm up after 75W and taking it up to 85W it seemed to work quite well.
But there is still quite a muted flavour. It must be because the cotton is on top of the coil so the vapour is almost being blocked by the cotton. The vapour you inhale has to come from the inside of the mesh element and up.
The flavour dropped even more after a day or so – it’s hard to pin point why – I am using the correct size cotton supplied – I will try another build with the coarse mesh and see if it improves.
Third Attempt – Coarse Mesh Rebuild
So to try and solve this loss of flavour issue I have rebuilt this again.
The cotton comes in the kit in pre-cut strips – these have multiple layers – so I have removed the top and bottom layer of the strip.
I put a new Coarse Mesh element on and this did seem to heat up a lot more evenly than the fine mesh coil.
Again going up the wattages to 85W and the flavour is better than the fine mesh but still very muted.
It is really really cottony now.
I give up I really tried my best to make this perform but sadly that is the best I can do really.
Pros
- Comes with coil and cotton already installed
- Good kit contents including pre-cut cotton and 3 spare heating elements
- Can convert to use as bottom feed squonk RDA
- Excellent smooth vapour
- Performs well as a squonker
Cons
- Yukky wee coloured top cap
- Cannot replace drip tip
- No real instructions or guidance for power settings
- Not the cleanest taste from a mesh RDA
- Over squonking or dripping can lead to leak from airflow inlets.
- Having the cotton over the top of the heating element seems to obstruct the vapour.
Final Review Verdict
As RDA’s go this is OK.
The flavour isn’t as pure as say the Freemax Mesh Pro which uses stock mesh coils. So it was a bit disappointing in that sense. I can only think that the cotton on top of the heating element is obstructing the vapour.
However whether dripping or squonking as long as you keep the juice well full I was not getting any dry hits and it seems to be wicking well. So as an improvement to a lot of Mesh RDA’s which can really suffer from the wicking not working effectively this is definitely better.
The vapour and airflow are super smooth.
Personally I find the Mesh Sub ohm tanks give such a great flavour nowadays and I won’t be replacing them with the Yosta IGVI MVC RDA sadly.
