Today we are looking at the Wotofo Bravo RTA – A collaboration between Wotofo and Aaron Hart, the owner of 5Bravo who is not a vaping celebrity like usual collaborations by Wotofo, but a huge vaping enthusiast! So let’s see what the two combined forces come up with!
What Can We Expect From The Wotofo Bravo RTA?
The Wotofo Bravo RTA is a 25mm RTA with three (yes THREE) different e-liquid capacities straight out of the box. They are 2ml, 4.5 and 6ml which are achievable by changing the glass as well as the use of a silicone bung.
How did I get on with it? Find out in my written and video review!
Currently priced at $36.99 to $38.99 on the Wotofo website, The Bravo RTA is available in six different finishes which are Stainless Steel, Black, Gun Metal, Blue, Gold and Rainbow, but today I will be looking at the gold Version.
As always my opinions are honest and my own.
See The Bravo RTA In Action With My Video Review
What’s In The Box
- 1 x Bravo RTA
- User Manual
- Standard Glass
- Bubble Glass
- 510 Drip Tip Adapter
- Japanese Cotton
- Bag of Spares
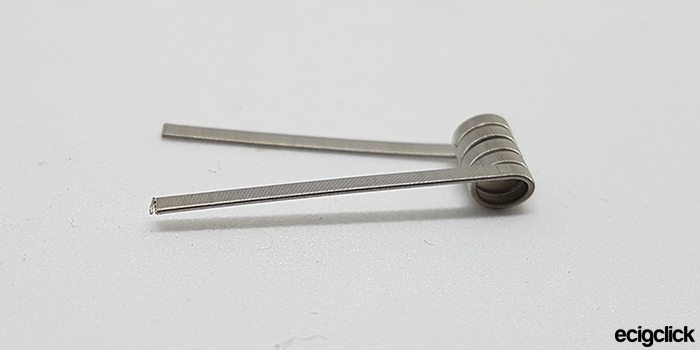
- Comp Wire Coils
Features
- 25mm Diameter
- Stainless steel construction
- Increased vapour production & flavour comparable to a RDA
- Floating deck
- Clamped post design, which is more appropriate for flat wires
- Less threading on cap, quicker to refill
- Compatible with 810 / 510 drip tip (510 adapter included)
- The banked airflow design helps concentrate the airflow, giving better flavor
- 510 threading connection
We’ll start from the top and make our way down the RTA…
The Drip Tip:
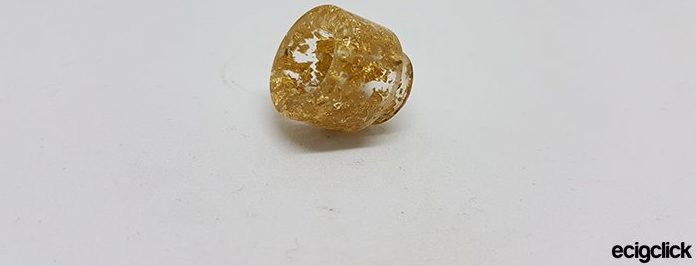
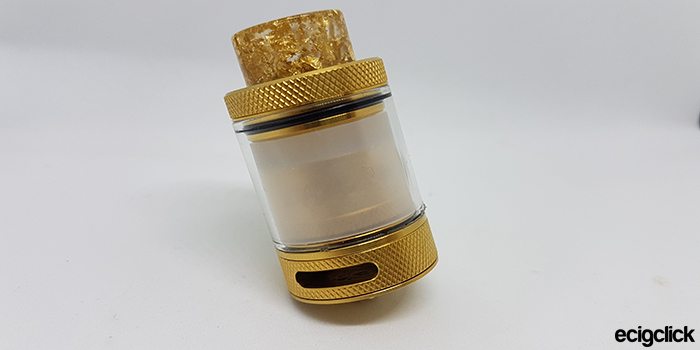
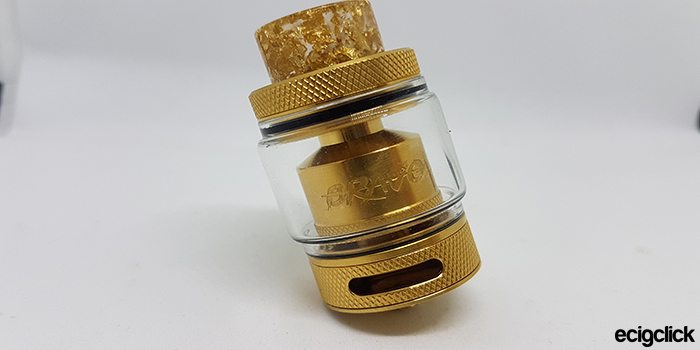
The drip tip is 810 sized and made from resin. With this gold version we have a clear resin with lots of gold flake in it. It is secured into the top cap with a single o-ring
The Top Fill:
Below the drip tip, we have the top cap and top fill ports. What I have noticed with the top cap is that it screws on/off with just a single turn, which is great for easy and quick refilling!
The fill ports come in the form of two absolutely HUGE kidney shaped holes. I can confirm that I have had no problems whatsoever with filling this tank up.
The Chamber:
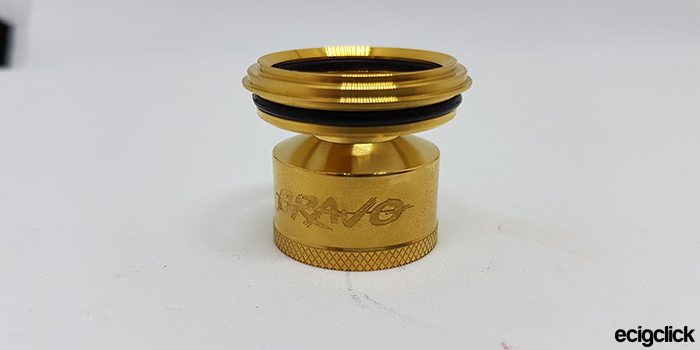
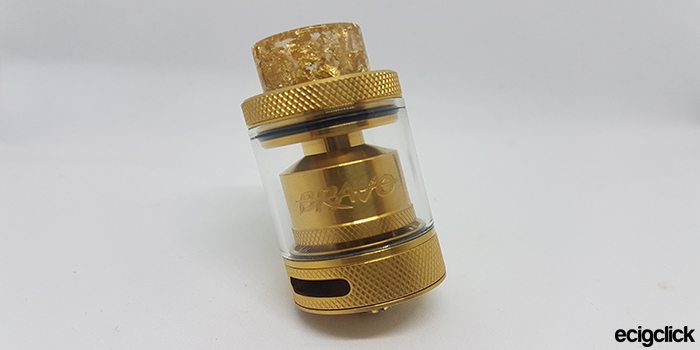
The chamber or barrel as I like to call it, is a thing of beauty! Milled from a single piece of stainless steel and plated in gold, it just looks amazing in the centre of the tank.
With ‘Bravo’ engraved into the side of it as well as some knurling, it is not too in your face, but it’s a beautiful centrepiece.
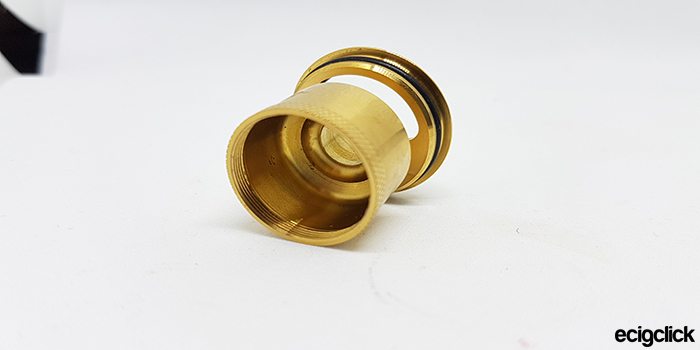
Inside the chamber it is domed for that exceptional flavour experience, and has some super smooth threading to connect it to the build deck below.
The Build Deck & Base:
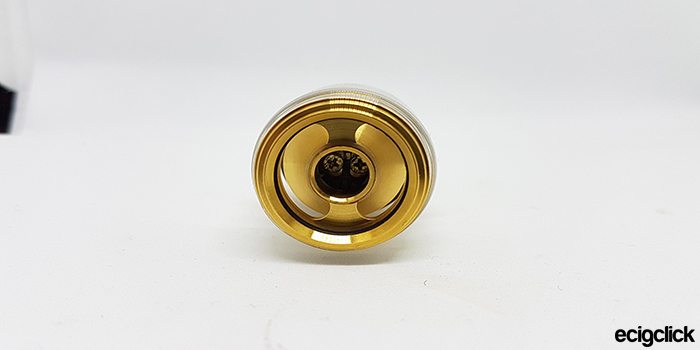
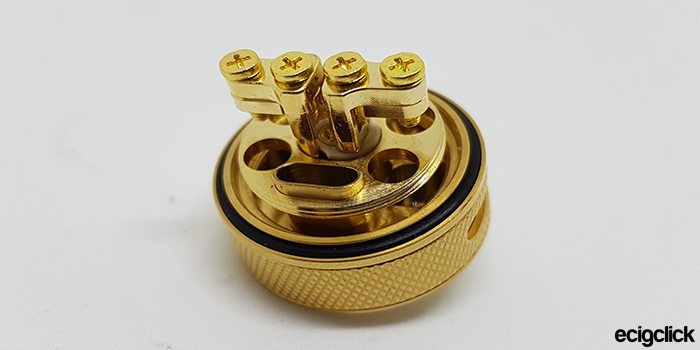
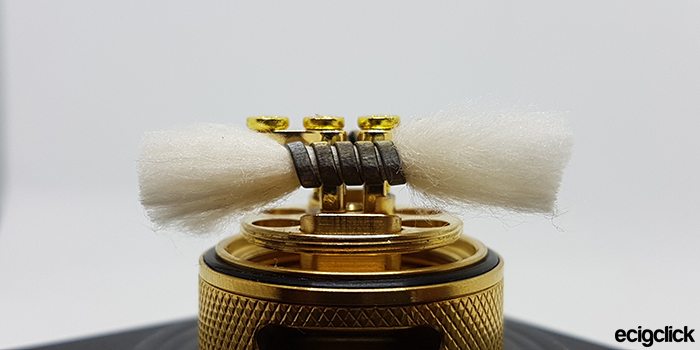
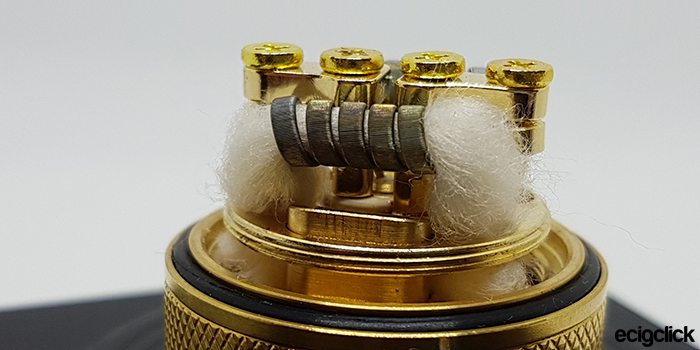
The deck on the Bravo RTA is beautifully made, and in this gold version, the deck is also gold plated for that extra touch of elegance and style.
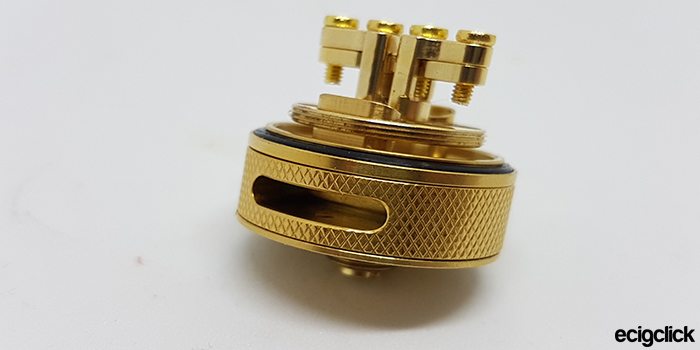
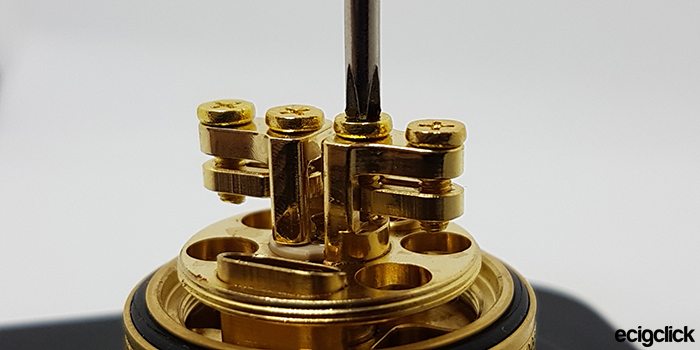
It features a 2 post deck design, with what I would describe as an “upside down Goon clamp system”. Basically, rather than the clamps being screwed down from the top, they are being screwed up from the bottom. And with two screws on each post, it makes installing flat wire builds an absolute dream! Regular coil builds are a bit tricky, but it definitely is doable!
Below the posts we have the ‘floating deck’ which is similar to the Serpent SMM, but obviously has extra holes to accommodate the dual coil build.
The airflow on the Wotofo Bravo RTA comes in the form of two large slots that are controlled with a knurled airflow adjustment ring. It is loose enough to move when you want it to, but stays in place when it’s in a pocket.
Different Capacities of The Bravo RTA
2ml TPD Compliant: Original Glass + Silicone Bung
4.5ml: Original Glass with bung removed
6ml: Bubble Glass
How Does the Wotofo Bravo RTA Perform?
On this RTA, I’ve been using the included coils, which come out to roughly 0.11Ω on the Coil Master 521 Mini Tab.
Ease Of Build On The Bravo RTA
So lets go through a step-by-step guide to building on the Wotofo Bravo RTA
Firstly, unscrew all four post screws to lower the clamp system down.
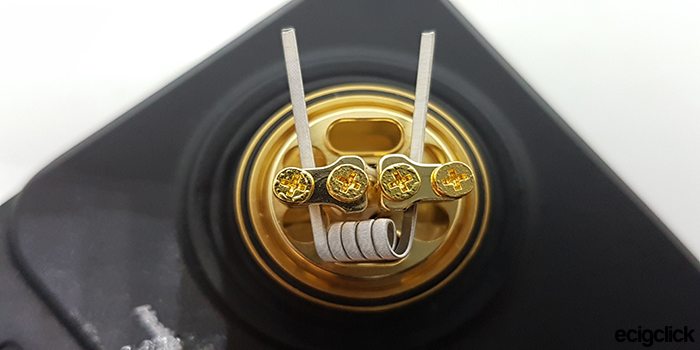
Choose a coil to put in on one side, align it over the chimney and cut off the excess legs. Repeat this on the other side with the other coil.
Now comes the tricky part. Keeping the coils in place whilst winding the clamps up. Now this is a little bit of trial and error, but if the coils are in the incorrect place, you can easily unwind one side and reposition.
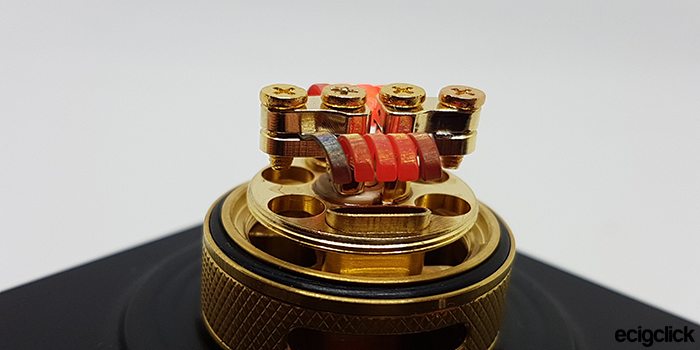
Once the coils are in place, start pinching and pulsing to get the coils heating evenly from the inside out. When they are, leave to cool for a few minutes before inserting your wick.
Now grab your favourite cotton, poke it through the coils and trim the excess just outside of the outer edge of the deck. This gives you enough to poke through the holes in the floating deck.
Make sure that the holes are nicely plugged up to prevent any flooding of the build deck.
Next, build the Bravo RTA back up and fill with your favourite e-Liquid!
Flavour & Clouds
The flavour… Amazing. I would say that the Bravo RTA has been one of the best RTA’s for flavour I have ever tried. And it is good across all the flavour ranges, so the menthols are mentholy, the custards are thick and creamy and the fruits are just jam packed full of flavour!
As for clouds. They’re pretty good! With the low ohm build and large airflow holes, you are getting some nice, dense clouds coming from this RTA, especially at the high wattages.
Pros
- Looks Great
- Amazing Airflow
- Beautiful Flavour
- Multiple Colour Options
- Multiple Capacity Options
Cons
- Suited more towards flat wire builds
- Slightly awkward to clamp down coils
Final Review Verdict
The Wotofo Bravo RTA is awesome. I honestly can’t really say much more about it. Beautifully made, well manufactured and designed with flavour chasers in mind.
Obviously a little awkward to build on, but with a little bit of practice, it becomes easier.
