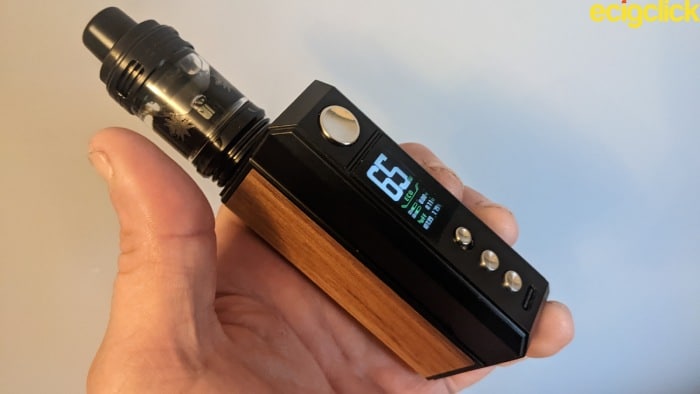
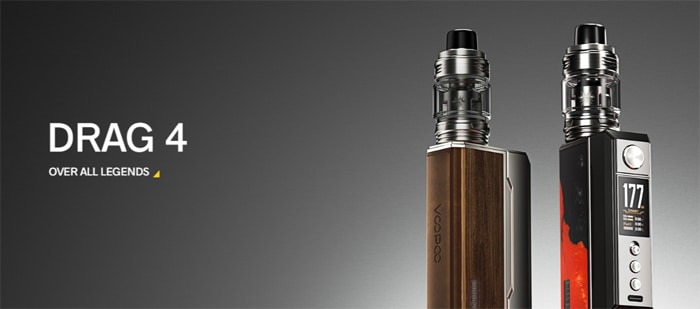
Today I’m taking a look at the brand spanking new Voopoo DRAG 4.
 For a while back there it really seemed like Voopoo had set their focus on all things pod tank / tank pod when it came to their DRAG range of devices.
For example, we’ve the likes of the DRAG H80S, DRAG E60 and DRAG X Plus PRO edition.
Can’t say I blame them since their DRAG S and DRAG X have gone on to win multiple awards.
Even older Mods such as the DRAG 2 have had a ‘refresh’ to include pods featuring the staggering range of Voopoo PnP coils.
I’ve said it before and I’ll say it again – the OG DRAG 157 was a game changer when it came to performance and ramp up time. By late 2017, its GENE chip had become synonymous with power and quality with users globally.
So my fears are partially allayed by the release of the DRAG 4, along with its brand new UFORCE L tank.
Yet Voopoo have another trick up their sleeves. Another table turning event. Instead of using the UFORCE range of threaded coils, the tank has been adapted for use with the ever popular PNP range.
Sounds like a good idea to me. Let’s have a gander, shall we?
What Can We Expect From the Voopoo DRAG 4?
Over the years there have been a few different versions of the GENE chip. Each one designed to deal with power control, temperature control, mode switching, general power management and other smart functions.
The latest version, the GENE TT2.0 is the most powerful to date in terms of ramp up time. Not only that but each battery is managed individually to ensure stability, consistency and optimal output.
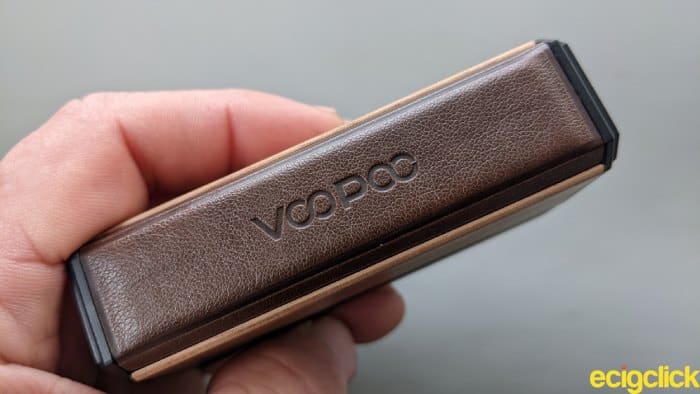
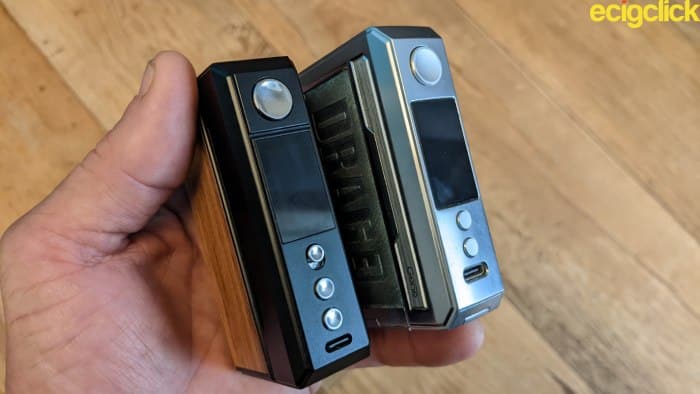
The key points include the difference in appearance over its predecessor, the DRAG 3. They share the same box like characteristics and contours but most of the faux leather has been replaced with Walnut on the main panels of my device.
The resin material characteristic of the range will be familiar to many.
The DRAG 4 is slightly taller and wider than the DRAG 3. With the exclusion of batteries it’s also marginally heavier.
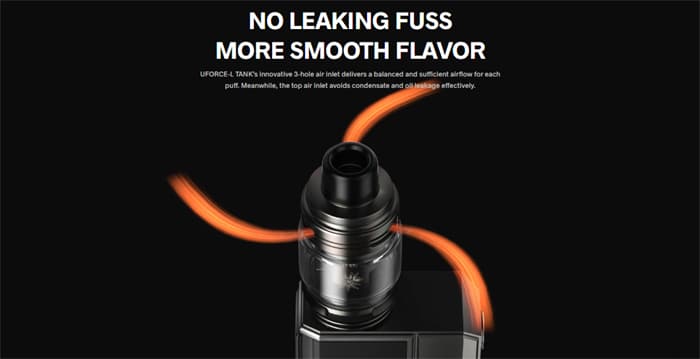
The U FORCE L tank is the first PnP atomiser with three top adjustable airflow slots. This balances the airflow direction while increasing its pathway to the coil for a smoother, richer vaping experience.
Those airflow slots balance the pressure inside and outside of the tank so that condensate is firmly stored. Even against rigorous movement. Plus top airflow is less prone to leakage.
So the biggest change aesthetically is the inclusion of the QS lock on the front of the Mod.
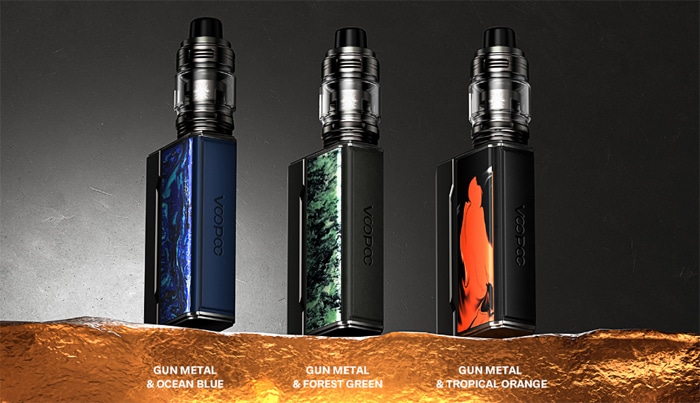
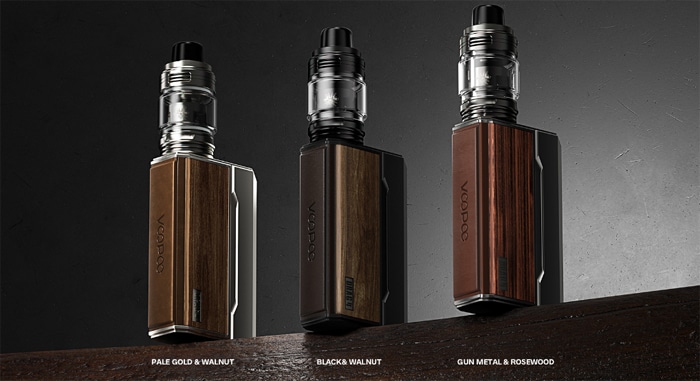
There are 6 colour options to choose from in 2 ranges:
Resin : Gun Metal & Ocean Blue, Gun Metal & Forest Green and Gun Metal & Tropical Orange.
Wood : Pale Gold & Walnut, Black & Walnut and Gun Metal & Rosewood.
What’s In the Box?
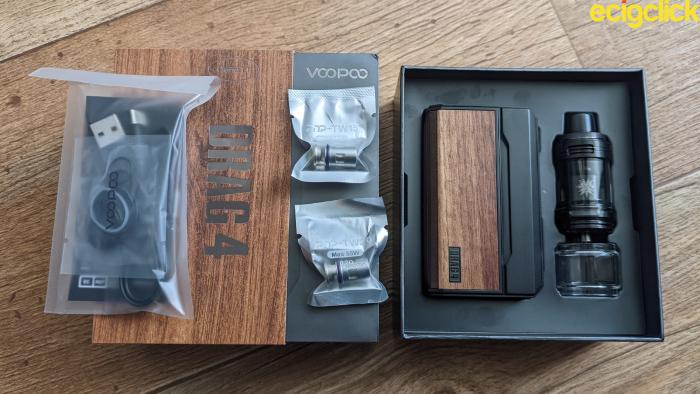
It comes in a themed slip case that mimics the walnut finish of the Mod. The device, tank and spare tube sit in a plastic tray and underneath are the coils and a few extras.
- DRAG 4 device
- UFORCE L tank (4ml)
- PNP TW20 coil
- PNP TW15 coil
- Type C USB charging cable
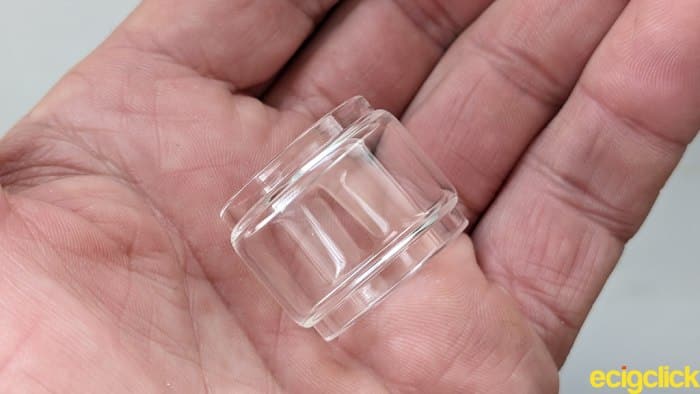
- Spare glass (5.5ml)
- Bag of spare silicone O rings
- User manual
- Battery warning card
Specifications
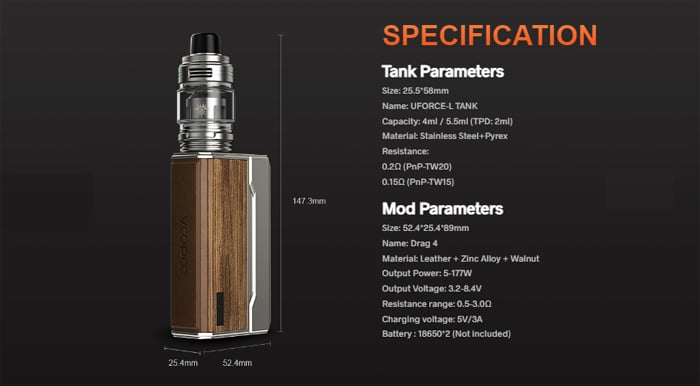
DRAG 3 Mod
- Dimensions: 52.4 x 25.4 x 89mm
- Material: ZInc Alloy+Leather+Solid Wood
- Battery: 2 x 18650 (not included)
- Display: 6 colour theme Screen (Size not specified)
- Output power: 5 – 177W
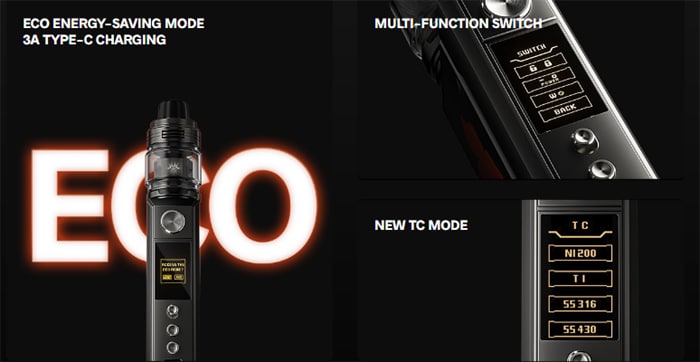
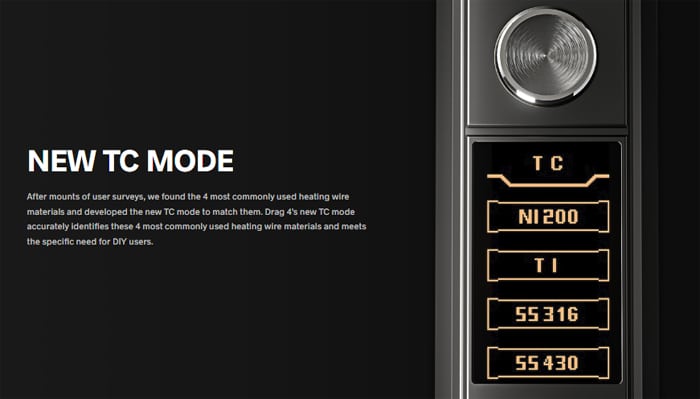
- User modes: RBA (Variable Wattage), Smart , Eco, TC (Ni200, Ti, SS316, SS430)
- Output voltage: 3.2 – 8.4V
- Resistance range: 0.05 – 3.0ohm
- Charging : USB Type C 3A
- Locking switch
UFORCE L Tank
- Dimensions: 57 x 25mm
- Capacity: 2ml (TPD) / 4ml, 5.5ml (standard)
- Quarter turn top fill
- 3 adjustable top airflow ports
- Compatible with PnP coil range
- Included coil resistance: TW15 meshed PnP 55-70W / TW20 meshed PnP 40-44W
- 510 heat sink base design
Design and Build Quality
DRAG 4 Mod
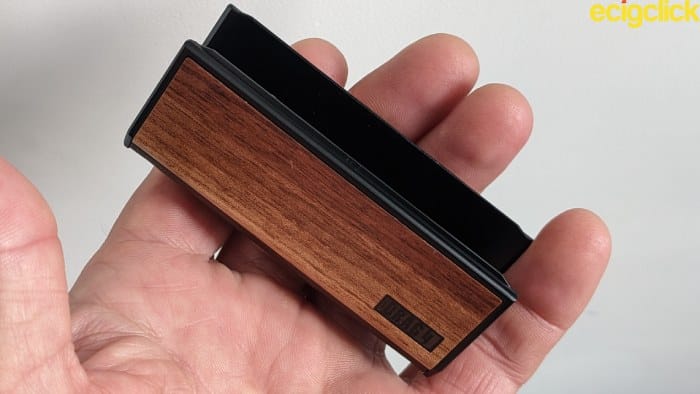
We’ve got three initial alterations over the DRAG 3. To begin with the battery sled is exposed by removing a magnetised C shaped cover. I prefer this style of access over the spring loaded bottom hinge of its predecessor.
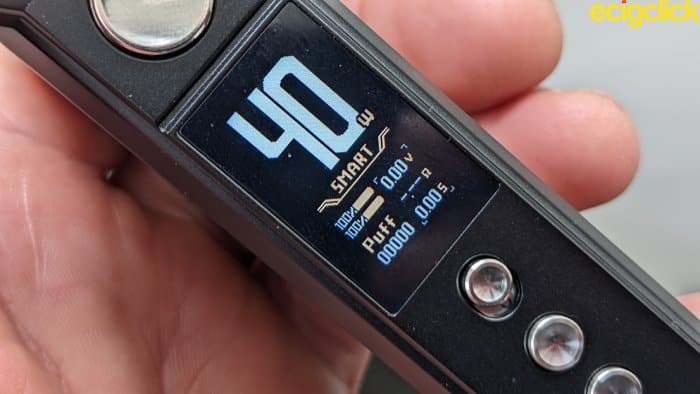
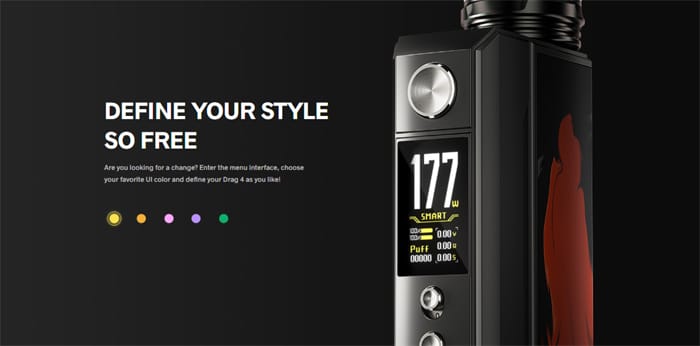
The second difference is in the display. It’s slightly clearer and brighter and the wattage output numbers have been enlarged. Good news for my failing eyesight! lol
The entire display layout has been overhauled and I particularly like how the health of each battery can be instantly viewed – this time as a percentage as well as icons.
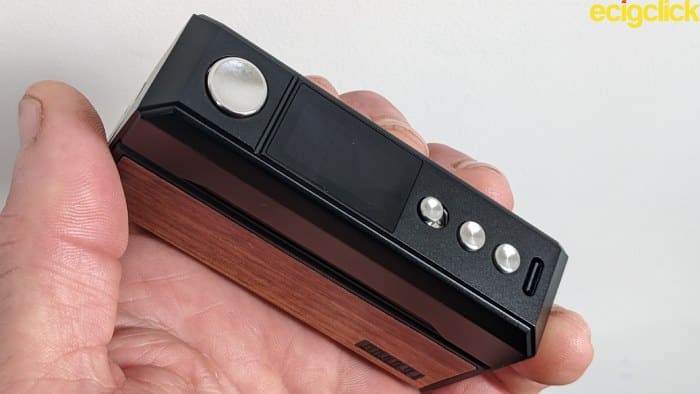
Type C USB charging is in the usual place although it’s not as recessed as found on the DRAG 3.
As much as Voopoo have including battery safety cards there’s no actual venting on the device at all.
A common trait with the DRAG range it seems.
UFORCE L Tank
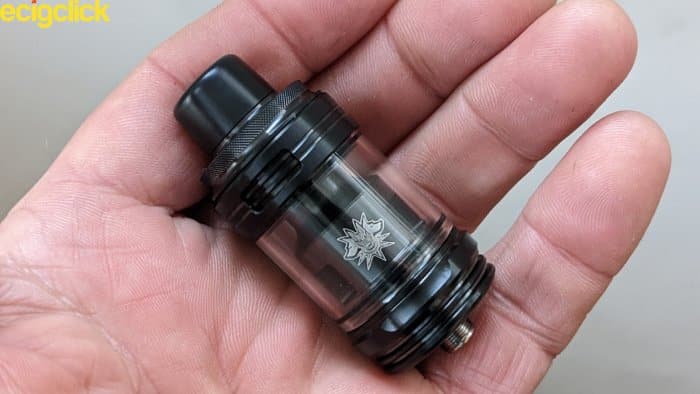
It’s a brand new UFORCE tank complete with PnP mesh coil compatibility and three top airflow slots.
It measures 25mm in diameter and as you’d expect, sits perfectly flush on the DRAG 4 Mod. I tried to remove the wide bore drip tip but it’s clearly proprietary to the tank.
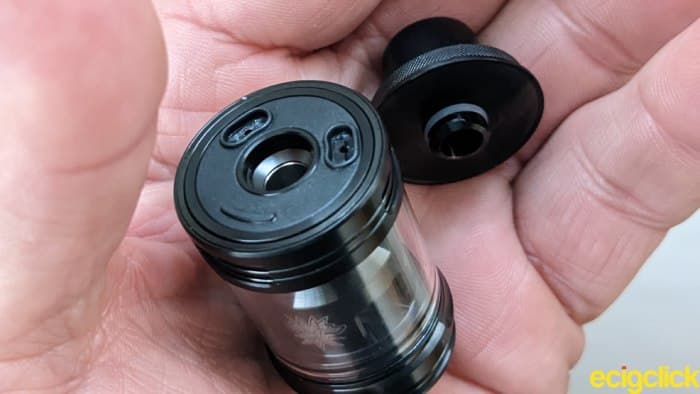
The top cap is of the quarter turn variety and silky smooth in operation.
Removing it will reveal two average size fill ports. It’s a shame they couldn’t have been a little bit wider.
Underneath the top cap are the three adjustable airflow slots. They should make for some interesting airflow configurations. Their turning tolerance feels a bit slack – and that’s before coming into contact with E-liquid.
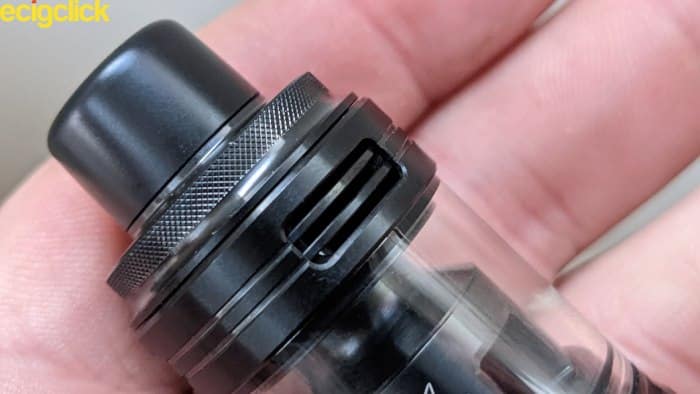
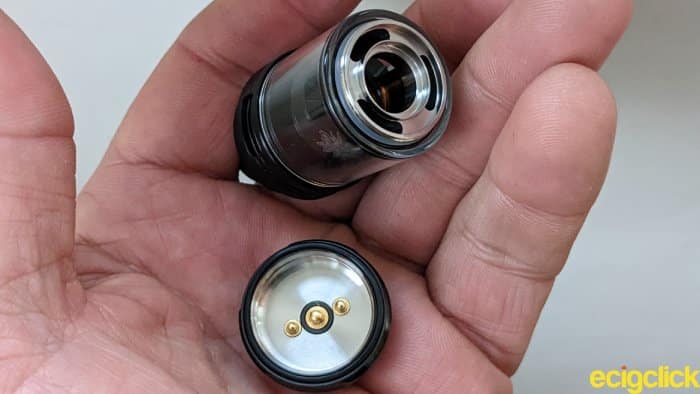
The threading on the deck feels a bit fragile and crunchy. Never a particularly good sign in terms of premature wear and tear but there’s adequate knurling for when removing or replacing.
Ok. We’ve reached that stage of the review where some folks will be wondering how to fill this bad boy. Let’s take a look at that. Right after we’ve cracked how to install the coil.
Quick Start Guide
How To Install a Coil and Fill the Tank
You may find the tank doesn’t come with a coil installed. The review model didn’t.
- Unscrew the deck of the tank by turning it clockwise
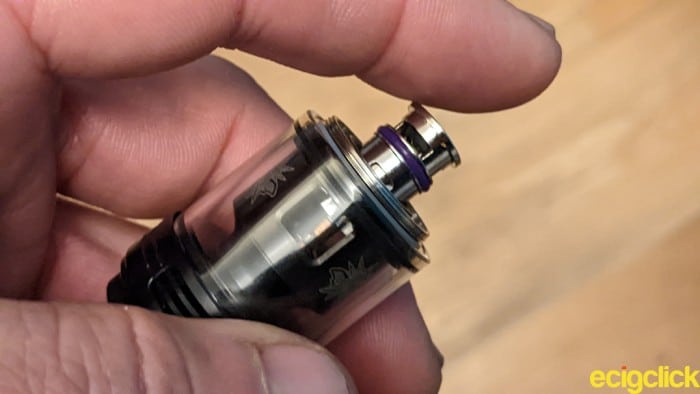
- Push one of the PnP coils up into the chamber of the tank ensuring a good seal
Screw the deck back onto the tank section, ensuring a finger tight seal
- Turn the top cap counter clockwise to remove
- Push the bottle nozzle down one of the silicone fill ports and gently squeeze e-liquid into the tank. Take your time. Do not overfill
Replace the top cap by pushing down and twisting clockwise until it’s firmly connected to the tank
Plug and play coils are much easier to work with than threaded ones. That’s not to say you shouldn’t pay as much attention. Remember to make sure those O rings are providing an adequate seal.
Also take note that the tank doesn’t have to be filled to the brim. As long as the cotton wicking ports are submerged you’re good to go. But not yet!
Let the e-liquid soak into the cotton for around five minutes before vaping on a new coil.
Functionality
It’s the usual five clicks of the fire button to turn the device on or off. You can do this whether the device is locked or unlocked.
With the device unlocked:
- Press the up and down menu buttons together to enter the main menu
- From here use the up and down buttons to choose between Mode, Switch, puff reset, about, screen colour or exit to main screen
- Use the fire button to make your selection. When selecting MODE you have the option of running in SMART, RBA (Variable Wattage), ECO OR TC (temperature control) modes.
- SWITCH mode gives you the option of deciding how the third button works. Its default is to lock/unlock the device but it can be toggled to turn the device on or off or to lock/unlock current wattage
- Puff reset does what it says on the tin.. or Mod in this case
- ABOUT displays chip info along with a mysterious level code
- Screen colour allows you to change between Classic (Beige), Green, Pink, Purple or Yellow text.
.. and of course EXIT takes you back to the main screen.
RBA mode is essentially standard variable wattage mode for those using alternative tanks and various coil builds. Adjustment can be made between 5 -177W
I don’t use temperature control so unfortunately cannot state how this fares.
How Does the Voopoo DRAG 4 Perform?
TW20 0.2ohm mesh PNP coil (Rated 40-55W)
I used Digbys Custard Cream to test the coil. It’s a 65VG/35PG juice ratio with 3mg freebase nicotine included.
The device was running in SMART mode and the GENE chip detected 50W as the ideal setting for optimal performance. Who am I to argue?
With airflow set wide open there’s next to no resistance during inhale. Three airflow slots tend to have that effect. It’s quite a loud vape but provides a very smooth pull with zero turbulence. That impressed me.
Flavour also impresses because it’s not as broad or diluted as expected on this setting. I knew I was vaping a custard profile, put it that way.
As for vapour production? Bloody insane! That should tell you everything lol.
Mid Restriction
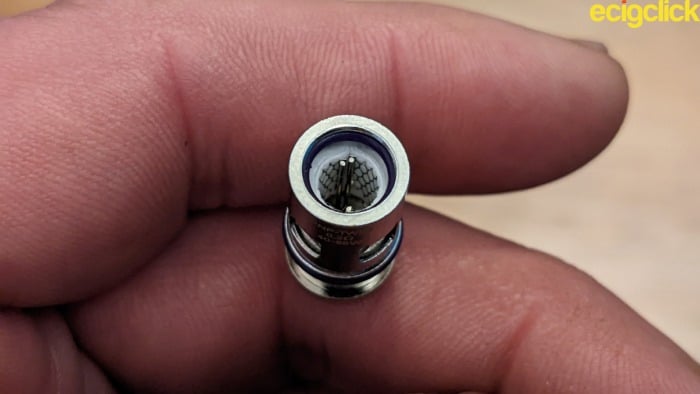
Flavour properties remain about the same. The custard maybe tasting a little richer and the inhale a tad warmer but not by much. Vapour production is still more than adequate for cloud chucker’s.
Do they still exist?
Further restriction
Definitely a stumbling block. Again the resistance is nowhere near where I was expecting. The airflow can be practically closed off before getting what can be best described as a semi restrictive lung vape.
It’s not as if the restriction generates added warmth either. The dairy elements and creaminess of the custard are at their best but without that added warmth I don’t get the full dessert package, if you know what I mean.
Vapour production is as good as I could hope for. Thick and with oodles of volume on the way out.
TW15 0.15ohm mesh PNP coil (Rated 55-70W)
I used Pacha Mama Blueberry Crumble to test the coil. It’s a 70VG/30PG juice ratio with 3mg freebase nicotine added.
I ran it in ECO mode (after SMART mode had detected 65W as optimal setting) and sure enough it kicked in when the battery reached 40% charge.
I personally prefer the TW15 mesh coil out of the two bundled. That’s because I felt the flavour was a bit more concentrated. There seems to be more ‘oomph’ to the coil too. It’s just as feisty off that fire button as well.
Vapour production is as good as but no better than the TW20. You’ll soon turn a living space into a sauna if not careful!
Again it’s quite noisy on the inhale but very smooth and turbulence free at the same time.
Mid Restriction
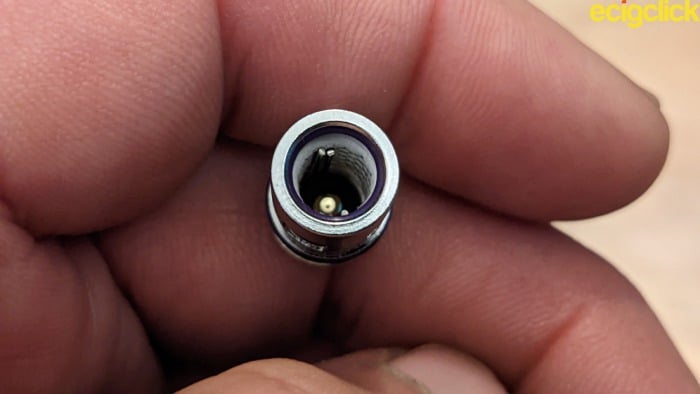
The Mod is clearly delivering a constant output to the coil and each vape is consistently impressive.
Further Restriction
It now becomes a restrictive lung vape. I’d say in the region of 70% restriction over wide open airflow. So in this respect the TW15 is more effective than its TW20 counter part.
In fact this is my preferred airflow setting while using the UFORCE L tank. The reason is that I get the additional warmth I crave from a bakery style vape. It’s not too cool, not too hot. Pitched just right for how the flavour should be experienced.
In other words, the complete flavour package.
Battery Performance
It seems the DRAG range is renowned for its sleepy fire button. The DRAG 4 is no different. It struggles to respond if left unattended for periods of time. Not only that but the review sample I received was equally as unresponsive first thing in the morning.
It took four attempts to switch on. Of course I must stress I have a review model so hopefully that won’t be an issue with the retail version.
But menu functionality is as easy as it gets. It’s simplified and there’s not much drilling down to get to the required settings.
Flavour and cloud production held up well throughout charge and power was consistent throughout. Each hit was identical to the last, even when battery levels fell below 10%.
Pros
- Great flavour and humungous cloudage
- Very smooth and turbulence free inhale
- Superb ramp up time. Power is instant and consistent throughout
- Bright, clear screen
- No leaking from either coil
Cons
- Not enough variation to the airflow
- Relatively noisy tank (subjective)
- Fire button has a tendency to go to sleep if left for longer periods
- Difficulty waking up the Mod first thing in the morning (subjective to sample)
Final Review Verdict
As expected from any GENE chip the DRAG 4 is very trigger happy. Power to the fire button is instantaneous. Power that delivers consistently throughout each vape. The performance from the battery seems to be incredibly stable.
What we’re essentially getting of course is the GENE TT2.0 chip as found in the DRAG E60 and DRAG H80s. With the added option of temperature control if you like using alternative coil materials.
On the outside, the battery door now slides on or off, which in my opinion is an improvement over spring loaded battery doors. The QS locking button is a great idea, even more so as its functionality can be toggled.
So with the walnut, resin and leather effect the DRAG 4 is very pleasing on the eye.
I obviously tested it with the UFORCE L tank so that’s not really testing the Mod to the max.
Speaking of the tank, it’s certainly designed for oodles of airflow and prefers direct or semi direct lung styles of vaping. The coils are constantly cooled so sweet, drink, icy or fruit profiles will be highly suited.
I just tested with desserts and bakeries because that’s my preference.
To conclude, the DRAG 4 is a good device. It’s come a long way since the OG 157. I just wish a new version of the GENE chip had been included to demonstrate something new.
It deserves that.

 Screw the deck back onto the tank section, ensuring a finger tight seal
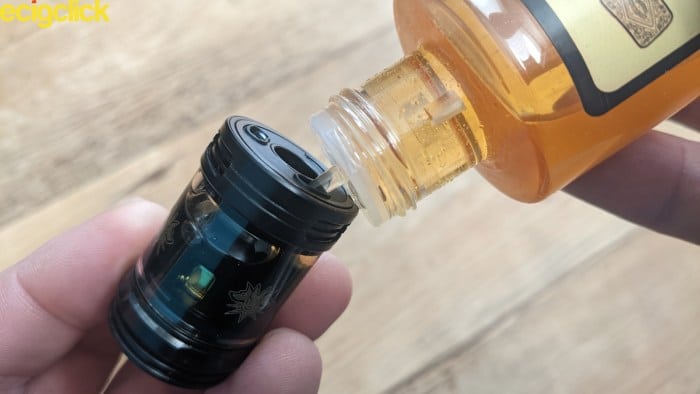 Replace the top cap by pushing down and twisting clockwise until it’s firmly connected to the tank

What e-liquid are you using? You will need at least 70%VG?
Otherwise remove the tank, wrap it in tissue and blow down the mouthpiece to clear the e-liquid from the airflow – this should help.
Hey!
Looking to upgrade from my stone age Eleaf iStick Pico 25.
I read the Q200 review written by Kevin Jeffrey, but I can’t decide between these two.
Would you choose the Voopoo Drag 4 over the Lost Vape Centaurus Q200?
I would probably choose the Lost Vape personally if I was spending my own money – but to be honest there is little in it – both have great chipsets and similar functions!
If price is your thing then the Voopoo is likely to be cheaper in most places. Also the output of the Voopoo is slightly lower but most people are not going to be vaping anywhere near 177W let alone the 200W of the Lost Vape!
Looking at both reviews – the Lost Vape has the weaker design in battery door – but it could pose no problems and be well built? The C frame design of the Voopoo is less likely to wear? But the Lost Vape has replaceable side panels (if you can find them for sale!) so would be easy to spruce up if the mod finish was looking a bit worn?
If you will be charging batteries in the mod (not recommended) the Lost Vape has only a 1A charge rate but the Voopoo can go up to 3A (provided you have a suitable 3A outlet).
The Drag 4 also has a mechanical locking switch – save accidental firing – which is a nice feature?
Sadly I have not tried either so am not really qualified to offer much of an opinion!
It would be great to know if any other readers have opinions on either device – good or bad!