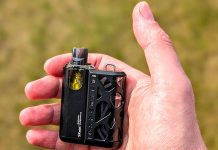
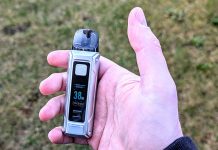
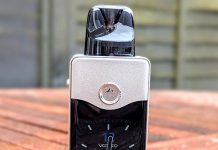
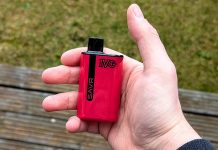
The Vaporesso GTX Go 80 and the Vaporesso GTX Go 40 are the new pod mods from Vaporesso.
Both of the devices are very similar, the Vaporesso GTX Go 40 is literally a smaller and less powerful version of the GTX Go 80.
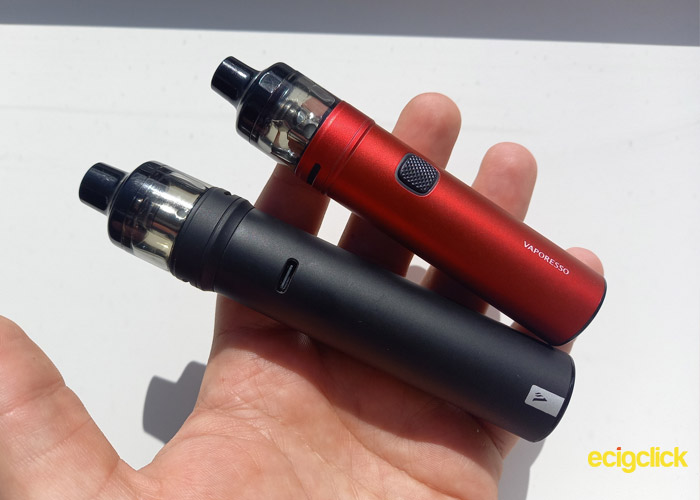
The GTX Go 80 (and 40) are tube / stick pod mods and although it is the first tube pod mod by Vaporesso, it’s certainly not their first tube mod or their first pod.
Since Vaporesso’s launch in 2015, Vaporesso has become a much loved brand. Its catalogue currently consists of 37 kits, 15 Tanks (excluding pods), 16 Mods, 16 pod kits and 7 coil ranges, most of which are very popular.
If you’re looking for a comparison, there is no Vaporesso device more similar to the GTX Gos than the Vaporesso Sky Solos.
What Can We Expect From The Vaporesso GTX GO Devices?
The Vaporesso GTX Go 40 and 80 devices are super simple tube pod mods.
Which one would be best for you depends purely on which one you would prefer. There isn’t necessarily any benefits to one over the other, the 40 is simply smaller and less powerful.
The GTX Go devices magnetic pods, which have top-fill, although the pods are not the same size.
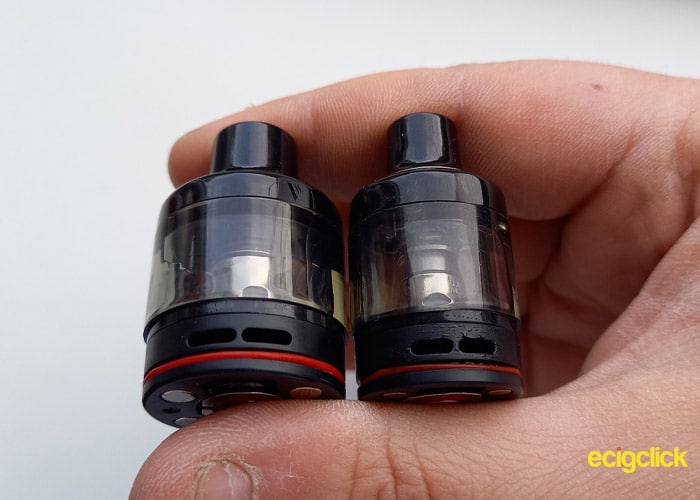
The Go 80 comes with the Pod 26 and the Go 40 comes with the Pod 22, although they look identical the pod 22 is obviously smaller, however both pods are compatible with the GTX coils.
The pods used the SSS-Leak Protection and actively form part of the adjustable airflow.
With no screen or adjustable wattage these devices are the perfect starter devices for anyone looking to get into direct to lung.
Vaporesso’s opening image for these devices proudly shout “Formulated Simplicity” and that is exactly what we should expect from the devices, simplicity.
Inside The GTX Go 80 Box
- 1x GTX Go 80 Battery / mod
- 1x GTX Pod 26 (5ml/2ml)
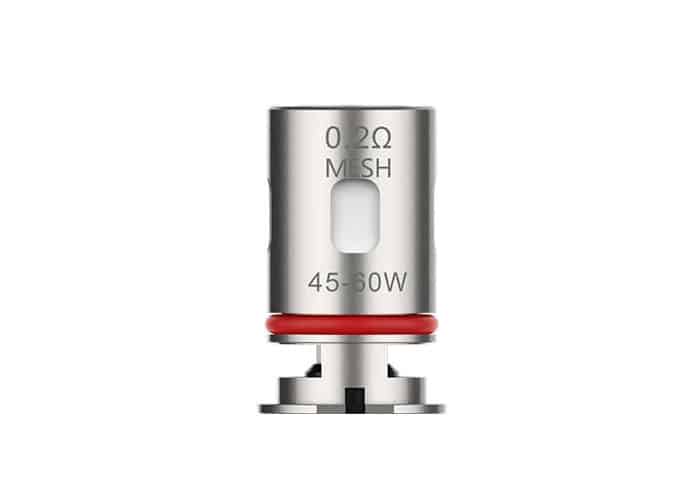
- 1x GTX 0.2ohm Mesh Coil
- 1x USB-C Cable
- User manual & Warranty
Inside The GTX Go 40 Box
- 1x GTX Go 40 Battery / mod
- 1x GTX Pod 22 (3.5ml/2ml)
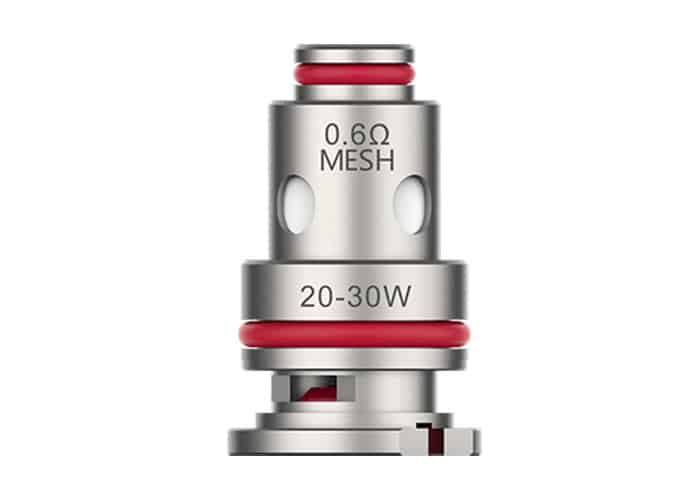
- 1x GTX 0.6ohm Mesh Coil
- 1x USB-C Cable
- User manual & Warranty
Specs
- Size (80): 26 x 133.2mm, (40) = 22 x 110.3mm
- E-liquid Capacity: (80) = 5ml, (40) = 3.4ml – 2ml TPD
- Power output: (80) = 5-80w, (40) = 5-40w
- Output Voltage: 0-4V
- Coils: GTX
- Resistance Range: 0.1-2ohm
- Battery: (80)= 3000mAh, (40)= 1500mAh – both built in
- Charging: 80 = 2A, 40 = 1A USB-C
Features
- Top Fill
- Magnet pod connection
- Adjustable Airflow
- SSS-Leak Resistance
Build and Design Quality
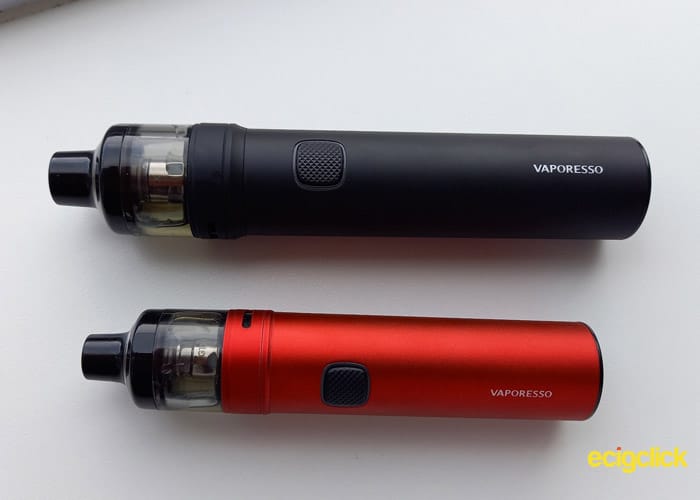
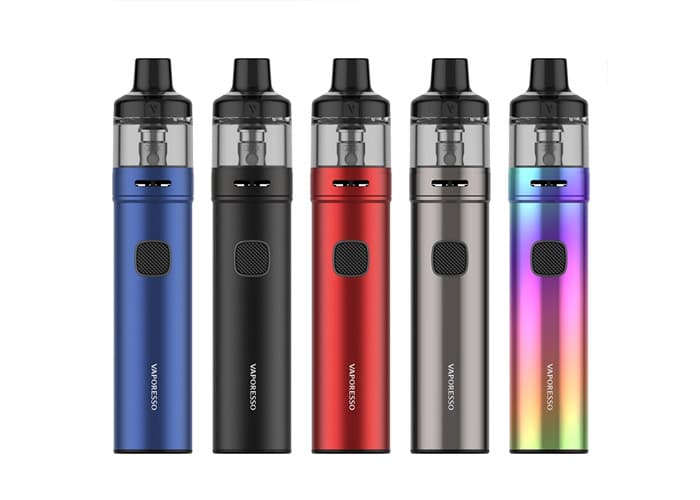
The Vaporesso GTX GOs (80 and 40) comes in the same 5 colours.
I received the Vaporesso GTX GO 40 in red and the Vaporesso GTX GO 80 in Black.
Vaporesso GTX Go Mods
The mod is pretty much what you would expect from a stick/tube device, it’s a tube.
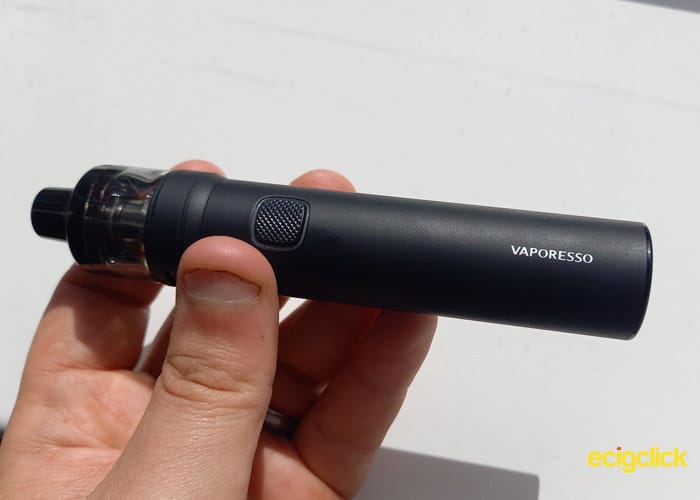
I was quite disappointed that they don’t have the rubber coating that other Vaporesso Mods have. Instead they have a soft matte coating, which still feels pretty nice.
When you say tube mod, I would expect there to be an 510 connection on the top, not with the GTX Go 40 and the GTX go 80 though.
As you get to the top of the devices, they bump out slightly. They look a little bit like you’ve left the base of a tank on them.
This is obviously for the pod connection port.
From a distance, with the pod on you can’t actually tell that it’s a pod system, it does look like a tube mod and a tank.
Although on closer inspection, the bump out to the pod port is chamfered nicely.
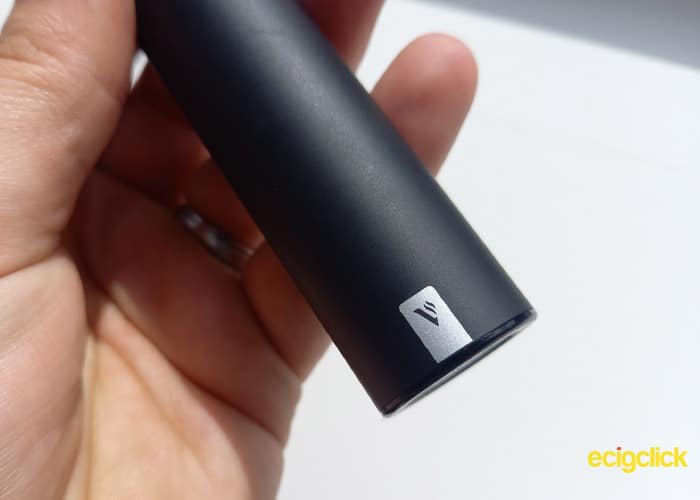
Branding on the kits are minimal, with the small V logo towards the bottom on the back of the device and a small “Vaporesso” on the front.
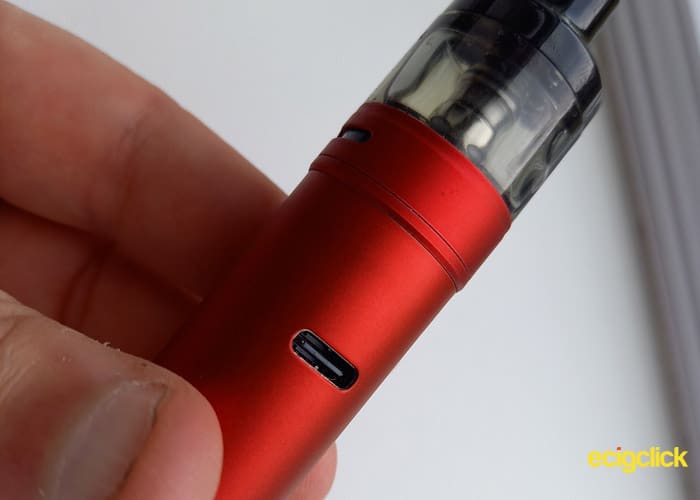
Vaporesso GTX Go Charging Port
Both of the Vaporesso GTX Go systems take USB-C and the charging ports are on the back, directly behind the button.
Vaporesso GTX Go Button and LED Indicator
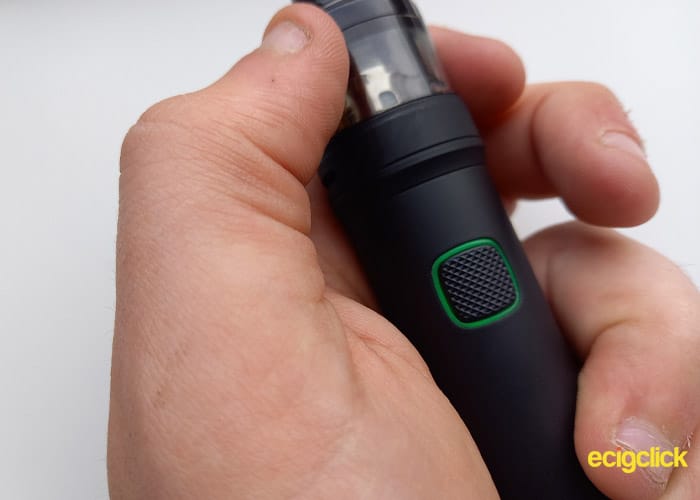
Both the Vaporesso GTX Go 80 and the 40 have a decent sized fire button, and they are rounded squares with a grid texture for grip.
The button on the Go 80 Measures at 9.5×9.5mm while the smaller GTX 40s button measures at 9x9mm, although the size difference looks a lot greater.
The buttons are also rounded on the surface, to match the curvature of the mod, as you may expect.
Around the buttons is the LED indicator, which is surprisingly bright, making it easy to see, even when you’re out and about on a sunny day.
While using the devices, the button surrounds light up Green, Blue or Red, which indicates the battery level.
Vaporesso GTX Go Pod Port
The pod port is interesting.
With pod mods, usually the port is at least partially inside the mod.
However with the Vaporesso GTX Go Mods that isn’t the case, the pods practically sit on top of the mod, although there is sides that go around it. Hence why it looks like a mod and tank kit.
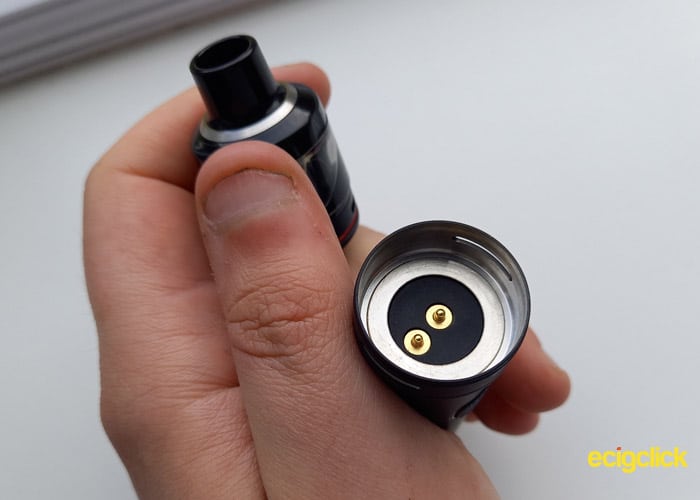
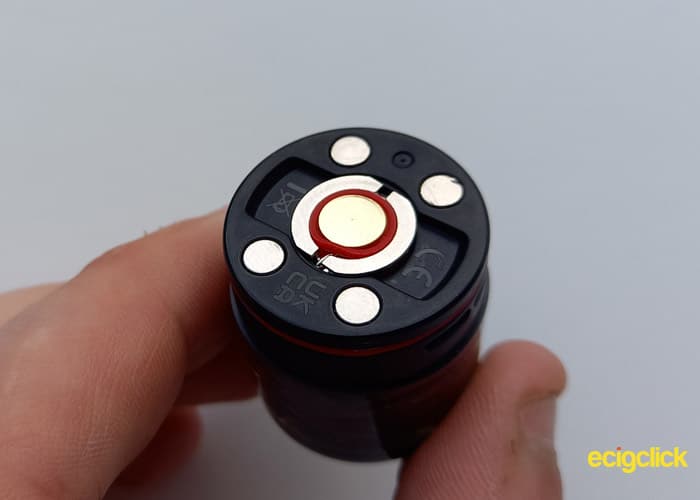
The ‘wall’ of the connection port is 0.55mm thick and I have to say, inside it is super smooth and shiny.
On the bottom of the port, is a black plastic circle with the 2 connection pins, one in the center and one beside it.
You may have noticed, in the wall of the pod port is 2 holes, 1 on either side. These are clearly the airflow holes however although it looks like there is an adjustable ring, there isn’t.
The adjustment is even simpler than that.
Vaporesso GTX Go Pods
You will notice around the side of the pod, at the bottom, is 4 pill shaped holes (2 sets of 2).
Depending on the rotation of the pod, depends on how well the holes match up with the holes on the pod port, this makes the adjustable airflow.
The pods are very 2020, which isn’t a bad thing.
What I mean as ‘2020’ is they look like a conventional tank. It has clear sides, a flat bottom with push pull coils and the mouth piece is built in.
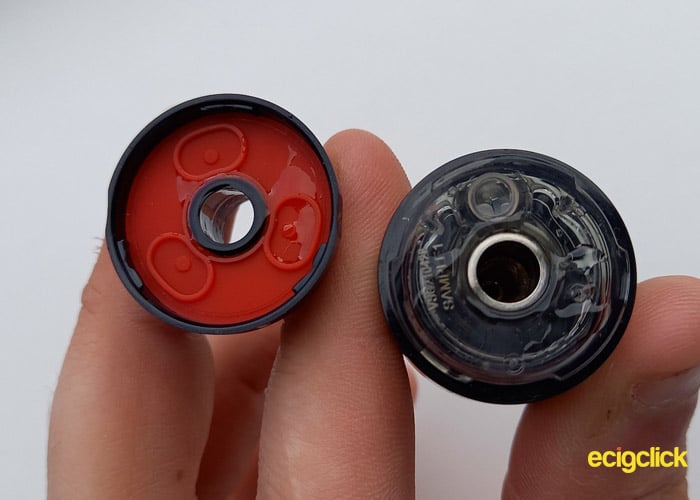
There is however a big difference in the pod; it has a top cap.
Yes, that’s right, The black part on the top of the pod comes off, with less than a quarter turn, to expose the fill hole.
As you remove or replace the top cap you can feel it click, as the bumps fit into the groove, which is a great way to know that it is on properly.
Although I do wish they had made it more of a turn.
Inside the top cap, on the top of the pod, there is the hole for the chimney in the middle and off to one side is the refill hole.
The fill hole has one of those slit bungs to reduce leaking and the top cap is fitted with rubber for that extra anti-leak protection.
Using The Vaporesso GTX Go
Changing The Coils
Changing the coils is as simple as ever.
Although, as a nail biter, I needed the help of a random small object to leaver the coil from the pod because the bottom of the coils are flush with the bottom of the pod, however there are two access spaces.
- Remove the the pod from the mod
- Holding the pod upside down, pull and remove the coil
- Insert the new coil, and press it flush with the bottom of the pod
- Fill the pod with e-liquid, and leave for 5 minutes to allow the liquid to saturate the coil
Vaporesso GTX Go – Filling The Pod
You can fill the pods while they are on the mod, but if you are not confident that you won’t spill them, I suggest removing the pod, for good measure.
- Hole the pod steady
- Remove the top cap by Gripping it and twist it anti-clockwise
- Insert the nozzle of your e-liquid bottle into the fill hole and fill the pod.
- Once the pod is full, reapply the top cap, twisting it clockwise until you feel the ‘click’
- If this is your first time filling the pod, don’t forget to leave ir for 5 minutes.
Operations
- Turn on/off = Press the fire button 5 times within 2 seconds
- Adjust Airflow = rotate the entire pod in any direction
Battery Indicator
- Green = 70% – 100%
- Blue = 30% – 70%
- Red = 0% – 30%
How Does the Vaporesso GTX Go Perform?
Something Strange
So neither of the device manuals mention adjustable power, nor does the Vaporesso website.
However on the Go 40, if you press the power button 3 times, it flashes the indicator Green then if you do it again it flashes Red, then Blue, then Green again. This doesn’t happen on the Go 80.
It is common for devices like this to use this exact system, to change the power settings.
However I have spent days trying to tell a difference between the colours and haven’t been able to tell a definitive difference.
So with that in mind as well as the fact Vaporesso doesn’t mention it anywhere and that the Go 80 doesn’t do it, I am going to assume it doesn’t have adjustable power and the 3 clicks is just a function that isn’t supposed to be there.
GTX 0.2ohm Mesh Coil
The GTX 0.2ohm Mesh coil came with the Pod 26 and the Vaporesso GTX Go 80. I’m using it with the Rochford Project Lemon Meringue Pie mixed up at 70VG/30PG.
Seem as we don’t have adjustable power, let’s go through the airflow.
With the airflow fully open, it isn’t a restriction free draw but it’s fairly loose and it seems to match the power quite well.
With a long draw it produces a medium sized cloud with a decently prominent flavour.
Lets skip to half way, so now we only have 2 of the pill shaped holes.
As you would expect this makes the vapour a little bit thicker although it’s still fairly medium in size and it intensifies the flavour.
Halving the airflow again makes is a step too low in my opinion. Although the vapour is still a nice medium cloud and the flavour is still prominent, it does seem lessened to me.
With the airflow turned fully off the pod isn’t airtight, you can still pull a Restrictive Direct to Lung draw.
However, there isn’t really enough airflow to cool the coil, so although it is possible, I don’t recommend it.
That being said I did do a few MTL draws, and the flavour was great, even if the vapour was abit too thick to be smooth.
GTX 0.6ohm Mesh Coil
The GTX 0.6ohm Mesh coil came with the Pod 22 and the Vaporesso GTX Go 40.
I used it with the Rochford Project Lemon Meringue Pie mixed up at 70/30 VG/PG.
I did try it with 50/50 nicotine salts and it worked just as well, but it is a sub-ohm coil, so it should ideally be used with 70/30 low nicotine liquids.
With the airflow fully open, the vapour is very thin, although it does create a small/medium sized cloud.
The flavour produced is prominent in the way that you can tell what it is, but it isn’t very strong. However, it does provide a restriction free, nice and tasty Mouth To Lung draw.
Halving the airflow almost doubles the vapour production and flavour.
You can definitely tell we are now using a more restrictive airflow, but it’s still quite loose.
The flavour still isn’t super strong but it is quite satisfying for such a small device, which is only using upto 40W.
Although the vapour production is upped it still only produces a thin medium cloud.
Again, turning the airflow all the way down, doesn’t make the pod airtight, in fact, it’s more of a RDL or a loose MTL, both provide a small but dense flavour.
Battery and Charging
The Vaporesso GTX Go 80 has a battery capacity of 3000mAh and a power output of 80W, while the Vaporesso GTX Go 40 has a battery capacity of 1500mAh and a power output of 40W.
This means you will get up to 9 hours of use from the devices between charges. Obviously this depends completely on how much you use them.
The Go 80 can charge at 2Amp while the Go 40 can charge at 1amp, meaning both typically took about 1 hour and half to charge.
Vaporesso GTX Go – Does It Leak?
I can happily say that while using the Vaporesso GTX Go 80 and the Go 40 they haven’t leaked at all… literally no leakage of any kind!
With the airflow fully open, you don’t even get any condensation build up. However, quite logically, if you turn down the airflow you do get a slight condensation build up.
I’m often the first to knock the SSS Anti-leak technology, stating that it isn’t anything special and it doesn’t work, but it has obviously played it part with the Vaporesso GTX Go devices.
Pros
- Easy To Use
- Well balanced and nice to hold
- No Leakage
- Top Fill
- Decent Flavour
- Well built and durable
- Good e-liquid capacity (non-tpd)
- Decent battery life
Cons
- No Adjustable power (good for simplicity)
- Built in Batteries only
Final Review Verdict
The Vaporesso GTX Go 80 and 40 are great for people looking for a simple DTL starter device. They are easy to use and perform decently, for what they are.
If you are looking for something more ‘advanced’ then I suppose these would still be OK as a spare or a going out device.
The cons of this device, are what make it so simple and that’s what Vaporesso was aiming for, so we can’t really knock off points for them.
I do however wish they would add an 18650 version to the line.
As far as I’m concerned having an external battery is a good fail safe and offers a good back up if the charging system breaks, this was a major down fall for the Freemax Twister kits.
If you’re using or fancy one of these, please let me know your thoughts in the comments below!
