The Vapefly Jester Pod System is one of the first to offer two ways to enjoy your vape. A rebuildable deck and replaceable stick coil.
Chinese manufacturer Vapefly burst on to the vape scene in 2017. They have a large, impressive catalogue which includes the Pixie RDA, Galaxies MTL RDTA, Galaxies MTL RTA, Brunhilde RTA and not forgetting our last review for them Galaxies MTL starter kit.
What Can We Expect from the Jester Pod System By Vapefly?
In the last couple of years I have reviewed many pod systems, sadly many of them didn’t hit my ‘OMG this is an amazing vape’ for many reasons, chiefly they were either to tight a draw or the coils burnt out far too quickly for my liking.
Not to mention the fact that a lot of them are money magnets due to non replaceable coils.
The only pods that I can truly say I personally like are the Aspire Breeze 2 and the Smok Nord.
That is until I read our Michelle’s Preview of the Vapefly Jester where my interest was piped!
The Jester, along with the Smoant Pasito, offers both a refillable cartridge with a replaceable 0.5Ω mesh coil and a pod that has a re-buildable deck. This enables you to either build your own coils or take advantage of some of the excellent pre built coils out there.
Vapefly even include a couple of 1.0Ω coils to get you started!
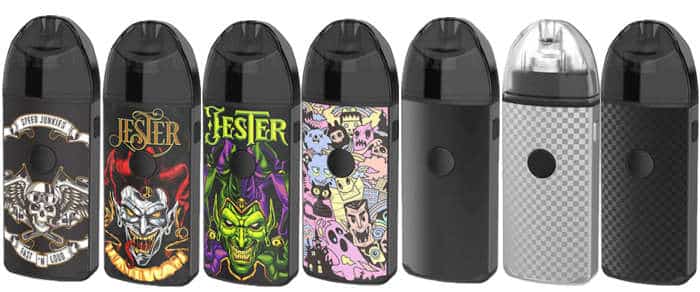
Each cartridge features an easy convenient top fill and hosts a 2ml liquid capacity, the battery is a decent 1000mAh with 3 levels of power and you even get to choose between 7 different wacky and plain designs.
Is an RBA the next obvious evolution for pod kits? You decide!
This kit was kindly sent to us for review by Vapefly, as always my thoughts and views on this product are my own after a considerable testing period.
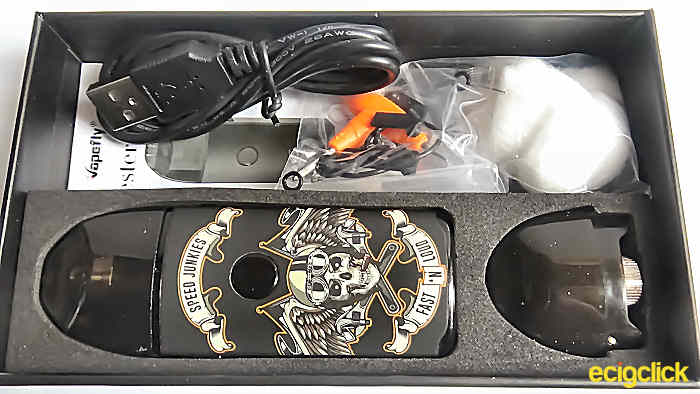
In The Box
- 1 x Vapefly Jester Battery
- 1 x Vapefly Jester Cartridge
- 1 x 0.5Ω Mesh coil pre installed
- 1 x Vapefly Jester Dripping Cartridge
- 2 x 1.0Ω 28g Coils
- 2 x Firebolt cotton
- 1 x USB Cable
- 1 x Bag of spares
- 1 x User Manual
Features
- Size: 91x33x18.2mm
- Battery: 1000mAh
- Pod Capacity: 2ml
- 3 Output Modes: 3.3/3.8/4.8V
- Recommended Resistance: 0.8-1.5Ω
- Colours available: Black, Gorilla, Skull, Jester, Joker, Zomble, Silver
Design and Build Quality
The Vapefly Jester comes packaged nicely in a card box with a paper over sleeve,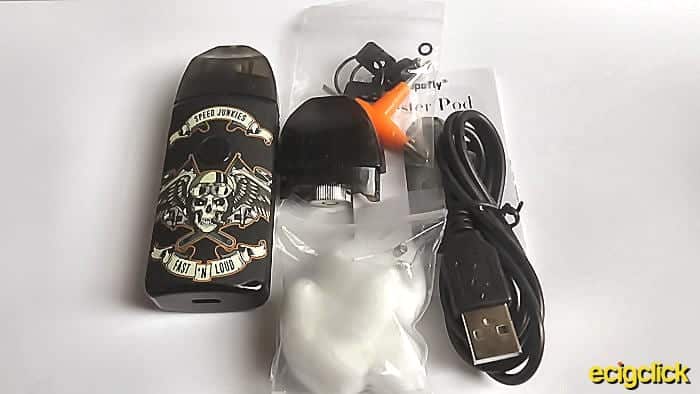
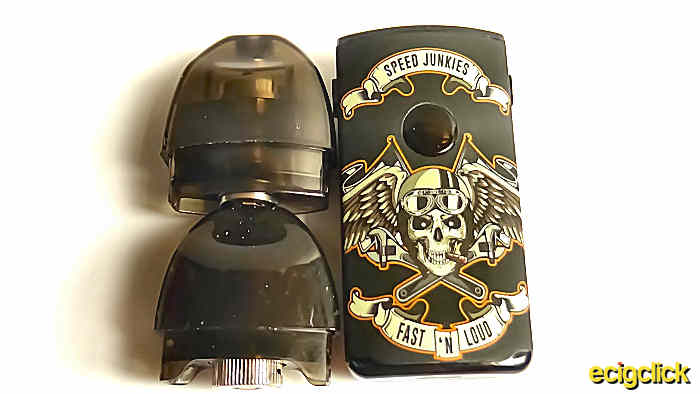
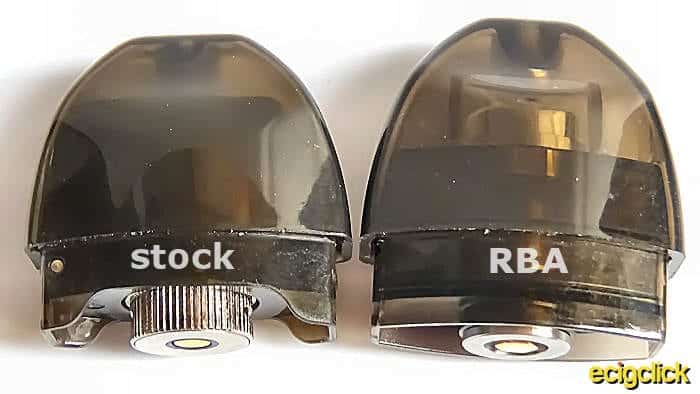
Jester Cartridges (Pods)
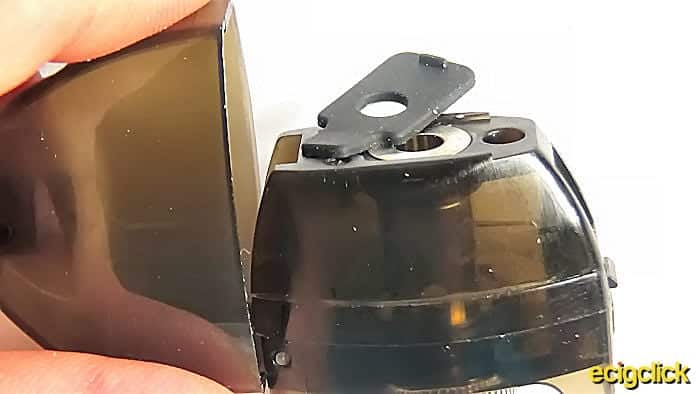
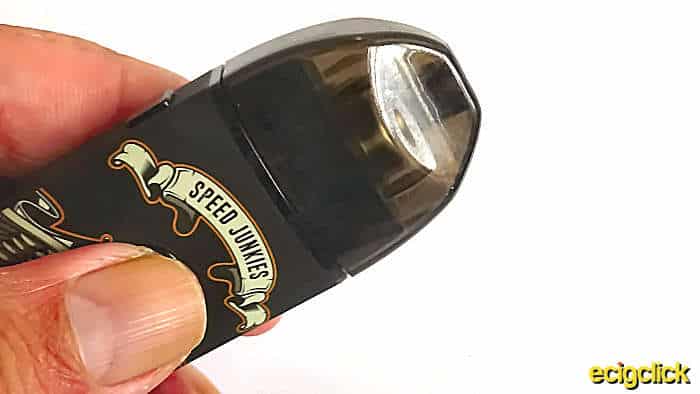
Both pods are made of plastic and silicone. In the case of Pod 2 the RBA deck is made of stainless steel.
Pod 1
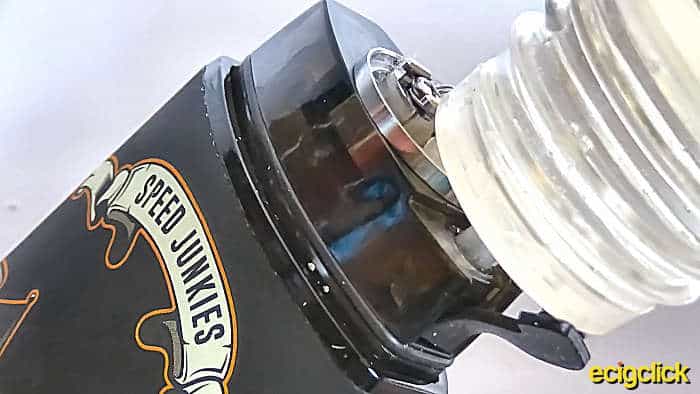
Included is a replaceable 0.5Ω mesh stock coil with an adjustable airflow base, to remove the coil and base simply pull it from the bottom of the pod, the coil simply screws into the airflow base.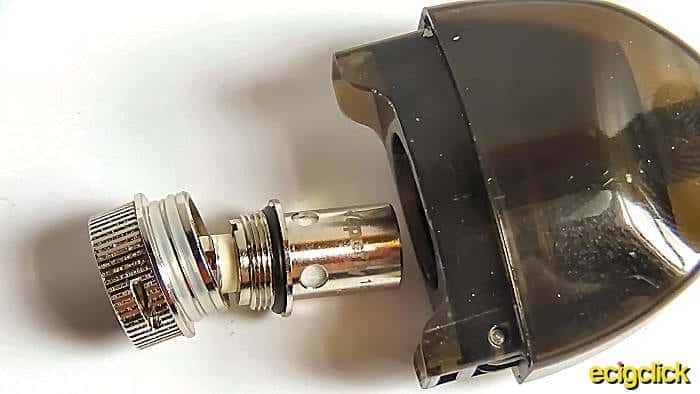
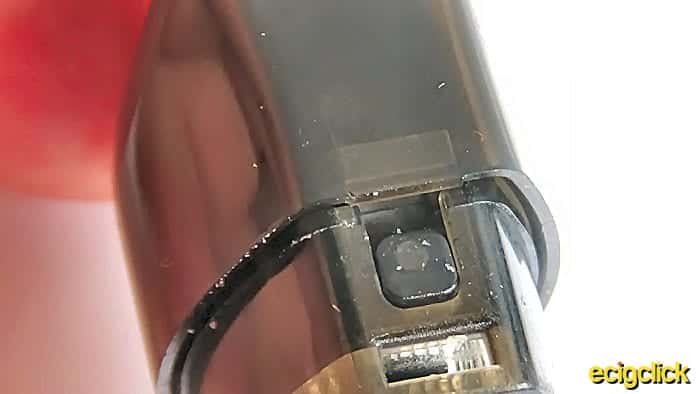
Pod 2
In my opinion this is the main selling point of this kit!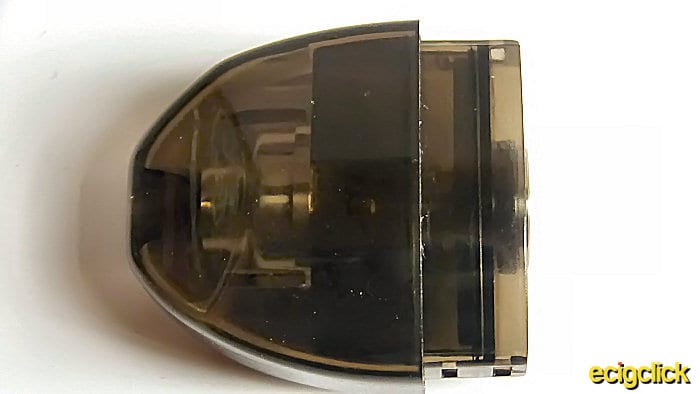
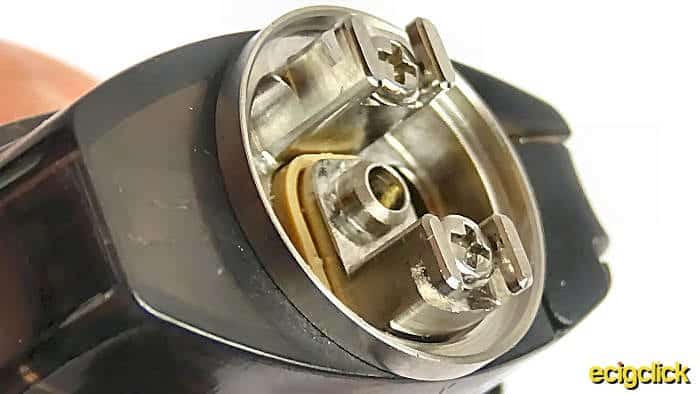
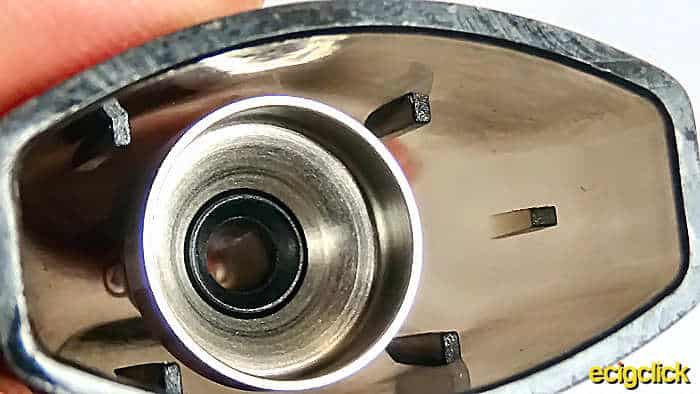
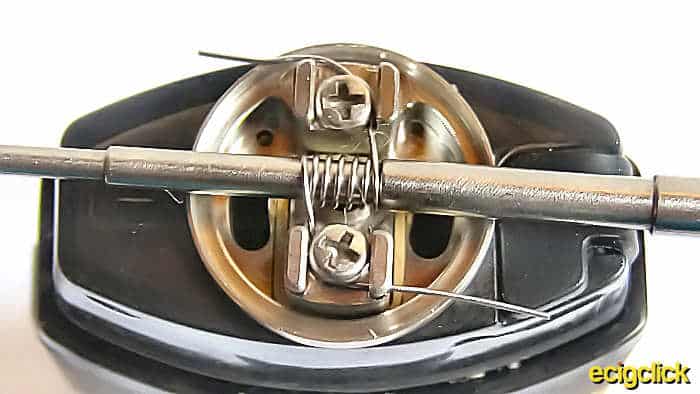
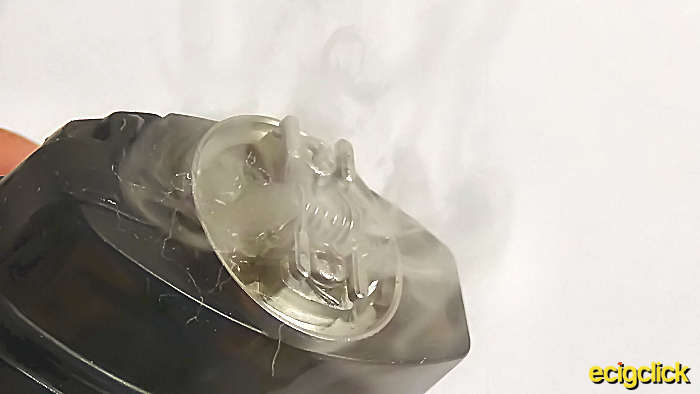
If you look carefully you will see a small hole above one of the wick slots. This is an airflow that feeds the centre tube and also acts as an anti suction lock.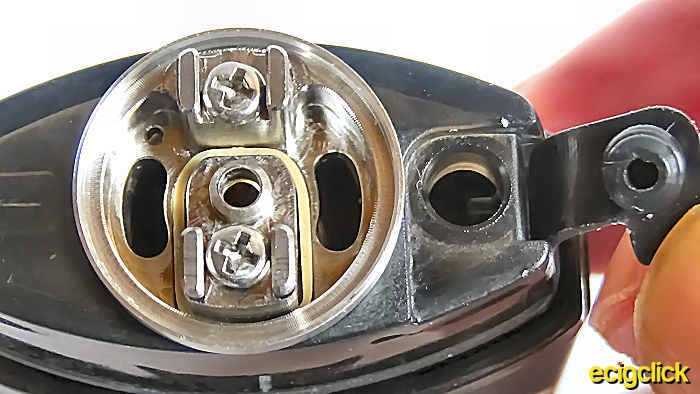
The pod cap has a stainless steel cover embedded into the plastic, this sits over the coil. It has a doming effect to catch stray liquid and condensation which will then drip back down to the coil/cotton.
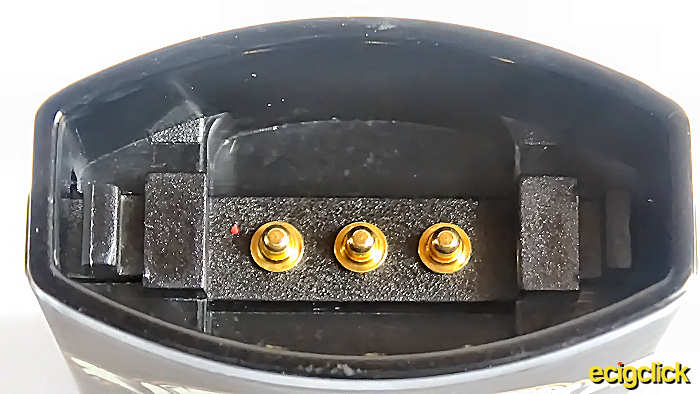
Jester Pod Battery
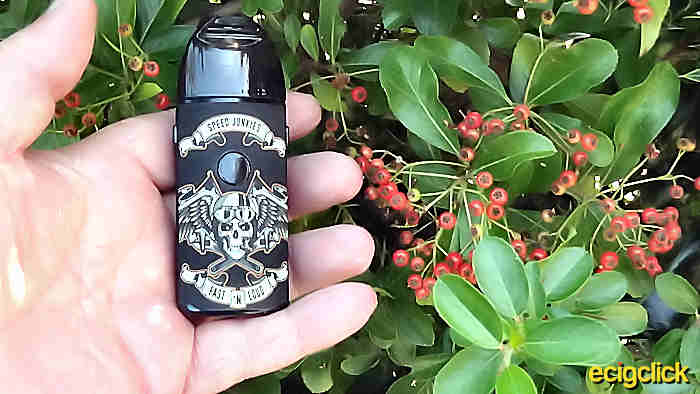
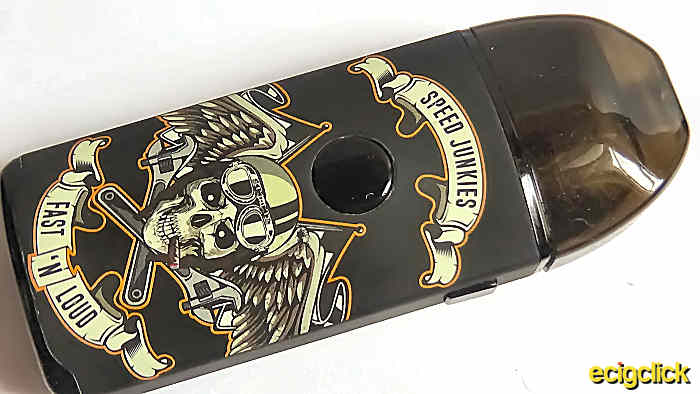
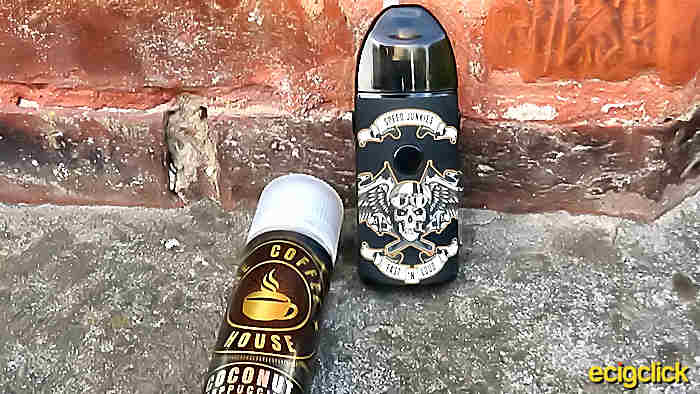
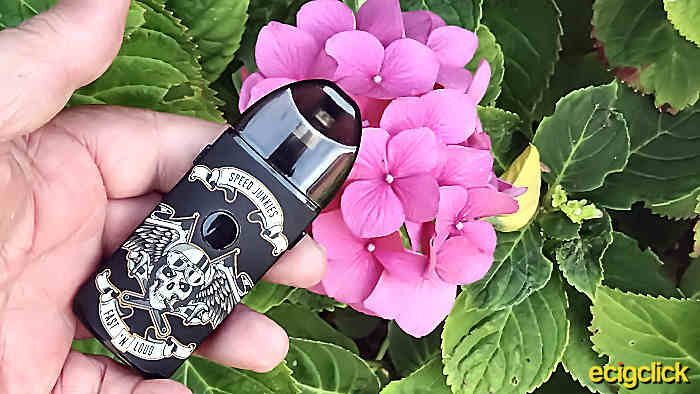
As you can see Vapefly have sent me the Skull design Jester, which is quite cool looking.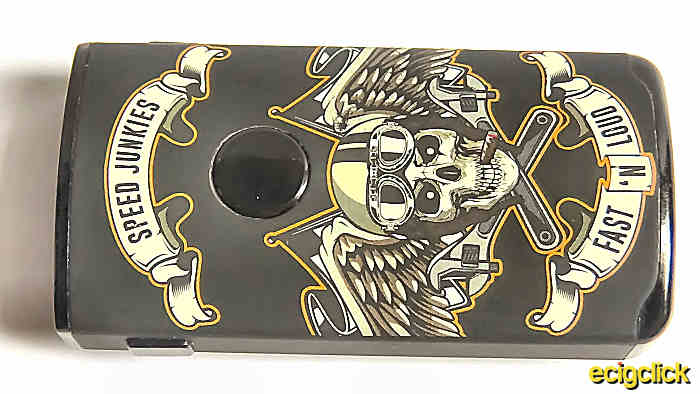
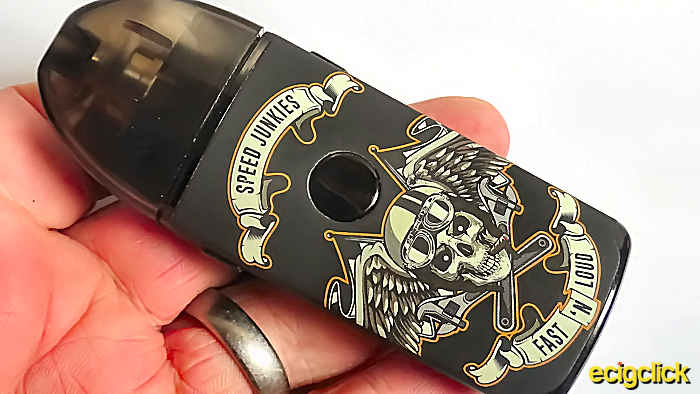
The device runs an impressive 1000mAh internal battery and while the body is plastic it seems hard wearing.
Operation Button and USB port
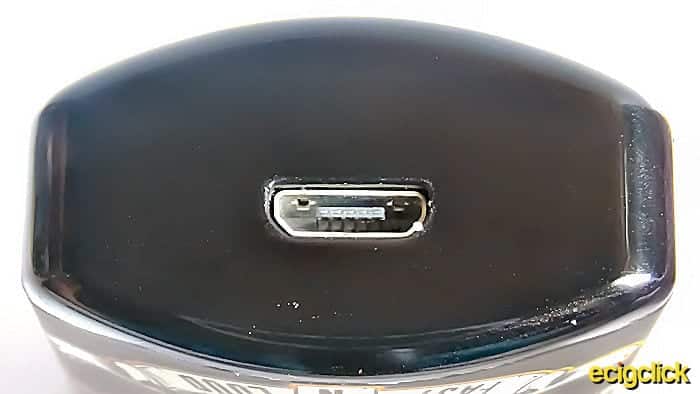
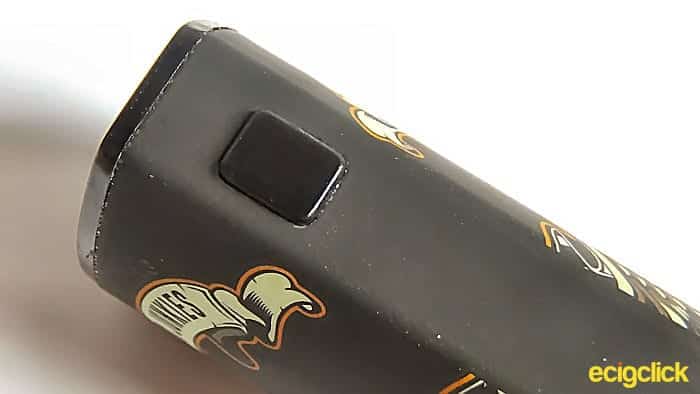
The Vapefly Jester pod has one operation button for both firing the device and changing the 3 step voltage settings.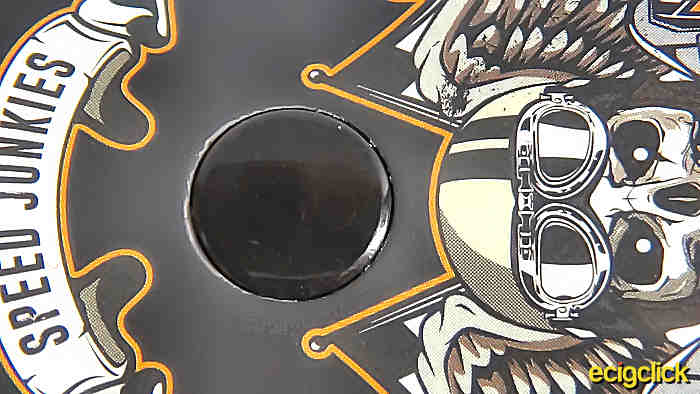
Sides of the Battery | Body
The Jester has what Vapefly call a child lock, handled by a button on either side of the device. By pressing both these together the pod will be released from the battery.
The whole kit in my opinion has been manufactured to the highest standard, the design is good and the quality is fair, I got to admit the Jester does feel wonderful in the hand.
How Does the Vapefly Jester Pod System Perform?
While Pod 1 performs admirably as a sub ohm standard mouth to lung cartridge – for this review I am going to use the RBA Cartridge (Pod 2) as this is to me is the selling point of the kit.
I will be using one of the two pre made coils and firebolt cotton sent with the kit, I will also be using Coconut Cappuccino e-juice from Coffee House with 6ml of Salt Nic.
Basic Quick Start Guide
Choose which pod is right for you, if using Pod 1, prep the coil, fill the pod and leave for a couple of minutes for the cotton to soak up more liquid – enjoy
Pod 2 RBA Cartridge
Before building on your RBA deck ensure that the mod is switched off!
- Unscrew the post screws and seat your coil, screw the post screw so they pinch the wire, clip the tails as near to the deck as you can get. I have spaced the coil slightly so pre burning isn’t necessary.
- Position the coil the coil, straighten and tidy it, you know the drill lol.
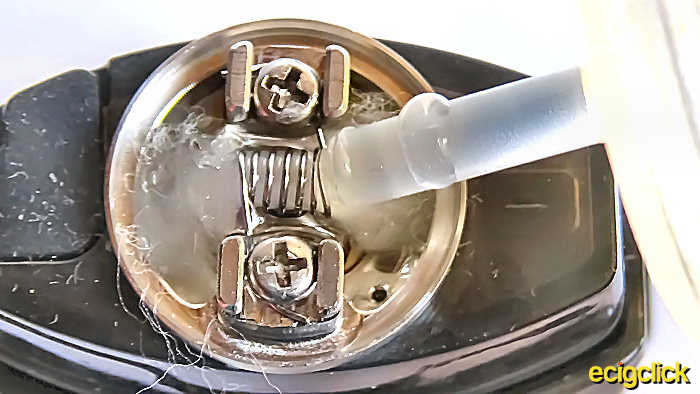
- Place your cotton through the coil, and tucking it down the wick slots “not too far”.
- Soak your cotton and fill the 2ml tank with e-liquid.
No need to wait for the cotton to soak up more liquid just vape away and enjoy.
Battery operation
To turn the Jester on/off hit the fire button 5 times
To change your voltage setting hit the fire button 3 times, you have 3 output modes
- 3.3v Purple
- 3.8v Blue
- 4.8v Green
Vapefly recommend that if you use the 0.5Ω mesh coil in Pod 1 only to use 3.3v or 3.8v settings.
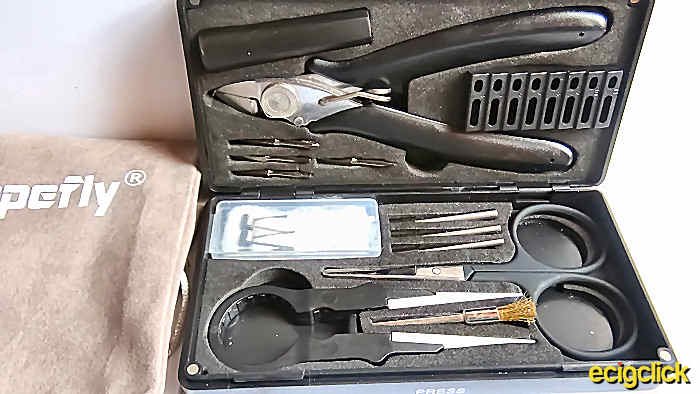
Mini Tool Kit
I have been using the mini tool kit today that was sent to me by Vapefly along with the Jester!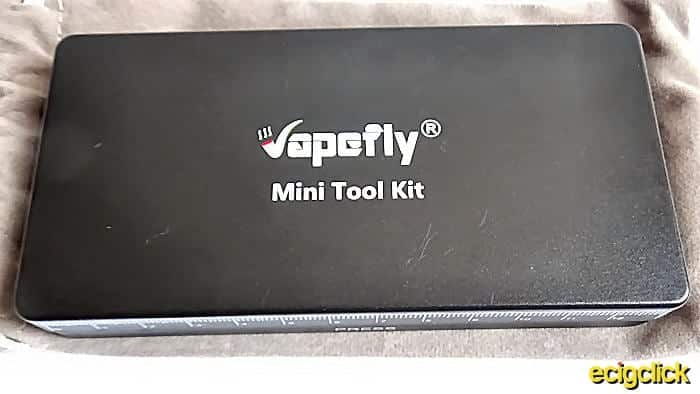
Flavour and Vapour Quality
1.0Ω Pre-Made Coil
Set on 4.8v for a warm vape, I have experienced good flavour, almost RDA flavour, the resulting vapour production is acceptable, the airflow is defiantly a mouth to lung draw.
I would have liked to have seen a slightly bigger airflow with a control as the draw is almost too tight for me to enjoy the vape.
Pod 2 Notes
I have had a great time with the RBA Pod. It is real simple to coil and wick although I would recommend that users have some knowledge of ohms law if building their own coils, as you can’t check the resulting resistance of the coil unless you have an electrical multimeter, which I don’t, just experience in coiling!
Vapefly recommend a resistance of 0.8 to 1.05Ω for Pod 2.
I found 3 ways to utilise the Jester deck for wicking!
- Coil and wick like an RDTA – cotton down through the slots.
- Coil and wick by just tucking the cotton a tiny amount to plug the slots this results in you tipping your jester to wick the cotton.
- Coil and wick like an RDA placing the cotton over the slots and dripping liquid onto the cotton, leaving the 2ml tank empty, caution using this method may result in the cap becoming loose overtime.
While the deck is on the small side I had no problem seeing it to coiling it.
I would suggest the smaller gauge of wire say up to 28g for your micro coil any larger and the wire slots will be too small to hook your wire.
Battery life
The 1000mAh battery, from fully charged, lasted me about 4 hours. I’m a heavy vaper so those that aren’t quite so heavy should get a longer life from a full charge.
Pod 1 Notes
As a quick mention about Pod 1, it works great with the adjustable airflow, although the coil is 0.5Ω and the draw is on the looser side it is most surely is a mouth to lung vape. I did manage to get a very restricted direct to lung draw.
I love the idea the coils can be swapped out, “money saver” in the long run.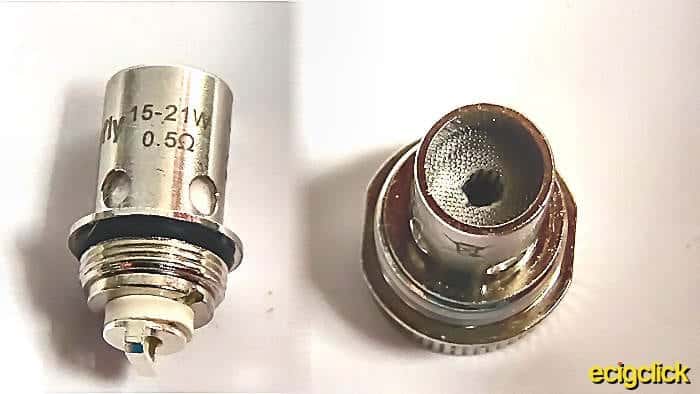
The flavour and vapour production are very acceptable pretty much what you would expect from a standard pod!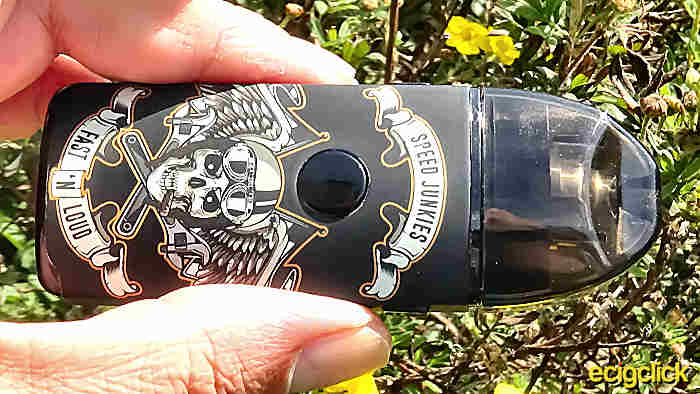
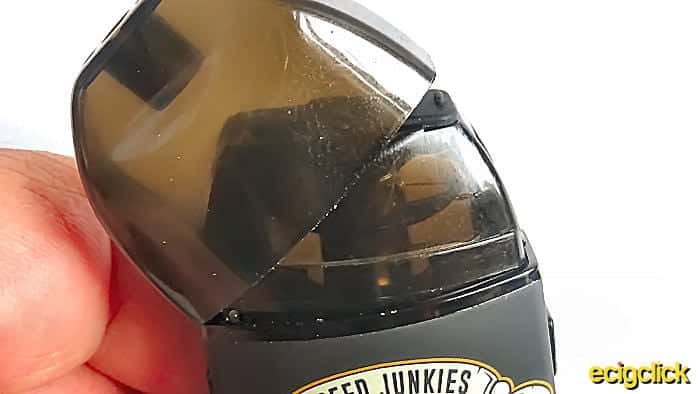
- You cannot fill the cartridge while it attached to the Jester because the way it is situated the flip cap does not open fully.
- The cartridge cap is a little fickle and flips open if the device is handled incorrectly.
Pros
- RBA Deck
- Standard cartridge with replaceable stock coil
- Fair flavour
- Good for mouth to lung vaping
- Adequate vapour production
- Comfortable to hold
- 3 settings
- Good quality of manufacture
Cons
- No RBA adjustable airflow
- Pod 1 flip cap
- Bottom USB charge port
Final Review Verdict
Finally a fairly decent pod system with a rebuildable deck.
While I’ve had some niggles I have enjoyed my time with this kit and playing with the RBA pod. I can see myself using the Jester as part of my regular line up!
Would I recommend the Vapely Jester RBA pod system?
Yes I would, to new vapers with the standard pod and to the more experienced flavour chasers who have knowledge of building their own coils.
Would I buy the Vapelfy Jest Pod Mod kit again due loss or damage?
If Vapefly were to add a better airflow with control to the RBA I would consider it.
Have you used this rebuildable pod system? Let us know your thoughts in the comments below!



Hi. I’m just new to vaping and a friend recommended this jester pod. And so I bought. However, after using pod 1 for about a week now, it taste a little burnt. Is it time to change the coil? In the future, how do I know if I need to replace the coil for pod 1? Thank you for you kind sir for your response
Hi, a week for the coil is about right for changing, in my experience with this and other stock coils drop the voltage down when you detect a burnt taste you should get another couple of days from the coil, I’m lazy and anything I can do to lengthen the life of a stock coil I’ll do to say money lol
I’m Pod user and much type of pod being used before but for this i have much pro than con from many aspect of this jester pod provided.I really recommend this coz it very easy to rewick than others rba pod