RTA’s seem to be the ‘in’ thing in 2018, but most of them seem to be much of a muchness; not much innovation or difference between them at all.
But the design team over at Vandy Vape have come up with the Revolver RTA which has a new style of inner airflow situated beneath the coil.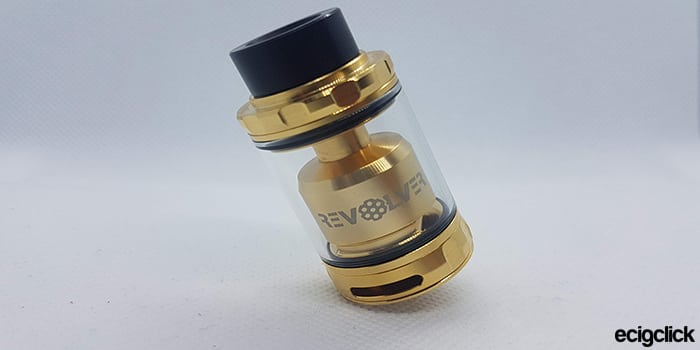
You have three inner airflow options to choose from which are controlled by a screw inside (yes… INSIDE) the tank.
What Can We Expect From The Vandy Vape Revolver RTA
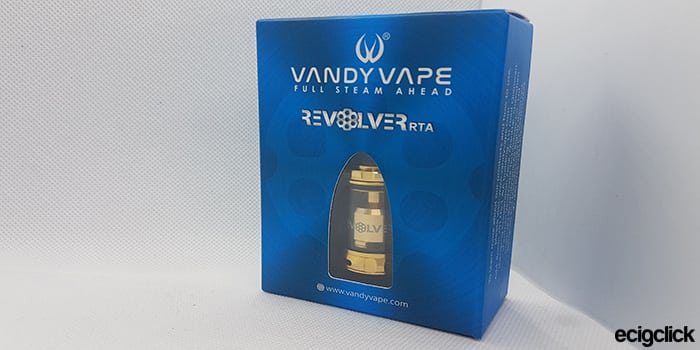
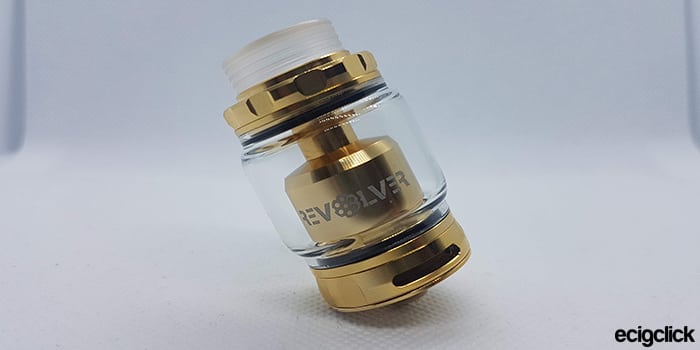
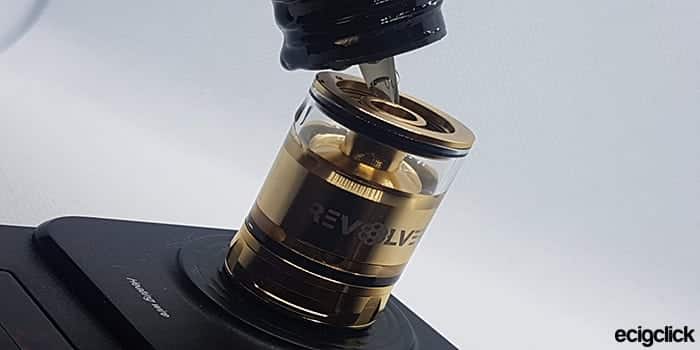
The Vandy Vape Revolver RTA is a 25mm, single coil RTA available in four different colours and comes with two different tank glass to change the capacity. Today I will be looking at the gold version!
This item was sent for the purposes of review. As always my views are my own.
So how did I get on with the Vandy Vape RTA? The Best RTA from the brand to date? Find out in my review and build tutorial below!
What’s In The Box
- Vandy Vape Revolver RTA
- 18mm Drip Tip
- Replacement Bubble Glass
- Accessory Bag
- Instruction Manual
Features
- Unique Revolving Airflow Design
- Top Fill
- 25mm Diameter
- 2ml Capacity (TPD Version)
- 3 & 5ml Capacity
Build Quality & Design
We’ll start from the top and make our way down the Vandy Vape Revolver RTA…
The Drip Tips:
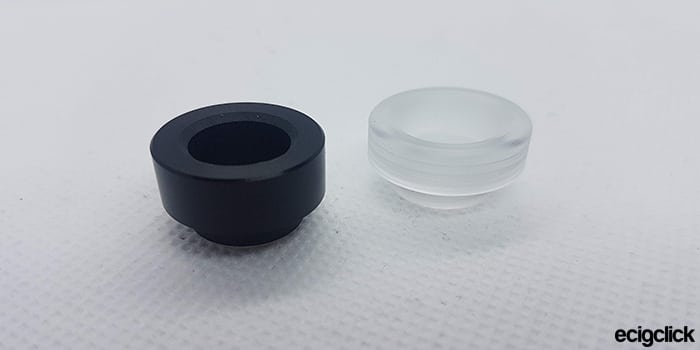
There are two drip tips included with the Revolver RTA. With the gold version I have a black and clear drip tip. Both 810 sized but slightly different in shape.
I personally prefer the clear one.
But the black one doesn’t look too bad.
The Top Fill Ports
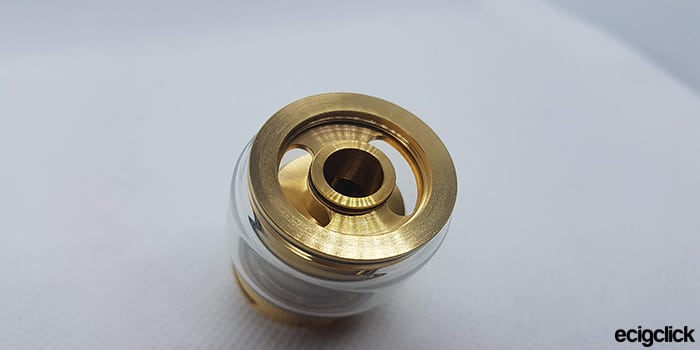
The nicely knurled top cap unscrews to reveal the filling ports.
They are two large kidney shaped holes to allow filling. The chimney is located in the centre, as with most/all RTA’s.
The Inner Barrel:
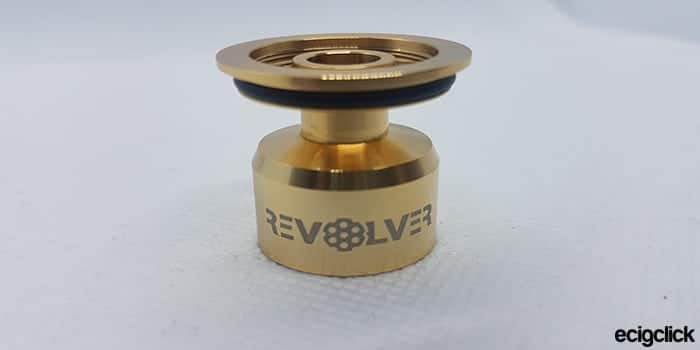
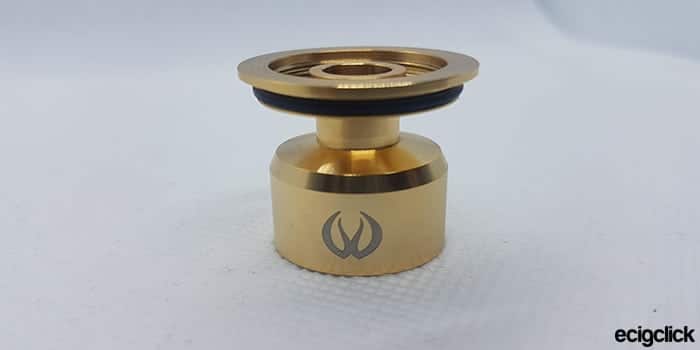
The inner barrel has the Vandy Vape and Revolver logos etched into it.
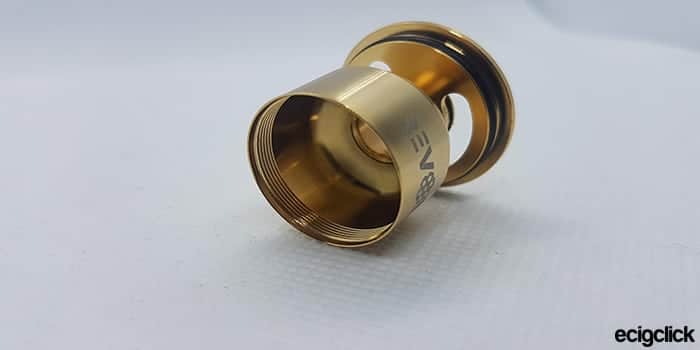
The inside is also domed which is known for producing good flavour!
The threads on the bottom of the barrel where it attaches to the deck are nice and smooth too, so no complaints there!
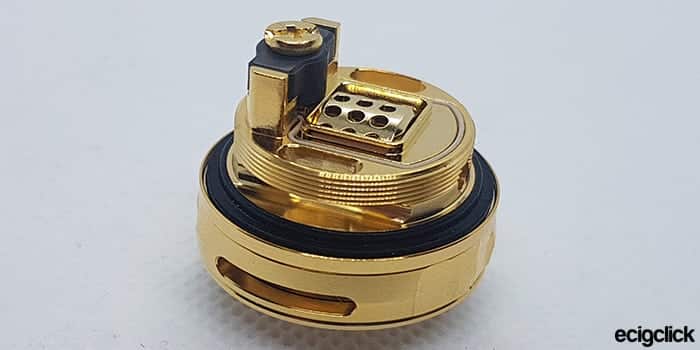
The Build Deck & Base:
And this is where the Revolver RTA gets different and interesting…
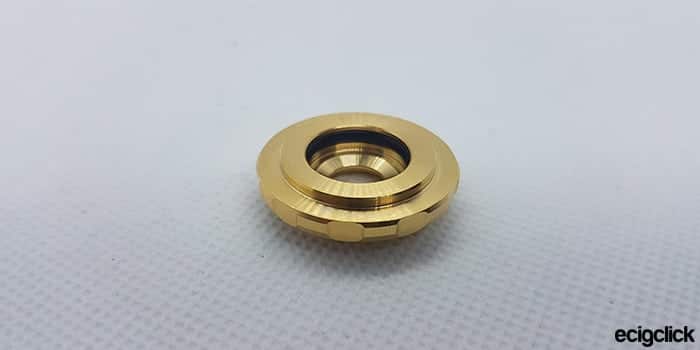
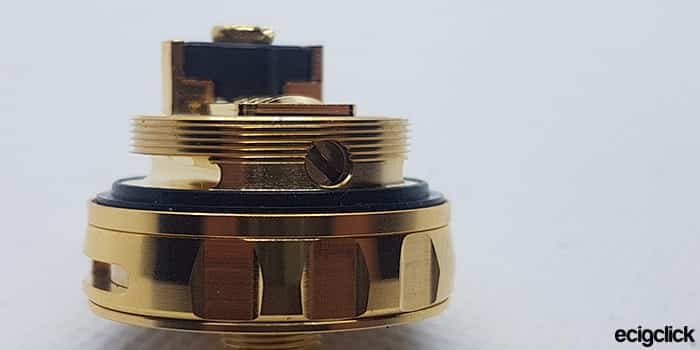
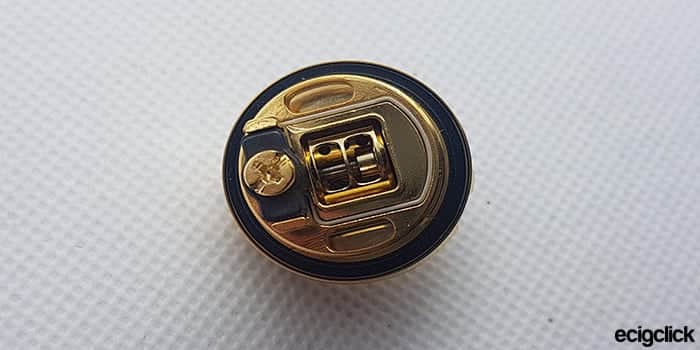
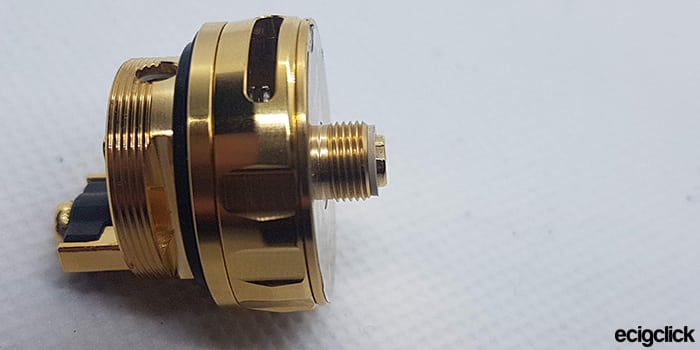
The deck sits on a raised platform above the base of the RTA.
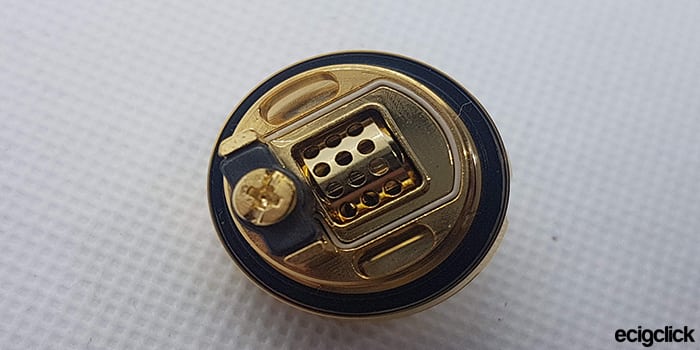
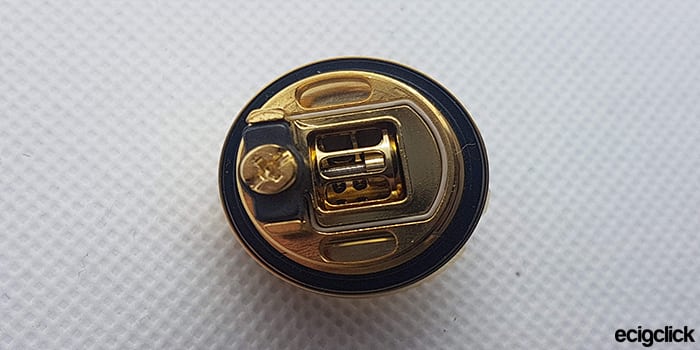
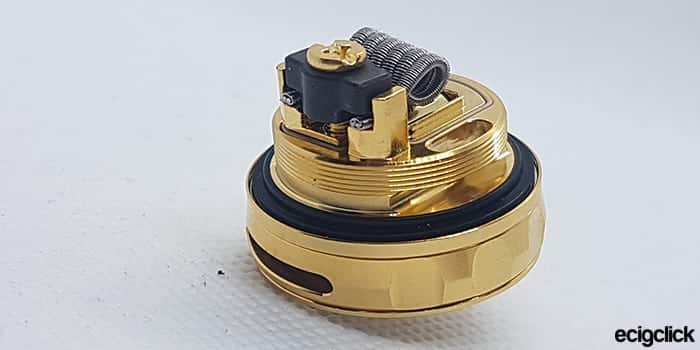
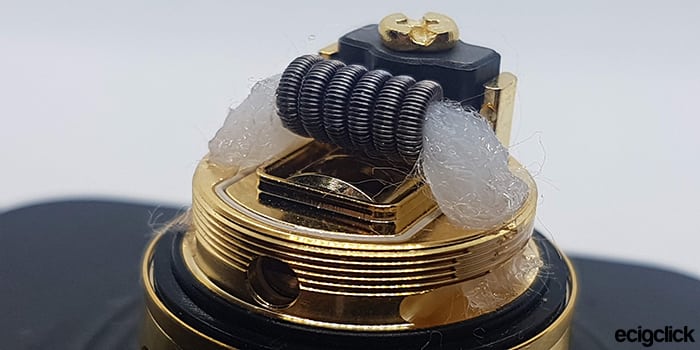
It has a single ceramic clamp located on one side and the revolving airflow situated in the middle. This is controlled by a flat head screw located on the side of the deck.
So it has a 3 x 4 hole airflow
A triple
And a dual airflow
Each offering a different type of airflow to the bottom of the coil. I personally prefer the 3 x 4 hole setting.
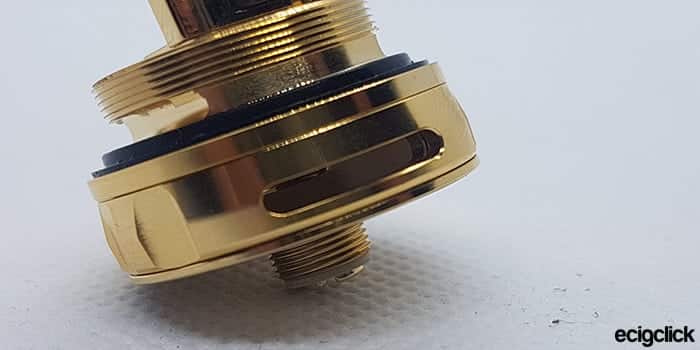
AND you can control the amount of airflow using the airflow control ring at the base of the RTA which comes in the form of two cyclops holes.
At the base there is the usual Vandy Vape markings as well as a nicely protruding positive 510 pin.
Build Quality & Design – Overall:
As far as build quality goes. It ain’t too shabby at all! The threads are nice and smooth, the tolerances with the airflow are great too. So no complaints about the build quality on the Revolver RTA.
Design… Ohhh the design. This is where it starts to grind my gears…
Don’t get me wrong. Props to Vandy Vape for the innovation and doing something different.
BUT and it’s a BIG BUT.
Why oh why oh why would you put the thing that controls the innovative portion INSIDE the bloody tank?!? What if you bought this for the first time, had it on a certain airflow, filled it up etc and then took a toot on it and decided that the type of airflow you chose was crap? You’d have to either dump the juice in the tank or vape through the rest of the tank before you can change the airflow again!!
Now, obviously I don’t know how Vandy Vape could change this. But I think that the inner airflow control needs to be accessed from the outside of the tank, so you can change it when you wish.
Either way, the one thing that makes it different, the one thing that is innovative about the product, is the biggest con of the tank!
VandyVape Revolver RTA Build Tutorial & Performance
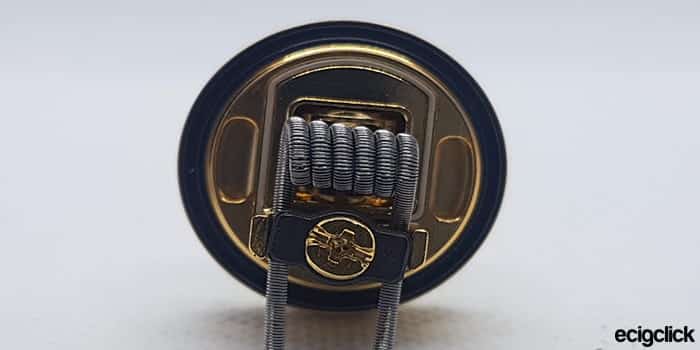
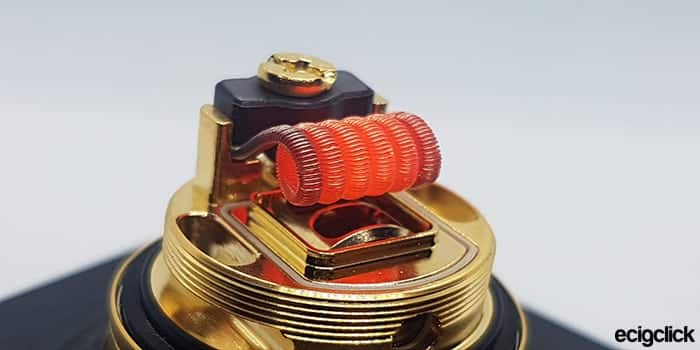
On this RTA, I am using the included Fused Clapton Coil, 3mm internal diameter, coming to 0.3Ω
Revolver RTA Build Tutorial
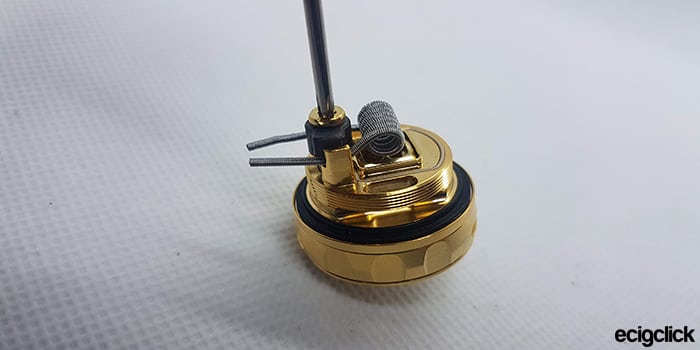
Firstly unscrew the single post screw anti-clockwise using a Phillips head screwdriver.
Place the coil legs between the ceramic post and the metal portion of the tank and centre the coil above the airflow.
Next up, clamp the coil back down. Don’t be too worried about breaking the ceramic clamp, I have found mine to be quite strong.
Cut off the excess from the legs.
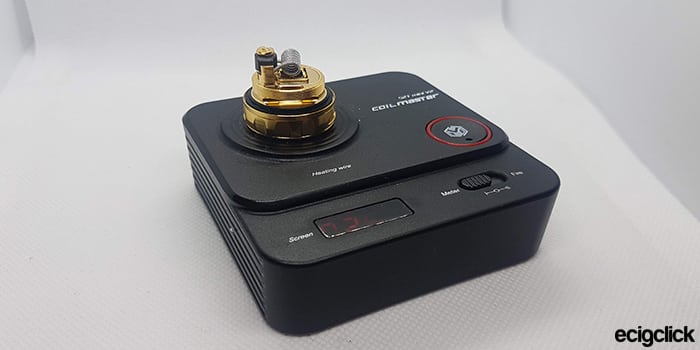
Wack it onto your chosen coil firing thing! (I use a Coil Master 521 Mini V2)
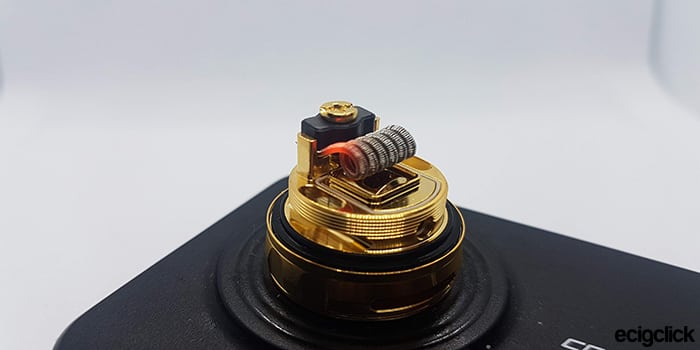
And check for hot spots and remove them by pinching, pulsing and strumming the coil.
Once the coil is heating evenly from the inside out, let them cool for a bit.
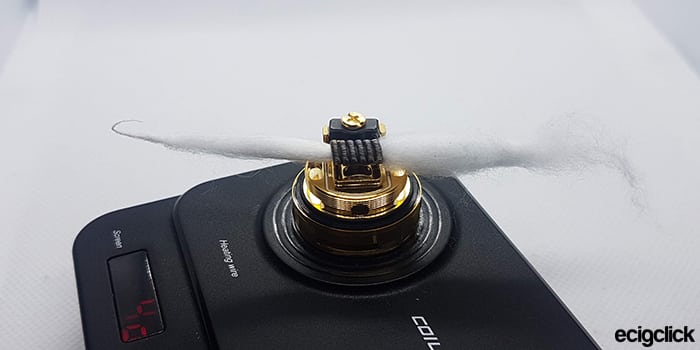
Add some wick! (I’m using Swag Cotton – We tested other vape cotton here)
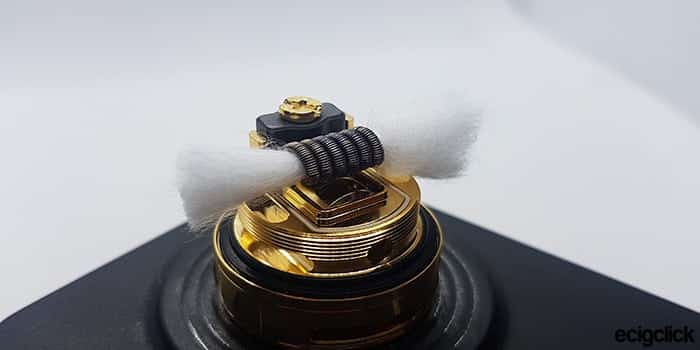
Cut it off just outside of the deck.
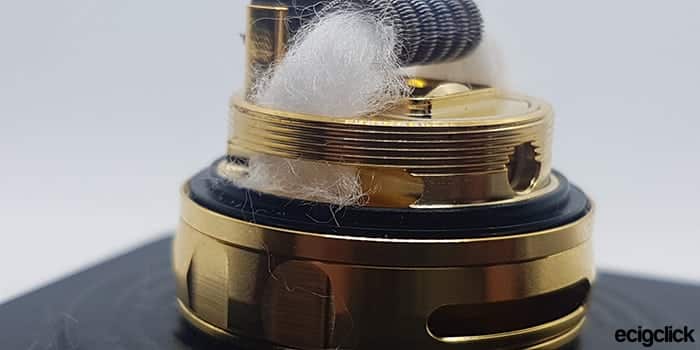
And tuck them into the wicking slots either side so that they fill the cutouts.
Wack some juice on those coils.
Build the tank up and fill it with your favourite juice!
Revolver RTA Performance
On the packet for the coil, it is recommended that the coil is fired anywhere between 50 and 60w. I personally have found it best at 54w throughout testing the tank and across all the three different airflow types.
To me personally, the change in airflow on the inside doesn’t offer anything overly noticeable in terms of flavour or cloud production. It’s all a bit samey to me…
Pros
- Looks Good
- Well Constructed
- In theory it was good. But in practice… Nah
Cons
- Awkward Inner Airflow
- Gimmicky
Final Review Verdict
I was hoping for something amazing to come from the Vandy Vape Revolver RTA, and all I got was a poor attempt at innovation with average clouds and flavour.
As said previously, props to Vandy for trying, but I don’t think it has worked well.
