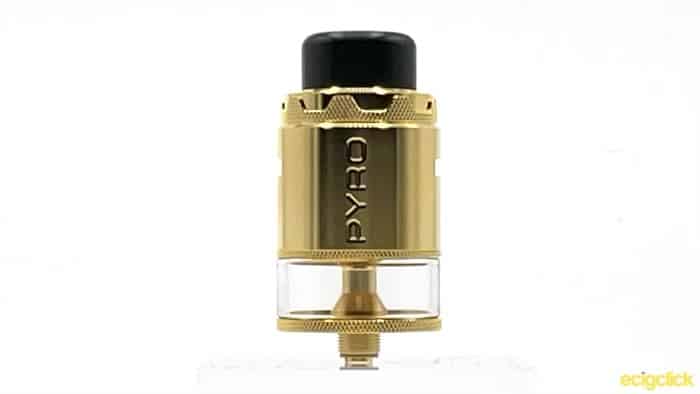
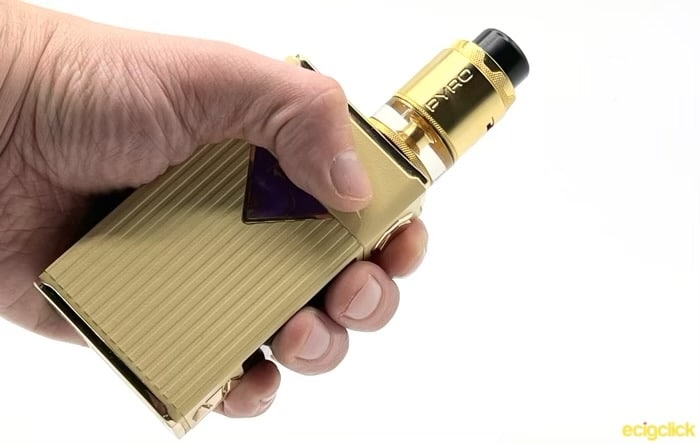
In for review today we’ve got the Vandy Vape Pyro V4, the fourth (obviously!) in a line of RDTAs.
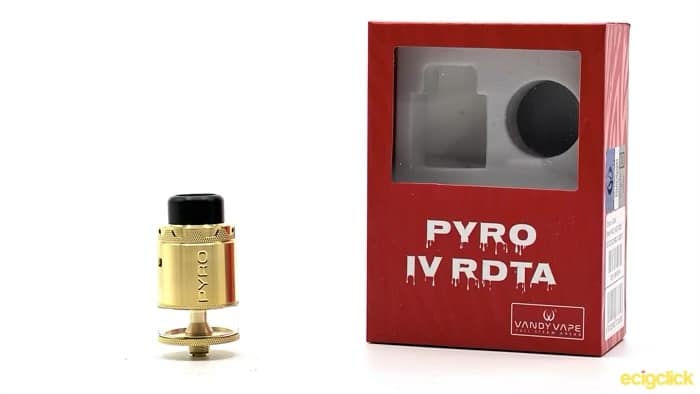
Although RDTAs don’t get as much airtime as other tank designs, I’ve always been a big fan of them. So I’m keen to see what Vandy Vape have done with this new one.
What Can We Expect From The Pyro V4 by Vandy Vape?
The Pyro range are RDTAs, rather than RTAs. What this means is that rather than having your coil at the bottom and the liquid on top feeding down. The coil is at the very top of the tank, and your e-liquid sits below it.
Technically this is a “top coiler” RDTA, as the Steamcrave range also call themselves RDTAs but with the coil at the bottom.
By having the coils much closer to your mouth, and the vapour not having to travel up a narrow chimney, the idea is that it should give you flavour very close to what you can get from an RDA.
I think it’s fair to say that RDTAs aren’t as popular as RTAs on the mass market, and because of this there’s still a decent amount of experimentation and new ideas (or old ideas revisited!) coming out.
One trend that has been popular recently has been using stainless steel ropes to wick your e-liquid up from the tank to your deck like in the Brunhilde.
Vandy Vape have decided not to go down this route, just using cotton as normal and relying on the natural tilting action of you vaping to keep the deck supplied with juice.
However, with normal RTAs getting so much better over the last few years, is there still a place for this design?
Back in October 2019 I reviewed the Vandy Vape Pyro 3, and I was really impressed with it. The previous 2 versions came out in 2017 and 2018.
It’s been quite a long time since then, so I’m interested to see what has changed!
The was sent over from Sourcemore for review (thank you) as usual, this will not affect my review, and I shall report back honestly with what I find!
In The Box
- Pyro V4 RDTA
- Spare Glass
- Coil Trimming Tool
- 2x Triple Fused Claptons (Ni80 at 0.41Ω)
- Accessory Bag
- Squonk Pin
- Manual and QC Card
Specs
- Dimensions – 37.5mm x 25.5mm (excluding 510 and drip tip)
- Capacity – 5ml (I presume there will be a TPD version with some sort of bung to take it down to 2ml)
- Coils – Dual Coil
- Airflow – Honeycomb Bottom Airflow
Design and Build Quality
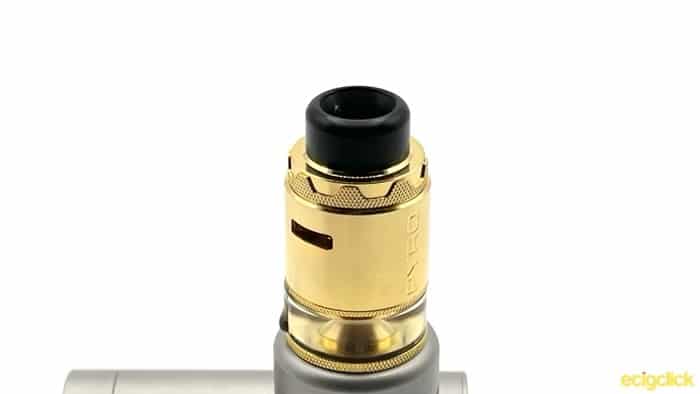
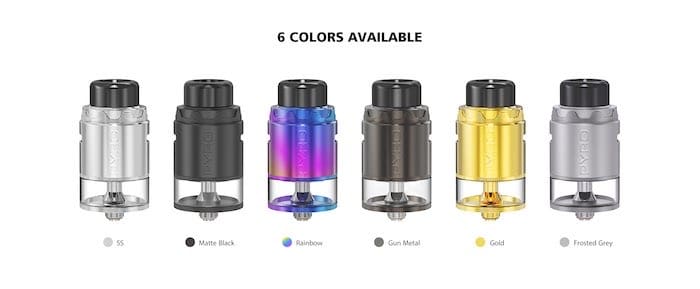
The Pyro V4 comes in 1 of 6 different colour ways. Stainless Steel, Matte Black, Rainbow, Gun Metal, Gold and Frosted Grey.
Body
It’s a relatively simple design, with less moving parts than its predecessor.
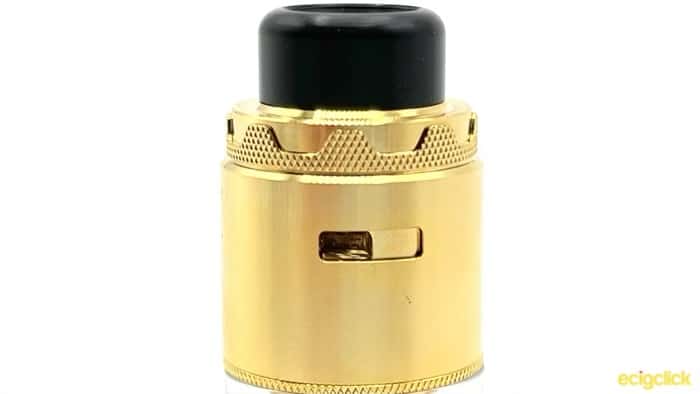
Starting at the top you have a fairly standard 810 drip tip with the o-rings in the top cap (they include a 510 drip tip adapter if you wish), then the top cap which you turn to adjust your airflow.
The main deck section with the 510 screw, a glass tank, and the bottom plate.
It all comes apart nice and smoothly, with the knurling making everything very easy to unscrew.
It has pretty minimal branding, with the word Pyro engrave on one side. The top cap is also how you control the airflow, spinning the whole top cap like you would on an RDA.
The Deck
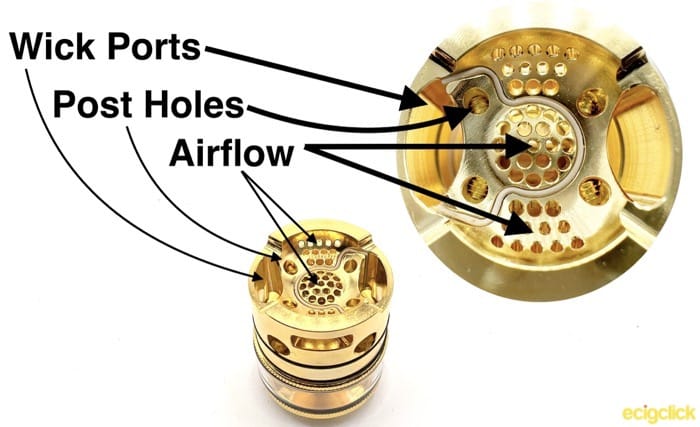
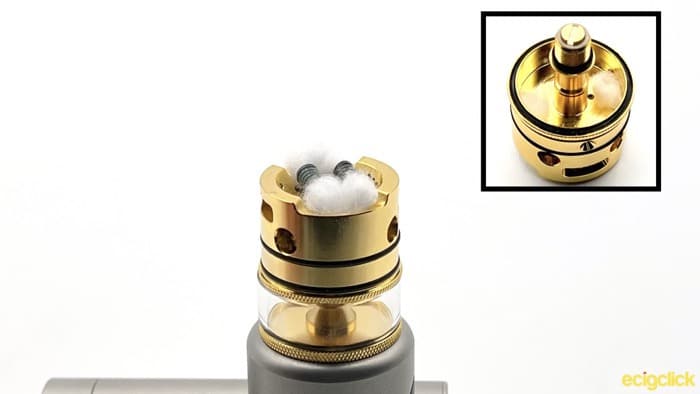
The most interesting bit of the Pyro V4 is the new deck. It’s quite a departure from the deck that they used on the Pyro V3!
It’s a postless deck, with 4 deep holes for your coil legs. One thing to note is that the screws that secure your coils go in at a slight angle. Unfortunately when I received mine, it looks like someone hadn’t told whoever put them together, and so two of the screws were slightly cross threaded!
After much swearing and a variety of tools, I was able to get them out. Though one nice thing about them, is that you can use either a Philips screwdriver, or a flat head.
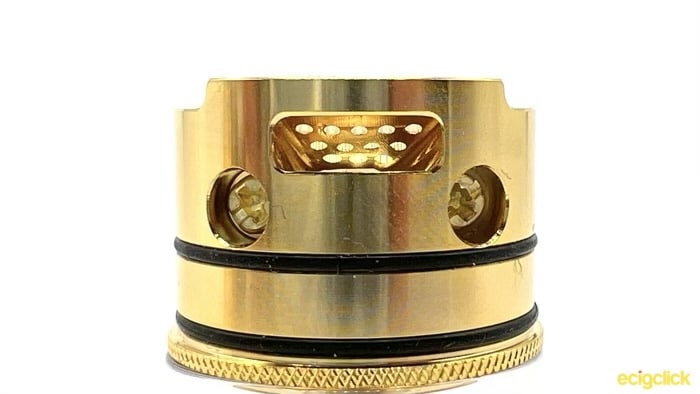
There are two large wick ports to feed your cotton in to, but the most interesting part of this deck is the airflow. The air comes into the deck from the side, and then get diffused through an interesting honeycomb layout.
There are walls on the outside that give you some angled bottom airflow, and in the centre of the deck is a dome shaped section of honeycomb that gets the other side of your coils.
Base
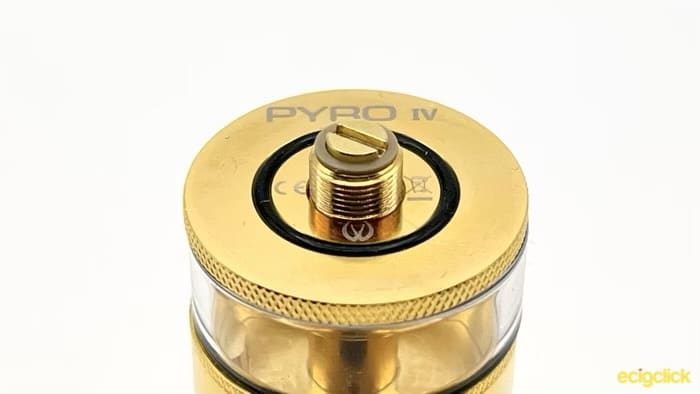
On the base you have your usual regulatory marks, and you will also notice that there’s an o-ring set into it.
This o-ring is in place to help prevent leaking when using it as a bottom feeder. Very easy to replace the post if you want to convert it.
There’s a nicely protruding gold plated 510, that I’d be perfectly happy using on a hybrid mechanical.
How To Build & Fill the Vandy Vape Pyro V4 RDTA
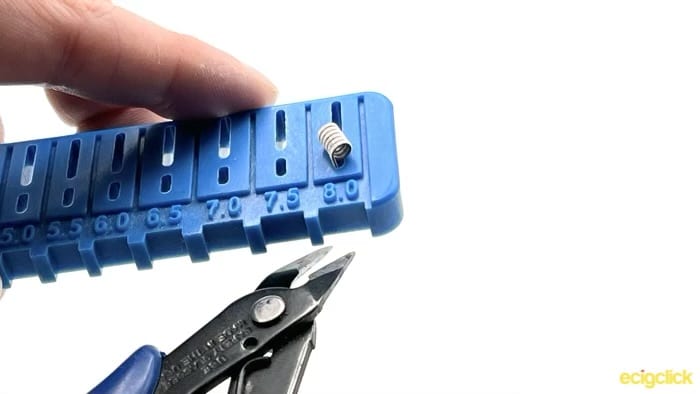
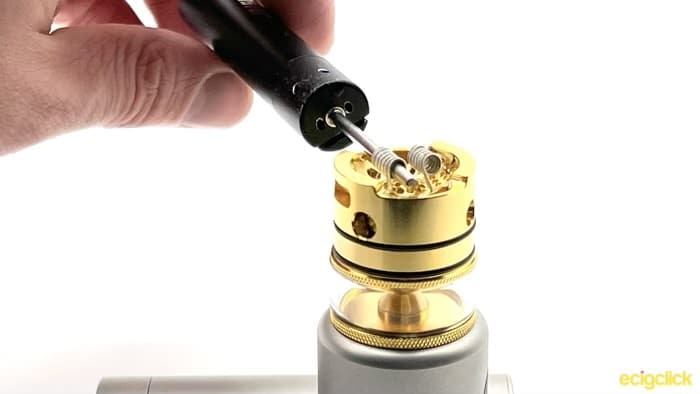
- Trim your coils legs to 8mm (they use very deep holes for your coils!) I’m using the Coily tool as normal, but they do provide their own coil trimming tool
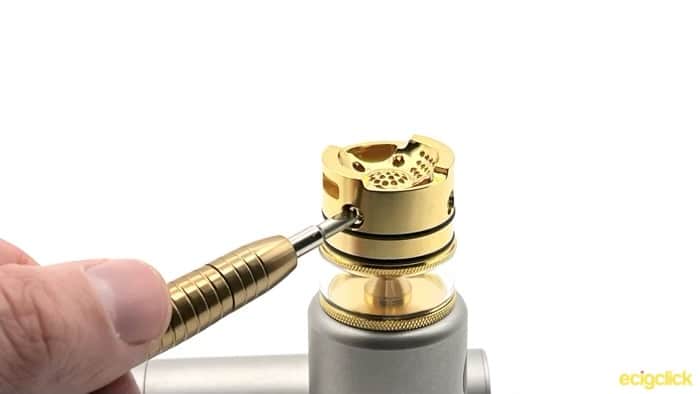
- Unscrew the deck screws, remembering that they are at a slight angle pointing towards the centre of the deck
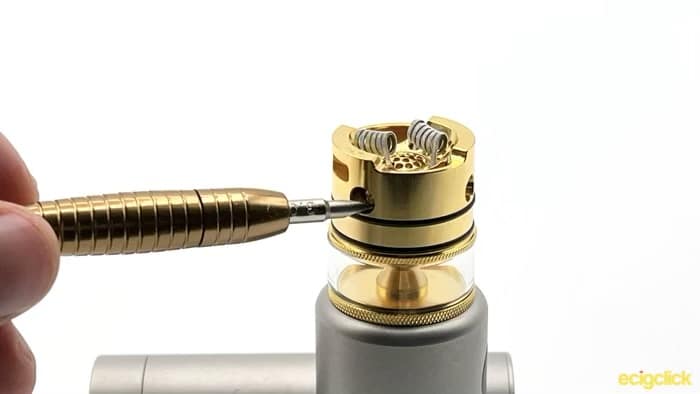
- Place your coils in and tighten the screws back up, you can place a finger on your coils to hold them in place whilst you do this
- Straighten your coils up using a coiling jig
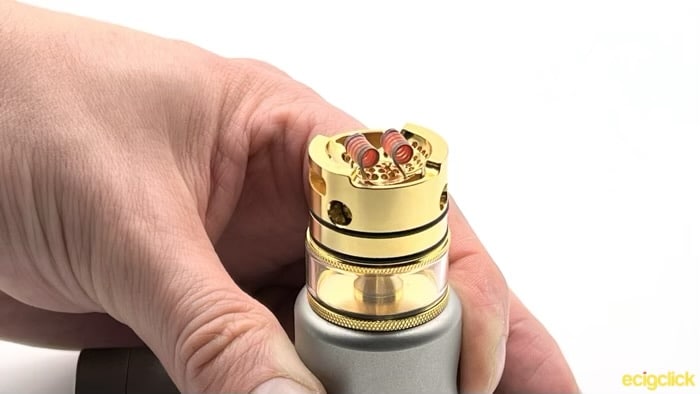
- Glow your coils, and strum them with ceramic tweezers to remove any hot spots and get them glowing evenly
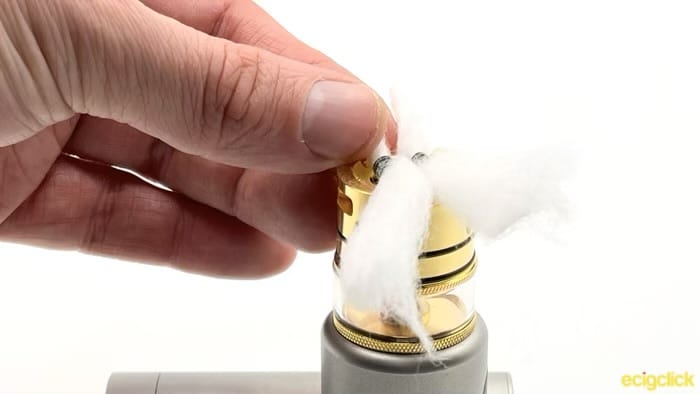
- Feed your wick through
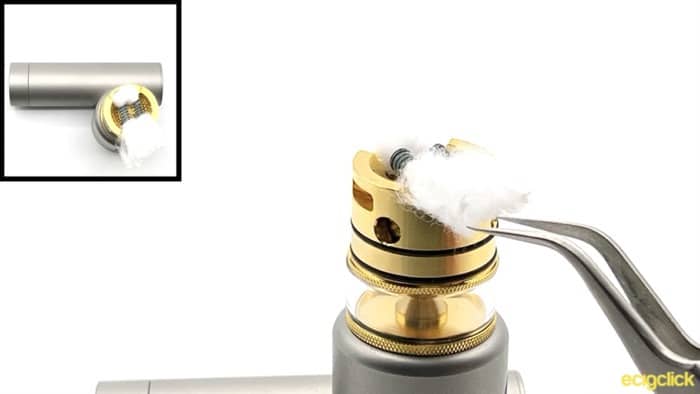
- Rake your cotton slightly and trim down, if you’re not sure how much cotton you need leave it a little long when you first do it, and then trim them again after you’ve checked
- When you feed your cotton in, the tails should drop down through the wick holes and poke out the other side by a couple of millimetres. You don’t need them dangling all the way into the liquid. If you can see the cotton when you look at it side on, they’re probably a bit too long
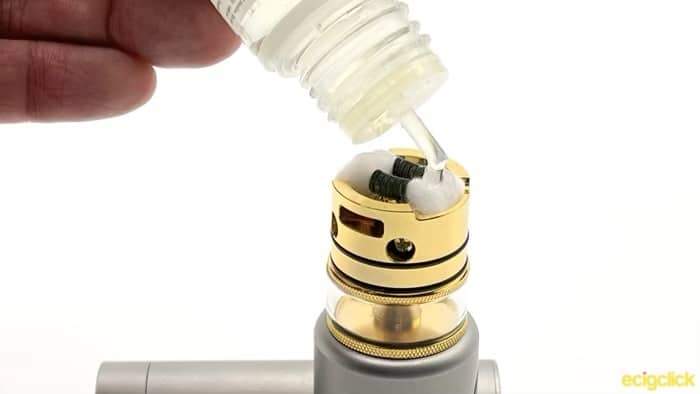
- Prime the coils with plenty of e-liquid
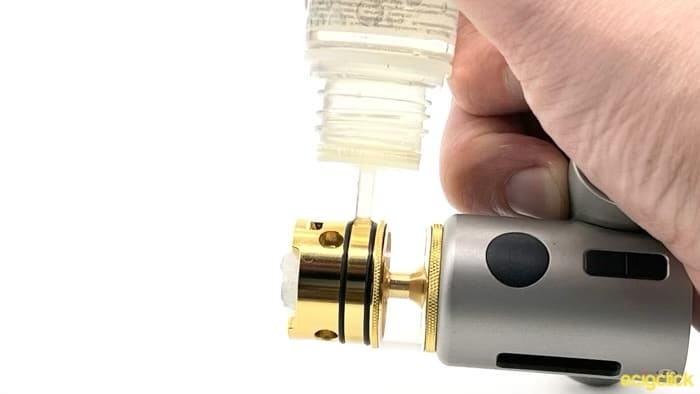
- Fill the tank by putting it at an angle, and hold your bottle hard against the fill port at 90 degrees. It’s quite a small fill hole, and if you don’t hold it at 90 degrees you’re likely to end up covering yourself in e-liquid
- Pop the top cap back on, and you’re ready to vape!
How Does the Vandy Vape Pyro V4 Perform?
So although on my review unit it took me quite a long time to get started (curse the deck screws!) once I had sorted that out I didn’t really have any problems.
Keep in mind it’ll lose a couple of points for build quality due to this, but equally it may have been a one off, I’d be interested to know your experiences in the comments if you get one.
And I do think that if you like direct lung RDTAs, you should seriously consider this!
I’ve tested it both with the Ni80 coils it came with, as well as a couple of Kanthal aliens. For e-liquid I’ve been using some of the Fizzle Pomegranate lemonade, as well a variety of other liquids for testing.
Airflow and Cloud Production
This is a definitely a full on direct lung tank, there’s the barest hint of restriction (probably coming from the honeycomb) and on a scale of 1-10 with 1 being incredibly tight, and 10 being fully open, this is a 9.5.
What’s more impressive is the “quality” of the airflow. One reason I tend to worry about honeycomb airflows, is they sometimes create a “spongy” texture to the air. It’s really hard to describe, but it’s immediately obvious when it’s happening.
Happily that is not the case it, it is silky smooth. In fact it’s one of the nicest airflows I’ve experienced. There’s no turbulence, no spongy feeling, no weird noises. Just smooth lovely airflow!
Closing down the airflow is easy by spinning the top cap, and it never feels like it’s becoming “unbalanced”. A tiny bit more noise, but it’s marginal.
Cloud production is similarly impressive, and you can quickly fog out a room with this!
Flavour
So with the airflow being so good, does that mean that the flavour is as good?
Happily it does! Flavour is absolutely stunning on this. I was mostly using fairly fruity flavours, but I also gave it a test with deserts as well to make sure it wasn’t a one trick pony.
Flavours come through thick and strong
Any other comments or quibbles?
There’s really not a lot to complain about with this tank. But there are some things that you should be aware of.
- When your e-liquid starts to get low, tipping the tank when your vaping, will start to struggle to resupply the coils with juice. For this reason I’m very pleased they have a large 5ml capacity, as well as the inclusion of a bottom feed pin so you can keep it topped up.
- In relation to this, refilling this is not the easiest thing in the world. You really have to hold the bottle firmly at a 90 degree angle. And bottles with thick tips will struggle!
- Finally if you do leave it lying on it’s side, it’s more than likely you’re going to get some leaking. This is not a fault of this specific tank, but rather something that affects all these type of top coil RDTAs.
Pros
- Flawless airflow
- Great flavour
- Short for an RDTA
- Large e-liquid capacity
Cons
- Can be a challenge to fill up
Final Review Verdict
I think Vandy Vape have definitely proved there’s still a place for a top coiling RDTA! Like with the Pyro 3, I was really impressed with this tank. And it’s improved on it in a number of ways.
Flavour is once again on point, and airflow is some of the best I’ve experienced. Also the increase in capacity from 2ml to 5ml definitely helps overcome some of the issue inherent to this design of RDTA.
Also with such easy access to the deck, re-wicking and re-coiling is a breeze.
So is there a future for RDTA’s like this? I’m honestly not sure. Their claim to fame used to be that they could produce much better flavour than an RTA. And whilst this is capable of excellent flavour, the latest RTAs are definitely nipping at it’s heels.
On the other hand, there are advantages to an RDTA. Mostly how easy it is to get access to your deck. Pop off the top cap, and you can re-wick easily!
Also I find that they’re great devices for wandering around vape expos with. You can have a tanks worth of e-liquid on you, and if you want to test out some new juice? Just hold it vertically and fire to dry out the coils a little, then you can just drip straight onto the coils.
Did you buy the Vandy Vape Pyro V4? Let us know your thoughts in the comments below.
