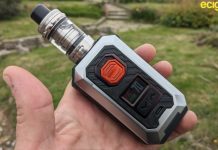
The Pioneer 4 You IPV8 is a 230W mod with beautiful styling.
We have reviewed previous devices from Pioneer 4 You including the IPV400.
Having read many reviews online their last device the IPV6 seemed to be well-regarded but came with a temperamental battery door fault and it didn’t seem to protect against battery polarity errors thus requiring a recall.
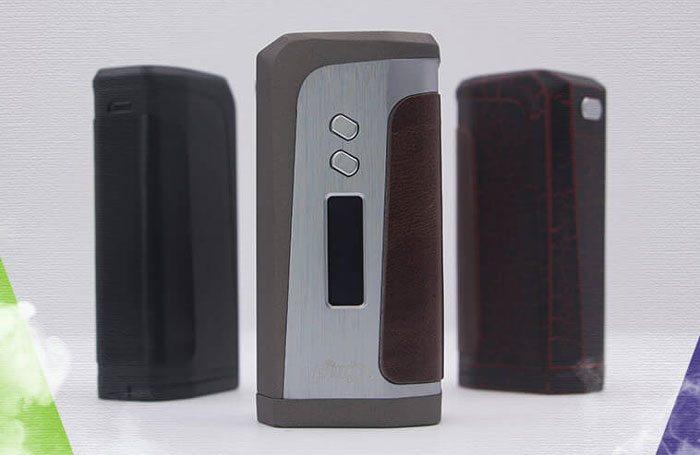 The IPV400 suffered from problems with its external finish. So does the Pioneer4You IPV8 address these issues and improve on them?
The iPV Vaping Technology Co. is behind the Pioneer 4 You brand. Based in Shenzhen like most of the vaping heavy weights it supplies devices worldwide.
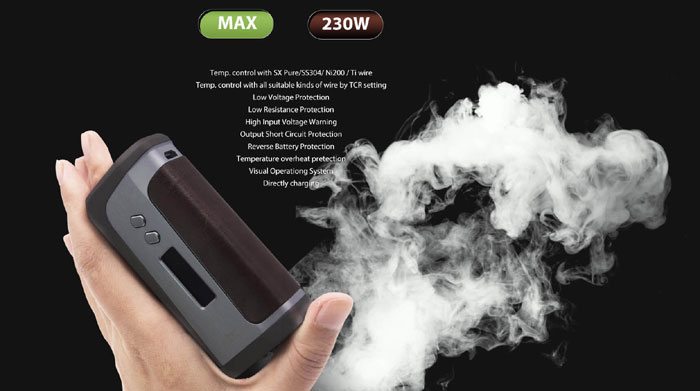
Promising a maximum output of 230W with dual 18650 batteries this is sounding like a bit of a beast and perfectly capable of supplying the power most vapers will ever need and some!
Powered by a YiHi SX330-F8 chip – yes I know – sounds erm – well – mega (I think??). Well this chipset is the same as used in previous IPV models with some apparent upgrades including a feature to lock the buttons.
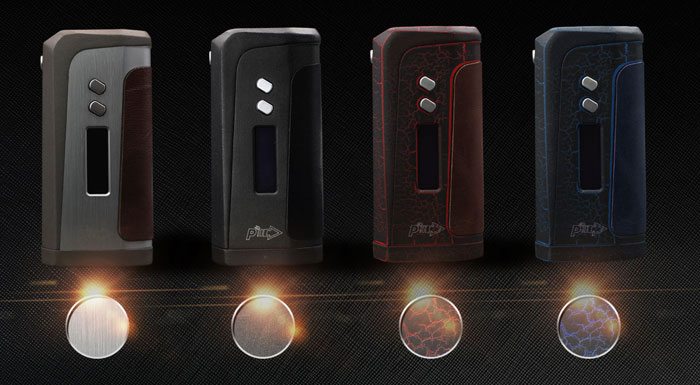
The IPV8 comes in 4 colours with a leather grip.
What’s In The Box
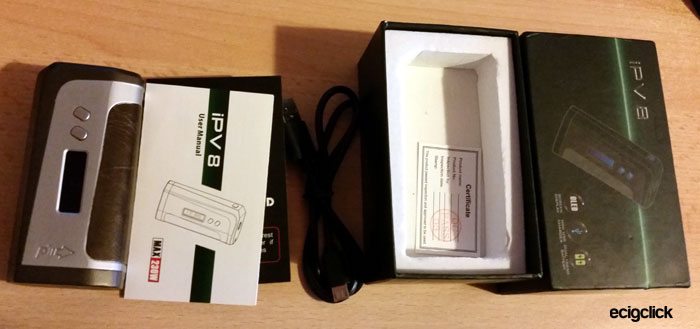
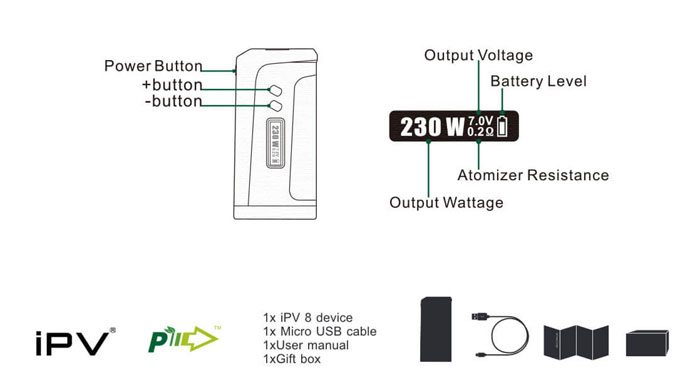
- IPV8 Device
- Micro USB cable
- User manual
Pioneer 4 You IPV8 Specifications
- Output power: 10W-230W
- Output Joule: 10J – 120J
- Resistance: 0.15 ohm – 1.5ohm
- TCR value: 0.00020-0.00700
- Output voltage: 1.0V – 7.0V
- Input Voltage: 6.4V – 9.0V
- Output Current: 1.0A – 45A
- Input Current: 1.3A – 45A
- Temp limit Centigrade: 100-300 degrees C
- Temp limit Fahrenheit: 212-572 degrees F
- Temperature control
- TCR with all suitable wire
- SX Pure compatible
- Low voltage protection
- Low resistance protection
- High input voltage warning
- Reverse battery protection
- Temperature overheat protection
- Visual operating system – OLED Screen
- Direct charging
- 4 colours: Matte Black, Matte Brown, Volcano Red and Gun Metal
- Zinc alloy casing with leather grip
- 510 connection
- Dual 18650 batteries (not supplied)
- Compatible with 25mm tanks
Build Quality & Design
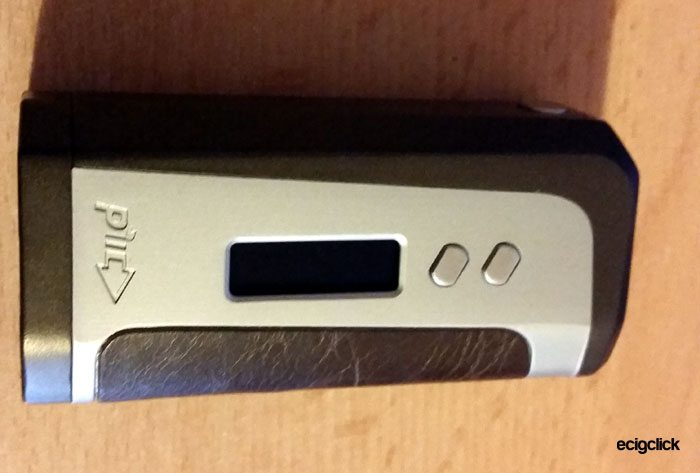
I received the Silver version to review. Very pleased as it was my favourite colour on the marketing images.
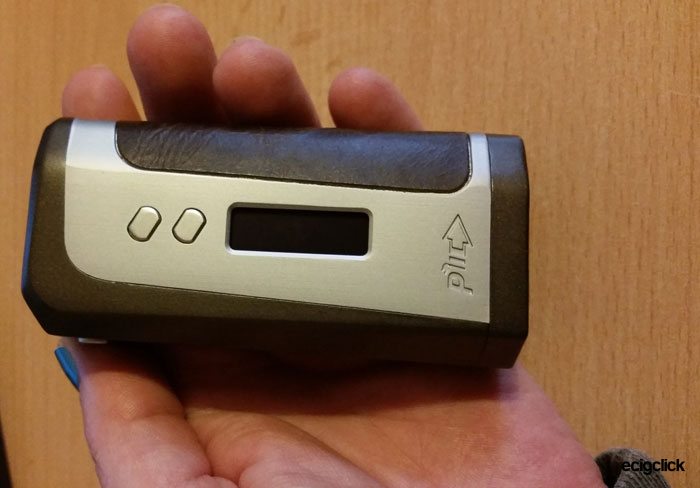
This is so little – it’s extremely cute!
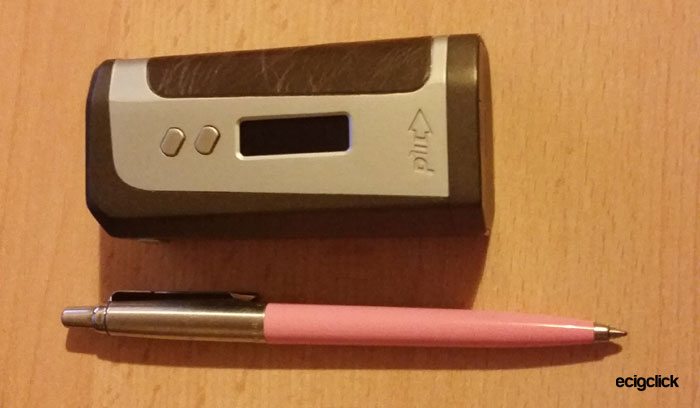
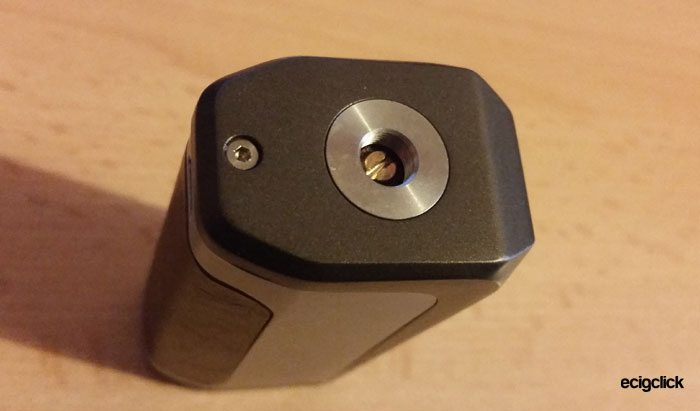
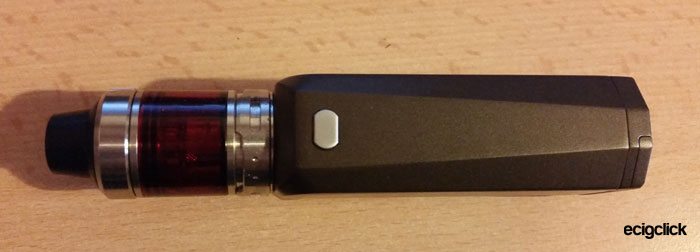
Therefore tanks seem to be really hard to undo as they seem to snag on the top of the mod making them tight to remove. Also I found it made the airflow adjustment ring on my tanks hard to turn.
OBS Crius 2 RTA (25mm)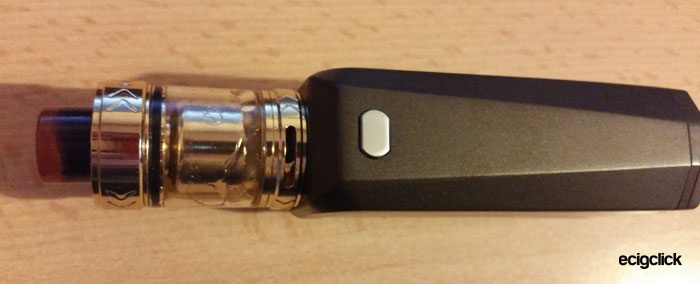
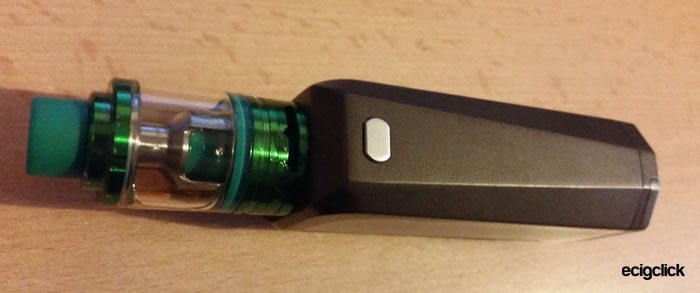
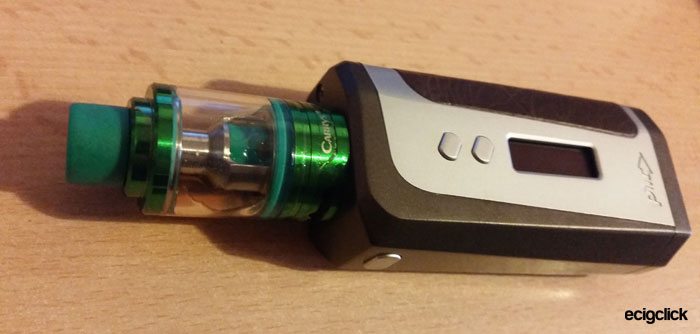
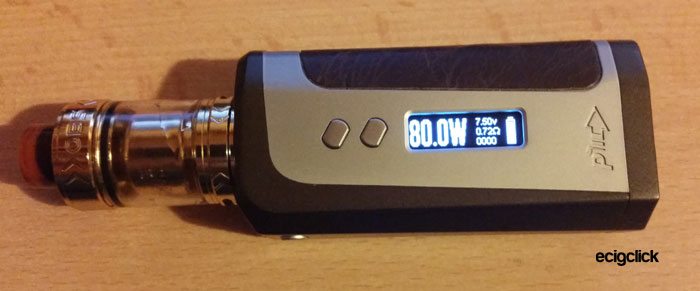
As you can see this little mod handles all the bigger tanks well – the biggest of the bunch at 26.5mm diameter still doesn’t look silly.
The coil in the tank will need to be between 0.15 ohms and 1.5 ohms or else the resistance safeguard will stop the mod firing.
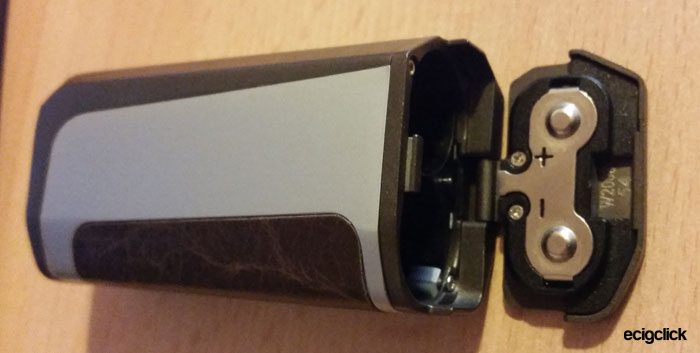
I have had no battery compartment issues, it only opens when you want it to and locks up nicely. There is also a long slot for battery venting.
I encountered a problem when trying to use the Carrys Green Tank on here. The 510 connection on the bottom of the tank is flush – the internal pin is the same height as the outer part of the connector.
I just kept getting “Check Atomiser” error message. I took the tank on and off and cleaned and eventually pushed the little 510 pin out of the bottom of the tank slightly. Hallelujah eventually got it to work.
When you give it the “shake test” there is a slight rattle which I think is the fire button. The + and – buttons feel pretty secure.
My only moan about it appearance wise is the screen looks very tiny. I have reviewed similar devices which have had a much bigger screen. This is perfectly functional though and clear and bright.
In The Hand
I won’t lie this is heavier than you think it will be but it is small and feels like it with withstand anything!
The fire button is pretty small and when I wasn’t concentrating I kept pressing the body instead.
How Does the IPV8 Perform?
I used the OBS Crius 2, Vaptio C-2 and Carrys Green tanks on this to test performance. These tanks can be fired between 50-100W.
Basic operation
- To turn on the device press the power button 5 times.
- The screen should show the IPV8 display.
- The device will then enter “stand by” mode. Just a warning this takes ages to start up, you have to wait for the IPV8 logo to go. I know because so many times I have sat there pressing the fire button after turning it on and nothing happened!
- To turn off the device press the power button 5 times to access the menu and when it displays “System off” press the + or – button to turn off.
- I think this is a bit annoying as I am used to just pressing the fire button 5 times and that is it. Also if you enter the menu it takes you to the “system on/off” setting and if you accidentally press the up or down button it switches the mod off!
- To enter the menu press the fire button 5 times quickly, DON’T press up or down to scroll through the menu as you would usually do – instead press the fire button to see all the menus.
The menu controls are a little bit counter-intuitive sadly. But you do get used to it.
To lock and unlock press the power button 3 times.
Adjust Wattage/Joules
Depending which power mode the device is in you can adjust these settings using the + or – buttons.
To select the various operating modes – press the power button 5 times to access the main menu.
Then select the applicable mode.
How Install the Batteries
- Push the battery door forward whilst pressing down slightly and the door will pop open.
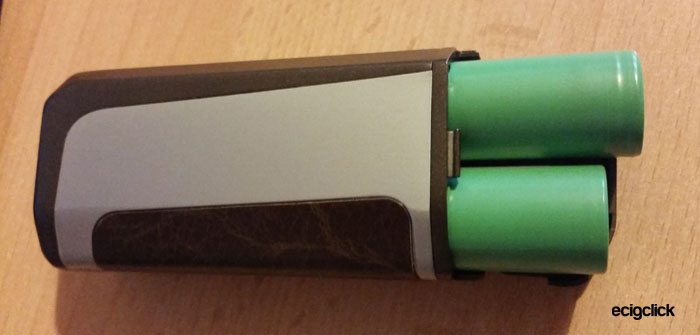
- Following the polarity markings install good quality 18650 batteries.
- The door will push and slide in the opposite way to opening.
 Wattage Mode
When set to wattage mode you can adjust the wattage output from the mod to the coil to tailor the vapour and adjust to suit the coil you are using.
Using the + and – buttons set the wattage required. If using a tank with prebuilt coils the coil literature or coil itself should specify the optimum wattage to get the best performance.
The wattage can be set to between 10W to 230W in 0.1W increments.
I ran this mainly at 50-60W and encountered no problems at all.
Temperature Control Mode
Temperature control means there will hopefully be a set temperature applied to the coil and you can avoid burning wicking material. Also by adjusting the temperature you can tailor the vapour you produce.
Temperature control mode works on coils made from titanium, nickel or stainless steel.
When you select temperature control mode the mod will sense the resistance of the coil. You set the resistance when the coil is cold and lock it. When fired the mod will calculate the temperature according to the resistance reading and adjust the output to correct this.
I am using the Crius 2 tank with SS316L coil reading 0.54 ohms.
I have selected Joule mode, read the resistance (when coil is cold!!) using the + and – held down and set it to SS316L. So let’s see if it cuts out before my cotton burns….
Well… erm… no.
The instructions were not as helpful as I would like. I followed everything it suggested. It doesn’t say what temperatures you should select for each coil material.
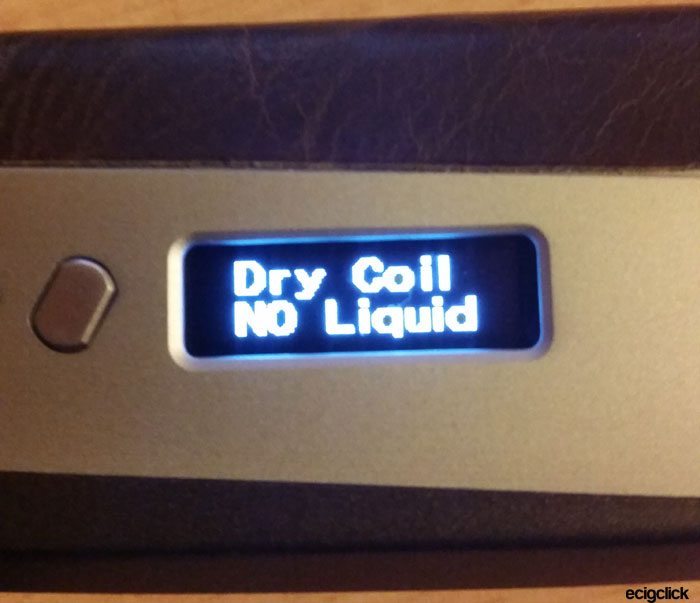
I just kept getting this error message. I had put the rest of the tank on and filled with liquid – so really not sure where to go from here. Sorry that’s about as far as I got with Temperature Control so put it back in wattage mode and I was happily vaping again!
Battery Life
I am using 2 18650 Samsung 25R batteries which were an absolute bargain from JAC Vapour. You can even get a discount using our code!
These are well rated batteries ideal for this type of device.
Please make sure you buy good quality batteries and a dual external charger from a reputable company. You will need to keep the batteries in pairs for dual battery mods. I simply write A, B etc. on the pairs with marker pen to keep them together.
Please make sure you are aware of battery safety – we have written a beginners guide to help you.
It is not recommended to charge the batteries whilst they are installed in the device. It can be done and obviously in an emergency this happens – but make sure not to leave the device unattended.
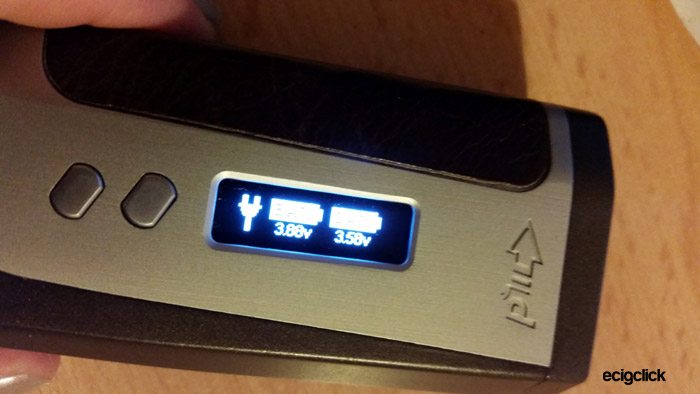
When charging batteries in the mod the display shows the charging level for each battery when you press the fire button. But from what I have seen online it doesn’t balance charge – i.e. equalise the charge of both batteries.
I have been vaping at between 50-60W for in total (on and off) for 15 hours before the batteries died. So this is pretty economical with the battery power.
What I Like
This is tiny and beautiful like a little baby dormouse… aww cuddles..
The IPV6 issues are now ironed out – circuit protections and a sturdy battery door which stays shut!
What I Dislike
Having to keep unscrewing my tank when I want to adjust the airflow. Also some tanks seem to get “stuck” on the top of the mod.
I would like to select what values you see on the display – for instance “vaping time” isn’t as useful as “Puff count”, “Battery Charge %” etc.
Menu controls take a bit of getting used to, I would enter menu and use + or – to scroll and kept turning it off instead!
It’s very heavy!
Final Review Verdict
Ok the Pioneer 4 You IPV8 isn’t perfect. A few niggles. But still looks to be a huge improvement on previous models.
So once you get to terms with its oddities – you can’t help but love this little chap. It does really win you over – so please don’t write it off initially!
This isn’t the cheapest mod out there, but the quality and finish is gorgeous and I think you will get a lot of happy usage out of this.
Pros
- Stunning looking mod.
- Tiny and very cute.
- Feels lovely in the hand and the leather panel helps grip.
- Battery door is robust and secure.
- Battery life is excellent.
Cons
- Sadly there is no ability to update the firmware on this – which is a shame as manufacturers can sometimes do updates to help cure flaws.
- Cannot customise the display or menus.
- Very heavy (may be a pro for some).
- Takes a while to power up when you switch it on.
- Flush 510 connector can obstruct tank adjustments.
- Small screen.
- Small fire button.
- To turn off you have to enter the menu and select “system off” which is slightly long winded.
- Didn’t recognise the Carrys Green Tank which had a flush 510 connector.
 Wattage Mode