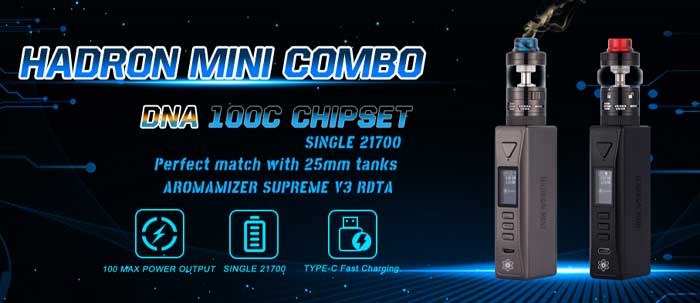
In for review this week we have another Steam Crave kit, this time it’s the Steam Crave Hadron Mini Combo Kit.
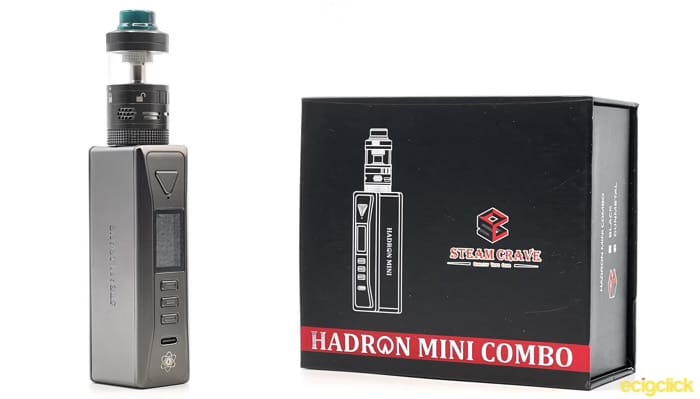 It was only a couple of weeks ago that I was reviewing the Steam Crave Hadron Lite Combo and as it’s the same tank (the Steam Crave Aromamizer Supreme V3) I’ll be mostly focusing on the mod in this review. Check out my previous review for more on the tank!
What Can We Expect From The Steam Crave Hadron Mini Combo?
Someone seems to have put Steam Crave on a diet recently, as this is now the third product from them I’ve reviewed recently that doesn’t resemble a house brick.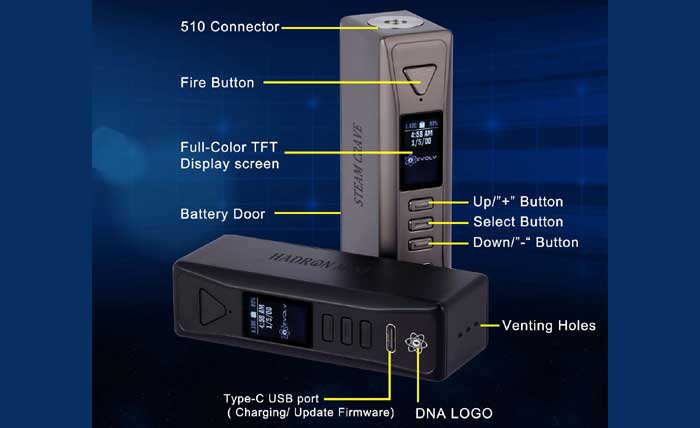
The Hadron Mini mod is a single battery mod (21700 or 18650) in a fairly standard box design. Of note is the fact that this is powered by a DNA chip, so all you Escribe fans can happily tinker away with the settings by hooking it up to a computer.
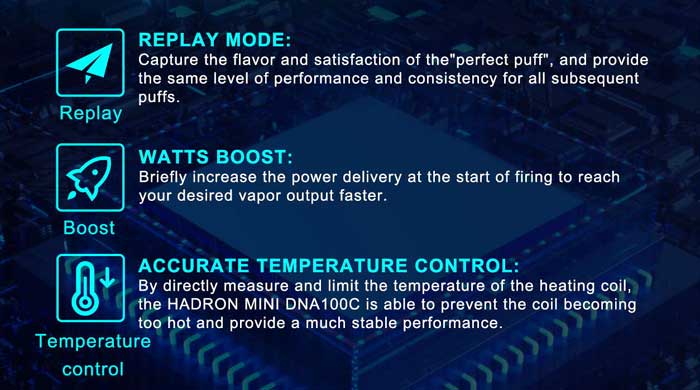
Looking at the mod now as the name suggests this has the Evolv DNA100C chip and offers loads of user modes including Variable Wattage, Temperature Control, Replay and Watts Boost.
As I mentioned in the intro, the tank in this kit is the same that was in the Hadron Lite Combo, namely the Aromamizer Supreme V3. This is included for what I assume is a very similar reason, namely size.
Steam Crave have few tanks that are 25mm diameter or less (the maximum this mod will take without overhang) so it’s either this, or one of their mouth to lung tanks.
As I’ve already had quite a play around with the tank, I decided to pop on the Steam Crave Glaz Mini RTA and the Aromamizer Classic to put it through its paces.
This was sent over for review from Steam Crave (thank you!) and freebies will not influence my review and I shall report back honestly with what I find.
On to the review!
In The Box
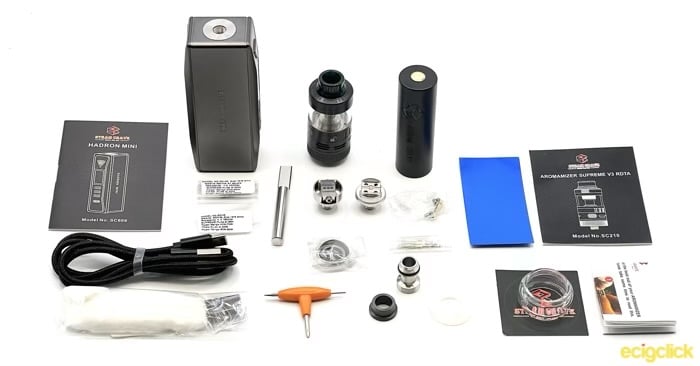
As is normal for Steam Crave, you get a whole heap of accessories in the box!
- Hadron Mini Mod
- Aromamizer Supreme V3 RDTA
- Mesh Deck and Dual Coil Postless deck (Single Coil Deck Pre-installed)
- 7mm Chimney (5mm Chimney Pre-installed)
- 7ml Bubble Glass (6ml Straight Glass Pre-installed)
- 18650 Adapter (Pre-installed inside mod)
- 510 Drip Tip Adapter (810 Drip Tip pre-installed)
- Squonk Pins for Mesh Deck and Postless deck
- USB C Charging Cable
- Battery Wraps (2x 21700, 1x 18650)
- Cotton laces x2
- Kanthal Square mesh strips, 0.15Ω x2
- SS mesh strips, 0.18Ω x2
- Spares bag, o rings, grub screws, slotted screws
- T piece tool
- User manual for mod and RDTA
- Steam Crave Sticker
Oddly, the one thing it didn’t seem to come with was coils (just mesh strips). Despite me getting several when I last reviewed this tank. This may just have been an exception with mine, so I’m not going to take off any points. Especially as there’s always the possibility I misplaced them amidst all the things that were in box!
Specs
Mod
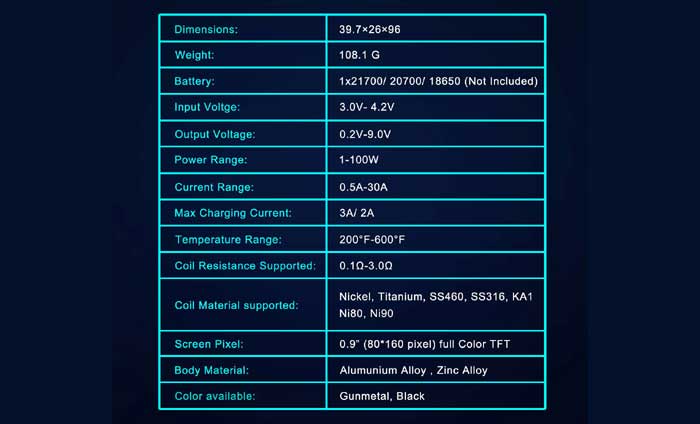
- Dimensions – 39.7x26x96mm
- Power Output – 5-100W / 0.2-9V
- Modes – VW, TC (Ni, Ti SS), Bypass, Replay, Boost
- Battery – 1x 18650 / 20700 / 21700 (not included)
- Display – 0.9in full colour TFT screen
- Temperature range: 200-600°F / 100-315°C
- Resistance range – 0.1-3ohm
- Charging – USB Type C at 3A with Passthrough and OTG
- Chip – DNA 100C
- Upgradeable Firmware
RDTA
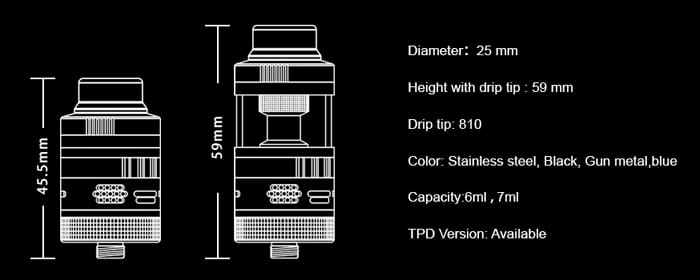
- Dimensions – 25mm x 59mm
- Capacity – 6ml / 7ml Bubble Glass
- Deck – Single coil / Dual Coil Post-less / Mesh
- Drip Tip – 810 (510 adapter included)
Design and Build Quality Body
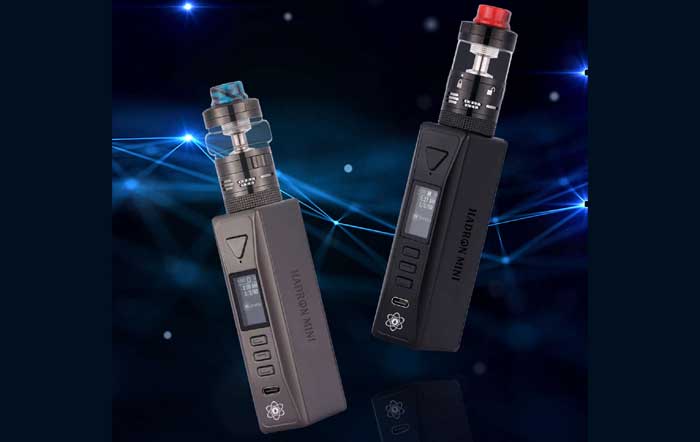
The Steam Crave Hadron Mini combo comes in two colour ways, either Gunmetal (that I received) or Black. With a colour matched tank.
 The Body
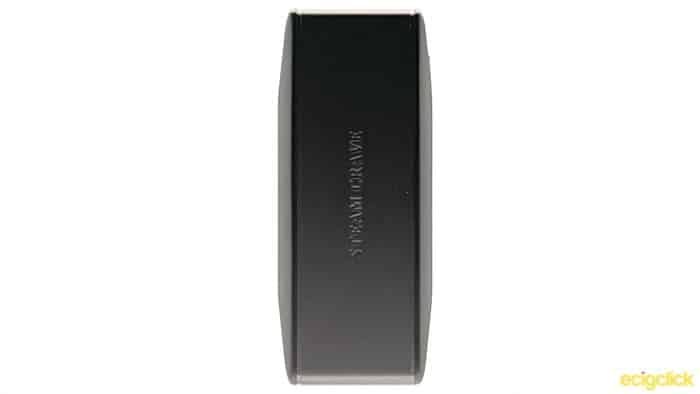
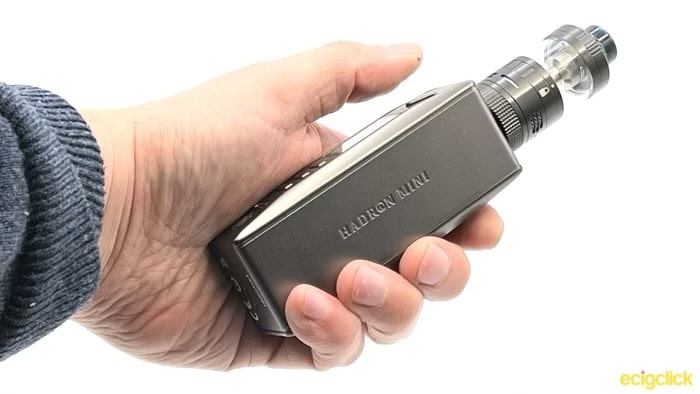
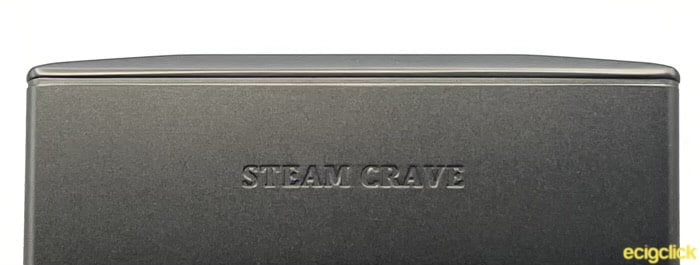
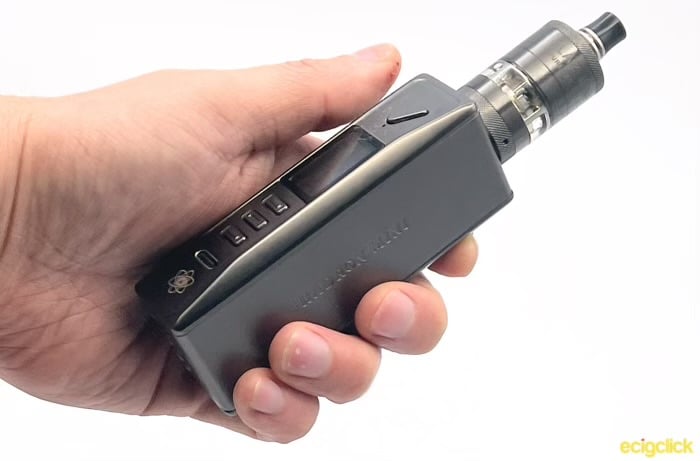
It’s a quite a tall mod, with a very rectangular profile. The front and rear edges bulge out slightly, but otherwise it’s very nondescript. On either side the “Steam Crave” name is engraved into the side.
Top Plate
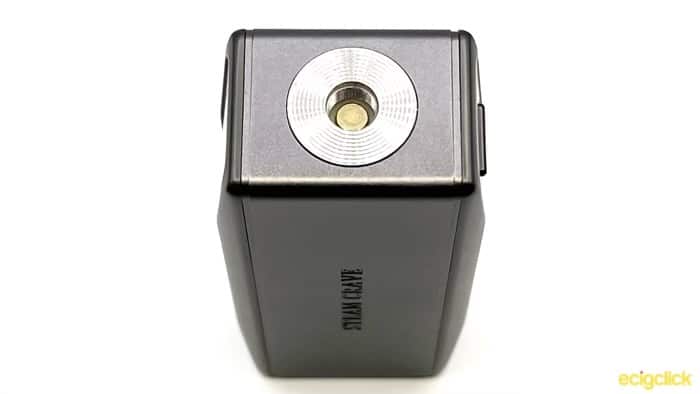
Your 510 plate is centred on this mod, with a gold plated positive connector and no visible screws.
The Back Panel
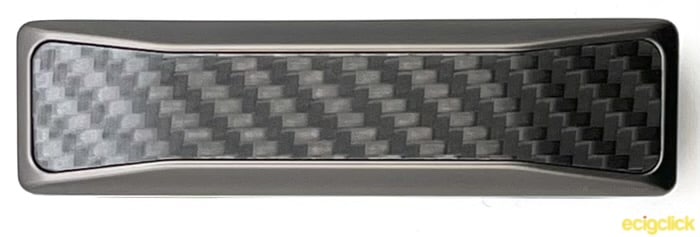
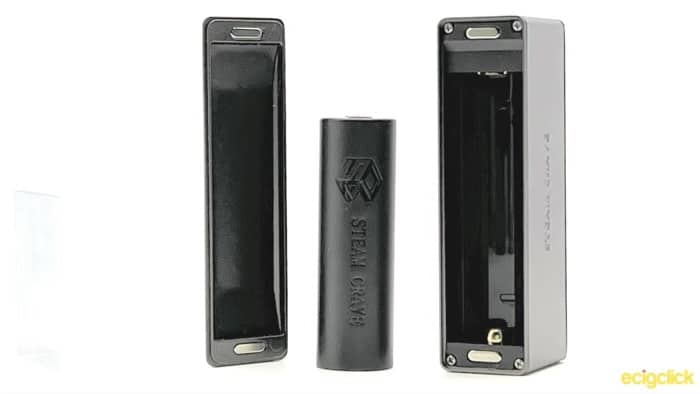
The back is held on by two magnets, one at the top and one at the bottom. The downside of this is if you drop your mod the back panel is almost certainly going to go flying off. On the plus side, the magnets are nice and strong and I never had any worries about it getting dislodged if I tossed it in a bag with other things.
There’s no cut out to help you easily remove the back panel and this is probably my only criticism. Instead, there’s a very slight lip all the way around. In use I never had any issues with this and found it easy to pull the panel off.
When you first open the back panel, you’ll find the included 18650 battery adapter.
Battery polarity is very clear marked inside the mod, with mouldings in the plastic. The reason there’s no polarity on the door is that you can put it on either way up.
Inserting a battery (either a 21700 or an 18650 in the adapter) is very simple. Just press it down on the bottom spring loaded contact and it will slot straight in. Removing it is a tiny bit more challenging, as there’s no battery ribbon. However I found that the battery protrudes enough from the back to make it easy to pull out.
The Base
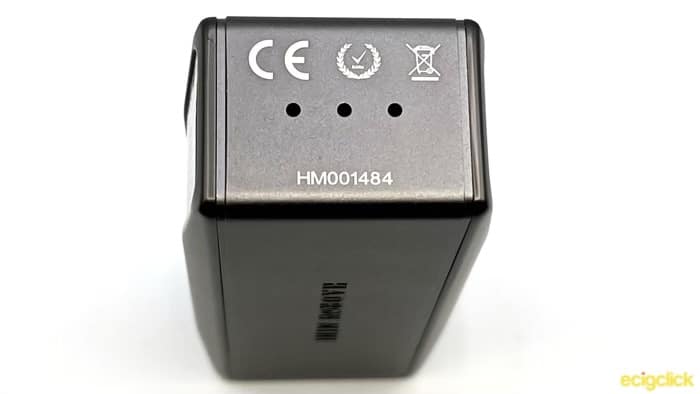
This has your usual regulatory marks and a serial number in White, along with 3 sizeable venting holes.
 Screen and Controls
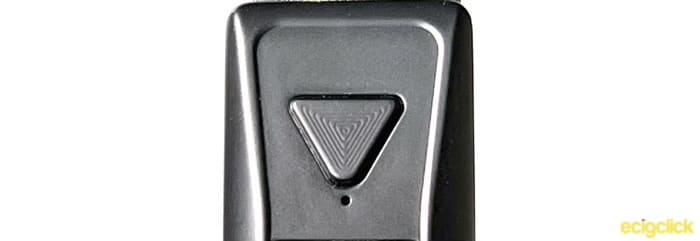
It’s a DNA board, so it’s quite a known quantity. You have the triangular fire button at the top, which has a very subtle triangular pattern on it. I honestly can’t feel this at all, so I think it’s purely aesthetic rather than improving grip.
Below this is your 0.9″ TFT DNA 100C screen, full colour (as that’s what the C stands for). Obviously this can be configured using the Escribe software, but the default DNA layout has your resistance at the top right, battery icon in the middle and battery percentage at the top left. Under this is the mode you’re currently in, output reading and settings.
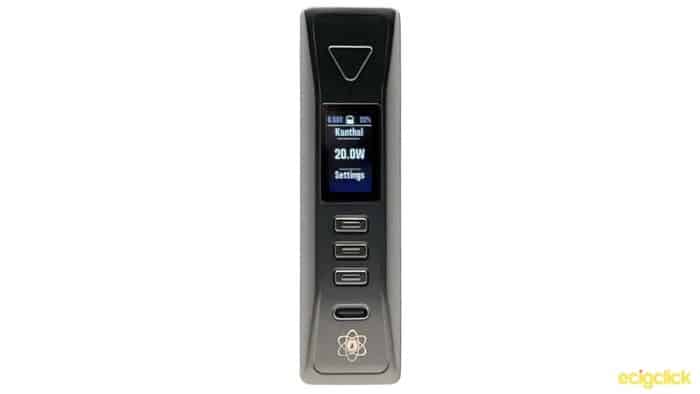
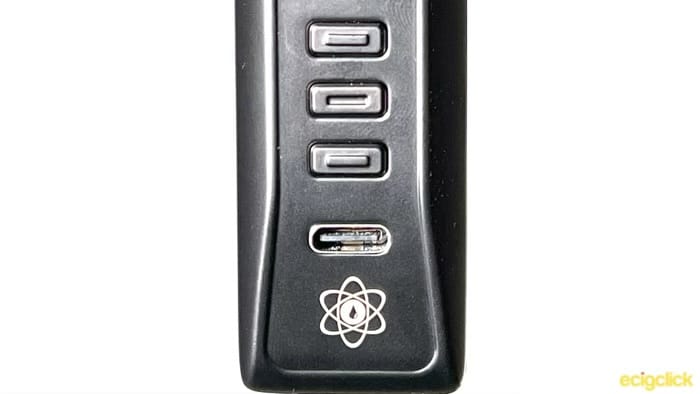
Due to the three buttons, controls are nice and easy with very little in the way of combinations you need to press!
- 5x Fire Button – Lock/Unlock the mod (I tend to change to 3x in Escribe)
- Auto Lock – The mod will automatically lock after a set delay (this is also something I switch off in Escribe)
- Up/Down – Navigate Screen, your option is highlighted or adjust mode/setting once entered
- Select – Enter/confirm selected option
- Modes – Kanthal (Variable Wattage), Watts, Watts Boost, Temperature Control (Nickel 200, Titanium, SS 316, SS 430) Replay
Wattage
In either Kanthal, Watts, or Watts Boost the main control you’ll be changing is the amount of watts. You select this from the front screen by using the up/down buttons, and the centre one to select.
Wattage ranges from 1W to 100W and is adjusted in (sensible) 0.5W increments. If you press and hold one of the adjustment buttons it speeds up, until it’s practically flying up the numbers. It doesn’t round robin, but this isn’t a major issue when it will allow you to scroll so quickly.
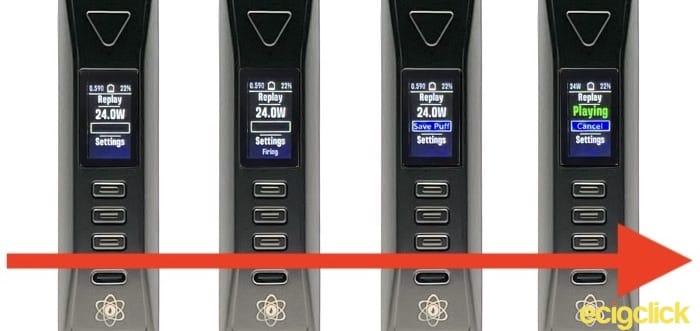
Replay Mode
Replay mode is one of the stand out features for DNA devices, however it’s also one of the more complex in terms of what its doing whilst designed to be easy for the user.
To use it, you need to be using a wire that will work in temp control (Stainless Steel, Nickel or Titanium)
- Set a roughly appropriate wattage and vape away
- When the temperature and feel of the vape is what you like stop vaping
- Select “Save Puff” from the menu
- When you next vape using replay mode, the screen will show “Playing” as it replays that perfect puff!
In the background, the chip is measuring the changing resistance and the wattage that is being supplied, many times a second. When you select “Save Puff” it’s recording this and will replay the same when you next use it. If you’ve never tried temp control before, this is a great place to start!
USB C
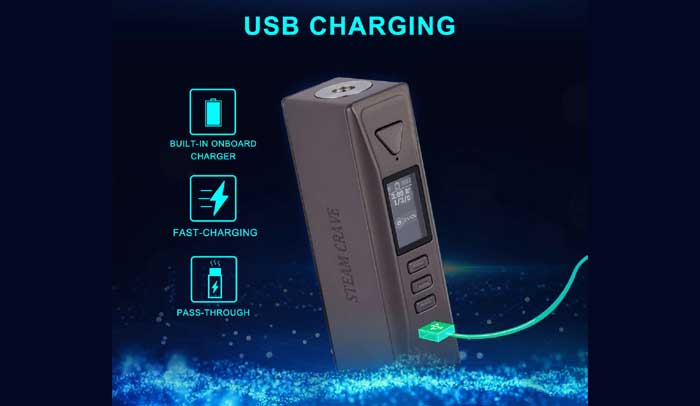
Below the buttons is your USB C port, which you can use for charging your battery at 3A! I’m not usually a fan of charging my batteries in mod, but I’m considerably more comfortable doing so on something like a DNA which is well understood.
How Does the Steam Crave Hadron Mini Combo Perform?
I’ve been using the Hadron Mini for a little under two weeks now, and during that time I’ve tried a variety of different tanks on it. Obviously since this is a kit review that included the Aromamizer Supreme V3.
All of my thoughts on that RDTA are included in my Hadron Lite Combo Kit Review, and my thoughts haven’t changed in the couple of weeks since I reviewed it. So whilst I’m still reviewing this as a kit, I’ve left off talking about the tank.
But I’ve also used an older Steam Crave tank I was quite a fan of, the Glaz Mini and as the mod for a lower powered MTL, this handles itself beautifully.
 Performance
There’s really not a lot to say about the mod here. It’s a DNA 100C with a single 21700 battery. That should tell you that this is a reliable, powerful little device.
Sure it won’t go up as high as a dual battery mod, but the 100C and 21700 is a lovely combo if you want to keep things smaller and don’t need to go into high wattages.
For my thoughts on the Aromamizer Supreme V3 in more details, check out the Hadron Lite Review. But suffice to say it’s a cracking little tank. Maybe not quite up there with some of Steam Crave’s latest and greatest, but still capable of holding its own, with good build quality, huge options and great flavour and cloud production.
Watt Boost
The watt boost mode was designed by Evolv so that they could have one dedicated profile that always had watt boost enabled. If you prefer, you can change any of your modes to have a boost function through Escribe.
So this isn’t a “new” setting, just making it more obvious without having dive into the menus. If you want to edit the power of this, you need to go to Settings>Atomiser and change the “Boost Punch” setting between 1-11. It is set at 8 by default. This give you more power during the first second of firing.
This is roughly analogous to preheat when using temperature control.
By boosting power at the beginning of the fire, it is designed to get your coil up to temperature quicker. This is especially useful for higher mass coils that take a while to get up to temperature.
Not having any particularly slow to heat coils around, I tested it out with what I had.
On its default settings it’s actually very hard to tell the difference. It feels slightly warmer at the start of the draw than previously, but not in an obvious way. This is definitely one of those settings that allows you to really fine tune your vape!
Battery Life
Battery life is always one of those impossible to measure areas from a functional test. It depends on far too many different factors. The exact batteries you’re using, how old they are, what coils you’re using, what wattage you’re firing at, how long you fire for, the list goes on!
Using a 21700 Molicell P42a and pootling around with a mouth to lung tank around 24W, this was easily lasting me through one day and well into the next. To be honest I’d expect nothing less from this combination. So absolutely no complaints with battery life, and I didn’t notice any unexpected battery drain when leaving the mod on the side for a few days.
Finally I didn’t notice the power tapering off at all until the battery got within its last couple of percentage points of power, even when using it nearer 80W.
Any other notes?
The biggest thing that I became aware of with this mod is how easy it falls over! It’s got quite a small base and is very tall, especially with a tall tank like the Aromamizer on it!
Pros
Hadron Mini Mod
- DNA Chip
- Fast charging
- Comfortable in the hand
- Easy access to battery compartment
Aromamizer Supreme V3 Tank
- Good flavour
- Solid performer
- Wide variety of parts/decks
Cons
Hadron Mini Mod
- No cut out to more easily remove battery door
- No battery ribbon
- Easy to tip over
Aromamizer Supreme V3 Tank
- Not as impressive as later (bigger!) models
- Have to be careful when inverting airflow ring (can trap the O-ring)
Final Review Verdict
So that was the Hadron Mini Combo Kit! Again it’s a fantastic little kit from Steam Crave. Like its sibling the Hadron Lite Combo Kit, it’s a single 21700 mod with the Aromamizer Supreme.
The main difference this time is the great DNA 100C board, and the more traditional box factor.
Both of these are cracking little kits, and Steam Crave deserves Kudos for their well thought out kits. The Hadron Mini Combo just feels like a solidly built, high quality kit. You also get a plethora of options with the Aromamizer Supreme V3.
The board that powers it all is a DNA 100C, as this has replaced the older single battery board from Evolv the DNA 75C. As usual, you can tinker to your hearts content with the Escribe software. Whilst you can control all the major functions on the mod, the Escribe software lets you customise it exactly as you want.
With a maximum 25mm tank size, this will suit a large variety of single coil RTAs and RDAs. It’s not the mod I’d choose for a massive dual coil RDA, but it performs flawlessly in what it’s designed for.
Have you tried the Steam Crave Hadron Mini kit? If so tell us what you think in the comments below!
 The Body
 Screen and Controls
 Performance