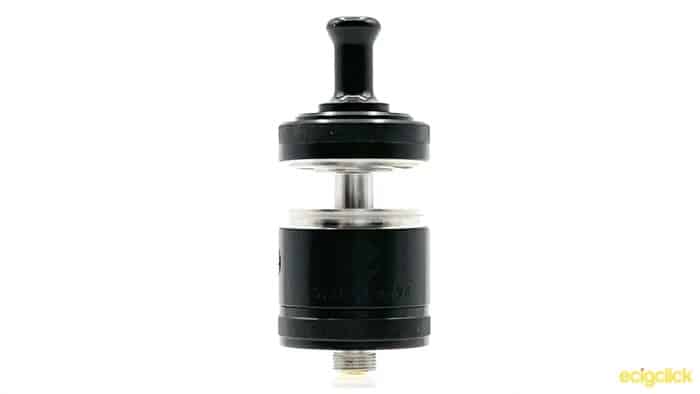
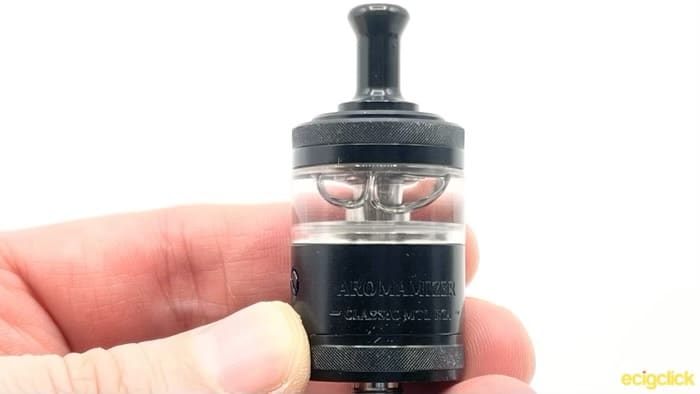
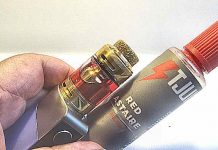
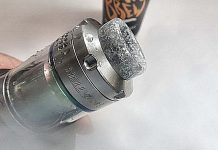
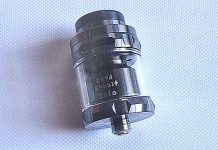
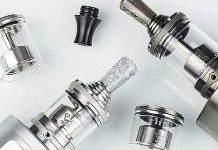
In for review today I have the Steam Crave Aromamizer Classic MTL RTA.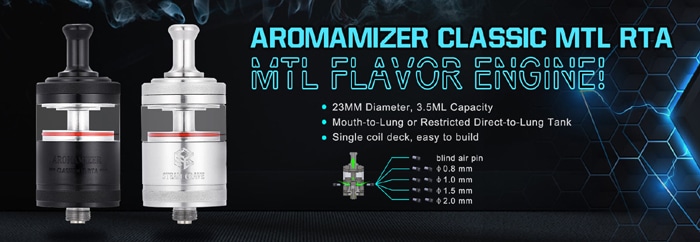
Those of you expecting an RDTA the size of a half-brick may be disappointed however, as Steam Crave have shrunk everything down for another mouth to lung tank.
If you are unsure of the term “Mouth To Lung” or “MTL” read our Guide To Vape Styles.

Steam Crave have previously dabbled in mouth to lung, there was the Glaz mini, which I scored very highly and was quite a “traditional” MTL design and the Mini Robot RTA, which we never reviewed, but had a traditional deck, with an interesting top airflow controlled by pins.
The Aromamizer Classic is something different again!
What Can We Expect From The Steam Crave Aromamizer Classic MTL RTA?
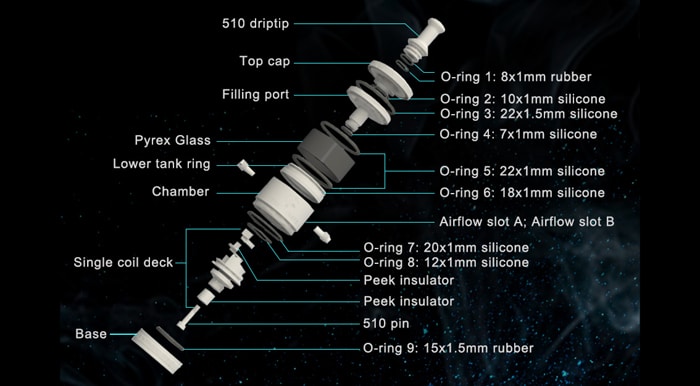
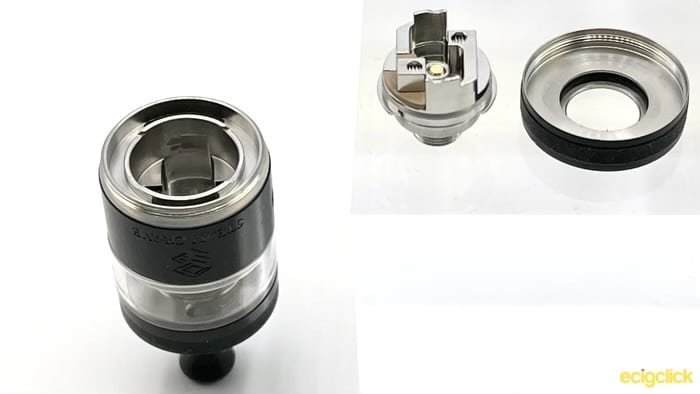
With this RTA, Steam Crave have leaned heavily on the design of their bigger Aromamizers. You’ve got a deck that slots into the bottom, and is held in by a screw on base, side airflow, and the main tank section sitting at the top.
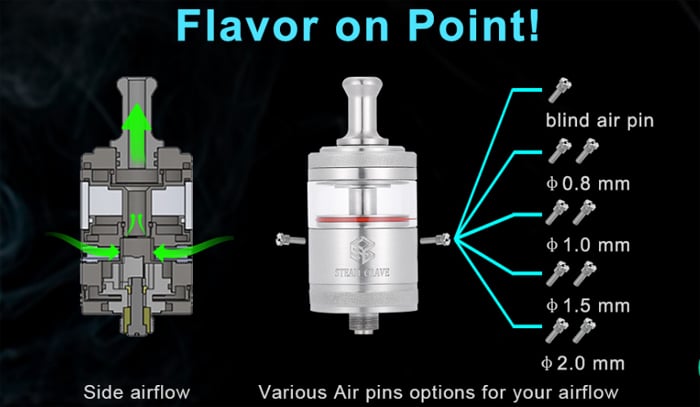
One of the most interesting additions is the external airflow control.
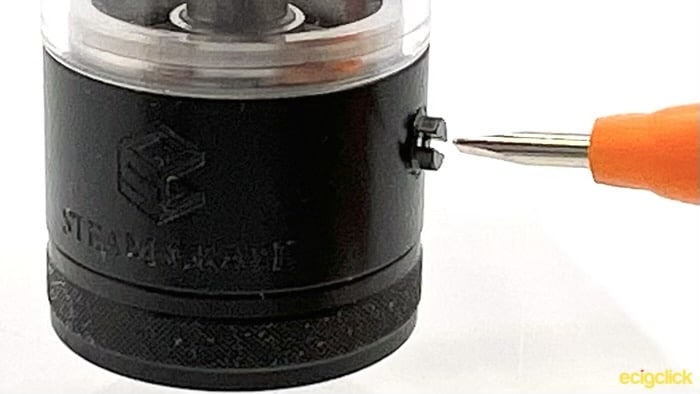
No airflow control ring here, instead your airflow is controlled by little pins that you screw in to the side. Very similar to a design that we’ve seen for under coil airflow from lots of other companies, but with the benefit that you can change these at any time, without removing your build. Provided you have a screwdriver with you!
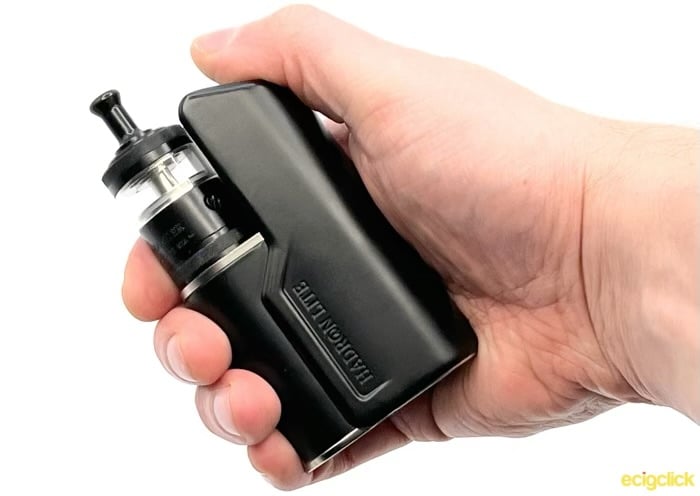
During my testing, I’ve been using it on the Steam Crave Hadron Lite and honestly I think this combo is a match made in heaven. Whilst it’s got a slightly smaller diameter than the maximum the Hadron Lite will accept (23mm vs 25mm), it looks good together.
This was sent over for the purpose of review, (thank you) as usual, this will in no way influence the review, and I shall report back honestly with what I find.
In The Box
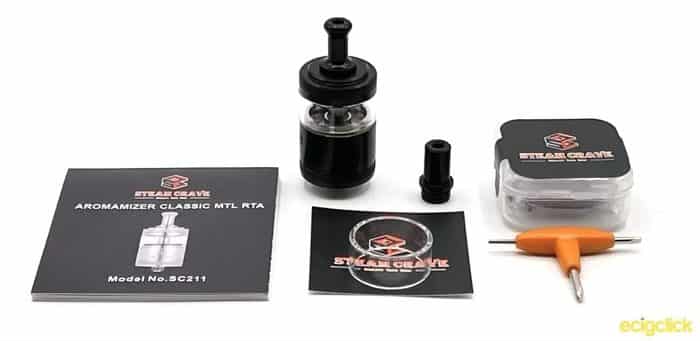
- Steam Crave Aromamizer Classic MTL RTA
- Airflow Pins (2x 1mm fitted, additional 2x 2mm, 2x 1.5mm, 2x 0.8mm and 1x Blank)
- Spare Glass
- Spare Delrin Drip Tip (metal drip tip installed)
- Tri-Tool
- Spares Bag
- Clapton Ni80 coil, ID 2.5mm, 5 wraps, 1Ω
- Steam Crave Sticker
- Manual
Specs
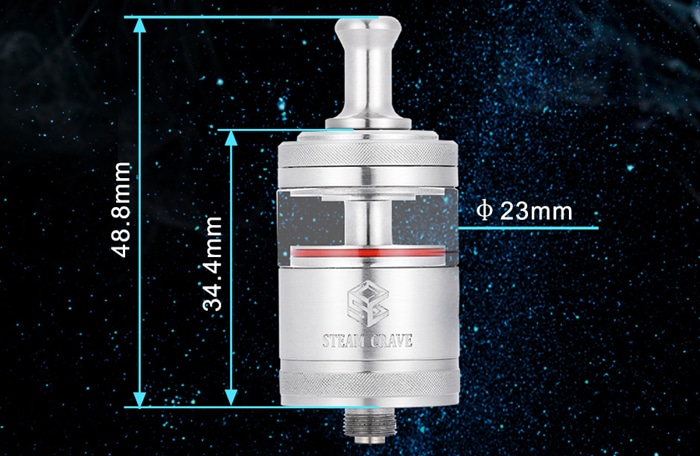
- Dimensions – 23mm x 34.5mm (not including drip tip or 510)
- Capacity – 3.5ml
- Coil – Single Coil
- Airflow – Side Airflow controlled via Air Pins
Steam Crave Aromamizer Classic MTL RTA – Design and Build Quality
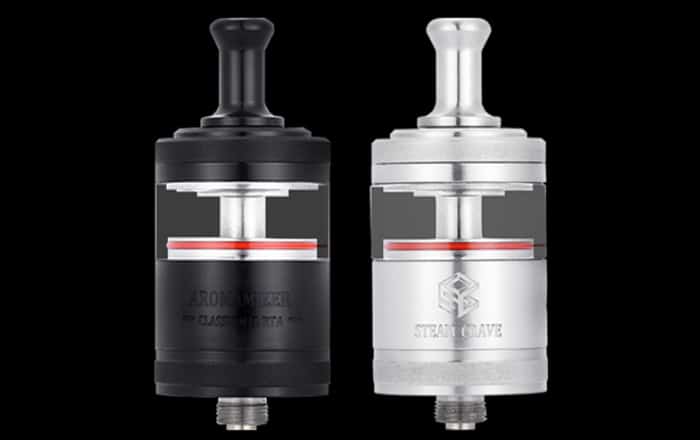
It’s a very understated little RTA, available in either Stainless Steel or Black (which I received).
In the photos on their site, they seem to show a rather ugly (in my opinion!) red o-ring, I’m pleased to report that this was a clear one on the version I received!
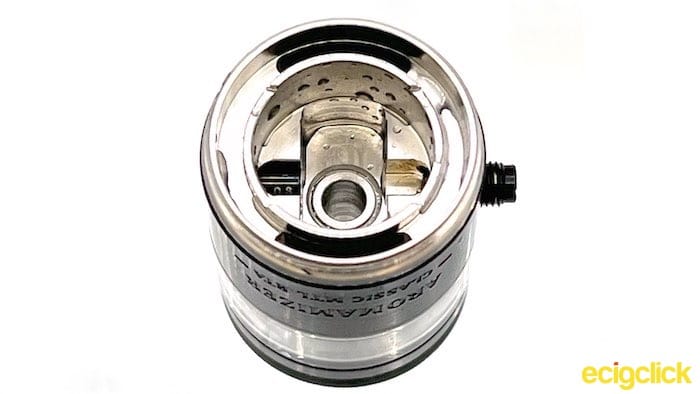
There’s some branding on the main section with the Steam Crave logo and name on one side and “Aromamizer Classic MTL RTA” on the other, but as it’s engraved it’s pretty subtle. In fact it’s very hard to even see on the black version.
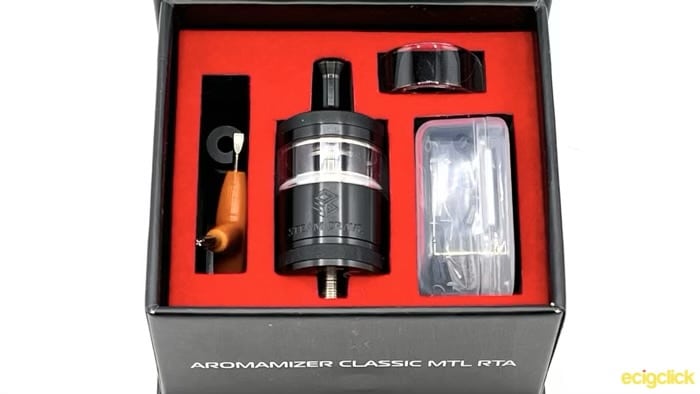
As usual for Steam Crave, everything is presented very nicely in a smart box. The small plastic box contains all your spares as well as your airflow pins.
Drip Tip
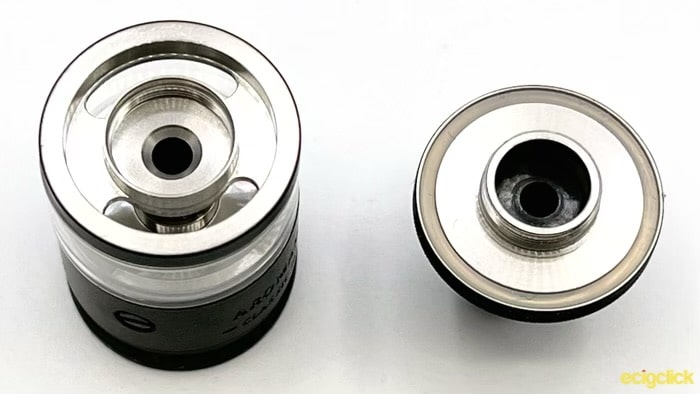
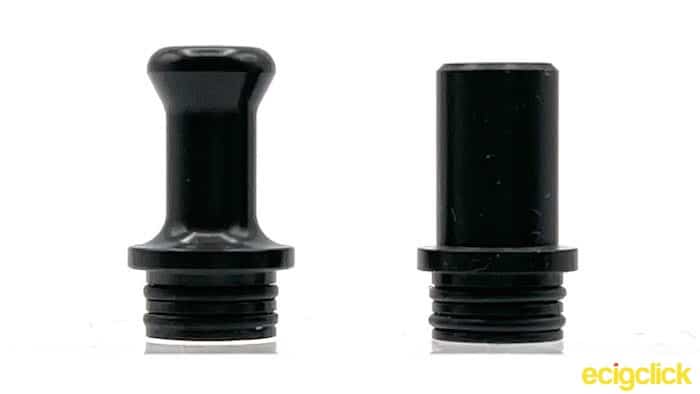
You get a choice of two drip tips in the pack, the one it comes with is what I stuck with, as it’s a comfortable MTL drip tip and I much prefer vaping mouth to lung with something that flares out a bit at the top. It’s a metal drip tip, and therefore colour matched to your RTA.
Top Cap
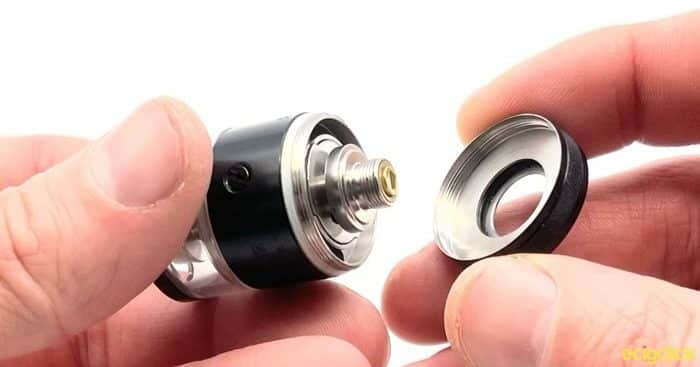
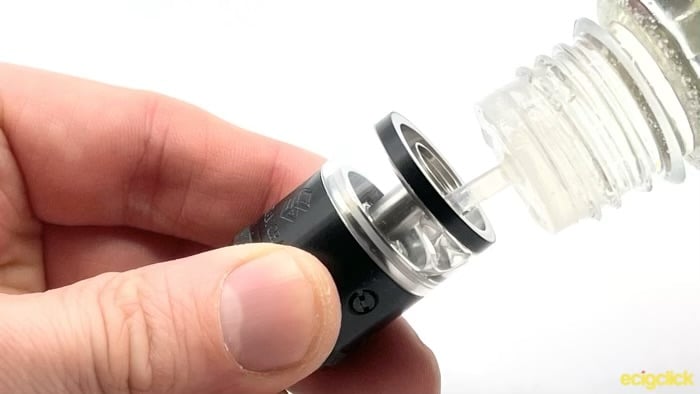
My first (minor) niggle is that it’s not a bayonet fit top cap, instead you have to unscrew it. When you do you’re presented with two decently sized fill holes, and I had no problems with this.
As someone that still routinely uses bottom refilling RTAs for mouth to lung, having to unscrew the top cap rather than just twist it off is a very minor negative for me. You do have some fine knurling at the top to help you get a decent grip.
Deck
Like it’s (much) bigger brothers, the deck of the Aromamizer Classic MTL is inserted into the bottom of the tank, and held in place by screwing on the bottom plate. There’s a couple of little slots that the tabs on the deck fit into, to make sure you align it correctly.
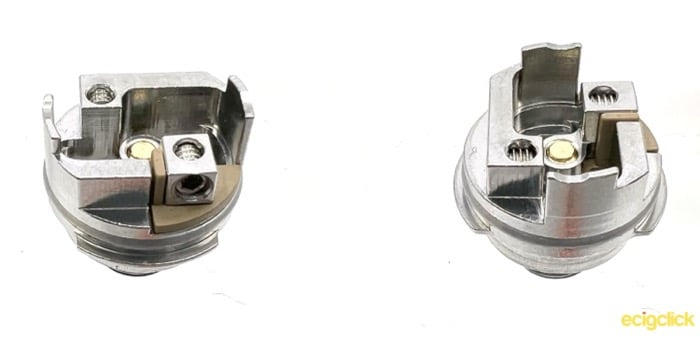
The deck itself is single coil deck with two posts that you drop your coil legs into, before securing them with an Allen key.
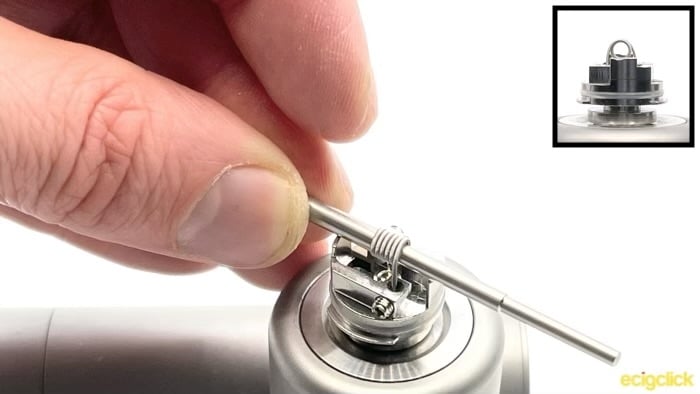
One thing that I immediately noticed when first setting this up is that you have to wrap your coil anti-clockwise. This isn’t an issue for me at all as I wrap my coils by hand, but if you buy pre-built coils it’s worth keeping in mind.
There’s a couple of notches at either end that help with positioning your coil by allowing you to rest a coiling tool on them. And your e-liquid flows into the bottom through a couple of feed holes in the wick cups.
Airflow Pins
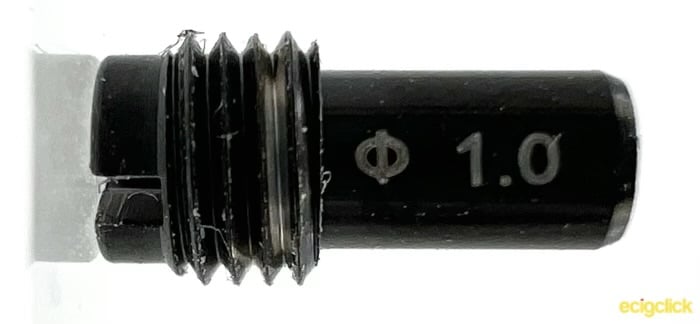
The airflow pins are probably the star of the show as far as the Aromamizer Classic is concerned. These little metal pins have a screw thread, and a flat-head notch on the other end, with a hole running down their length for the air to travel.
Changing them is as simple as using a flat head screwdriver to unscrew them from the bottom and putting in the ones that you want. I found it was easiest to unscrew them slightly so that they protrude out the side, after which you could finish unscrewing them by hand.
You get a good collection of these in the kit, with two each of the 2mm, 1.5mm, 1mm and 0.8mm as well as a single “blank” airflow pin with no hole (not pictured).
The chamber inside is very restricted, which should help with the flavour. And the pins fit inside to restrict it even further. Jetting the air directly at where your coil is sitting.
These all have the diameter of the hole marked on them, although you need decent eye sight to see it due to their size.
Base
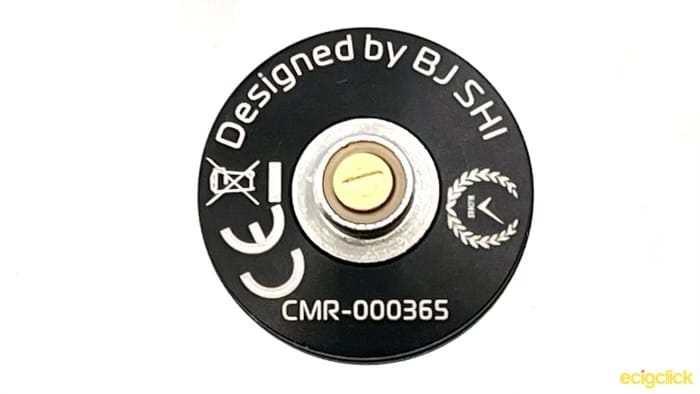
As mentioned, the base of the RTA screws over the deck, with the 510 connection from the deck fitting through a hole in the base plate.
You have your usual regulatory marks and “Designed By BJSHI”, a name that is familiar as the designer of many of Steam Crave’s products.
How To Build the Steam Crave Aromamizer Classic
You first step is going to be making sure that you have a coil that suits the deck. I would recommend something like a 2.5mm ID, but the most important thing is that the coil has to be wrapped anticlockwise. The legs should be slightly spread.
It is possible to adjust a clockwise wrapped coil, by bending the legs so they cross over underneath the coil and come down on the other side. However that’s a bit of a faff if you don’t need to.
- Unscrew the deck screws.
- Place your coil legs into the post holes, and tighten up the screws. You can use the guides on the deck to rest your coiling tool in to make sure that you get the position correct.
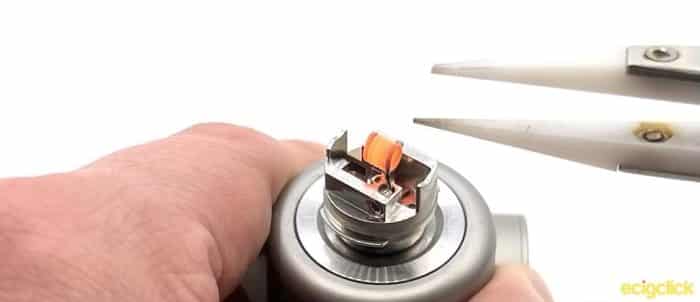
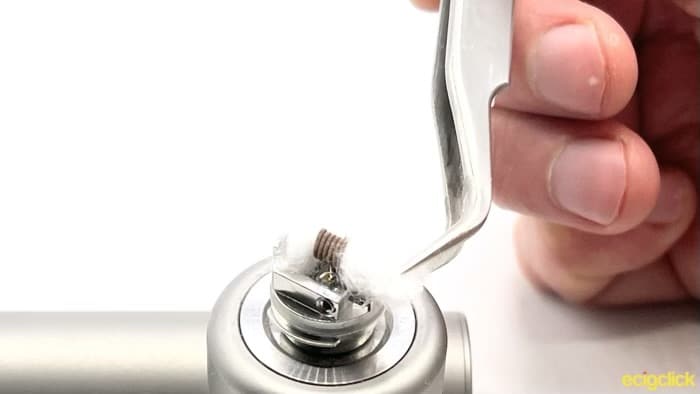
- Once the coil is tightened down and positioned, glow the coil and strum with ceramic tweezers to remove any hot spots.
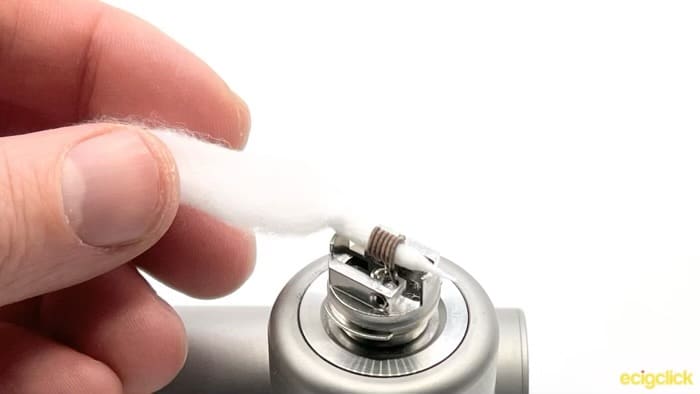
- Feed the wick through your coil.
- Cut the wick such that it will drop down into the wick cups.
- Place your wick into the wick ports, don’t force it down or compress it too much.
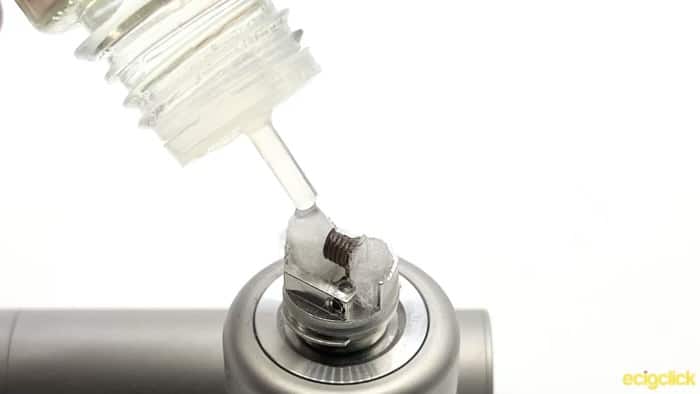
- Prime your coil with plenty of e-liquid.
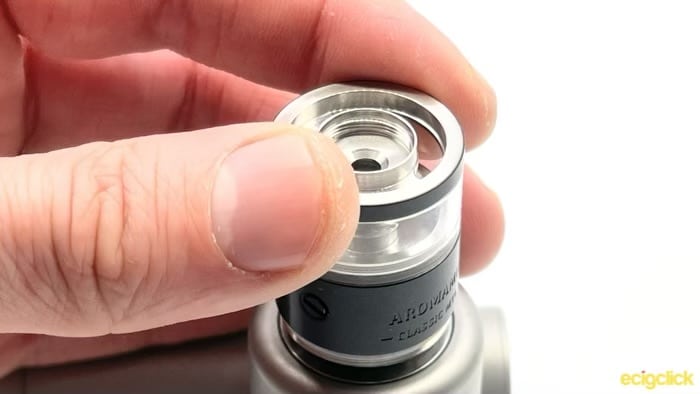
- To remove your deck from the build station, the easiest way to do this is to put the top section of the tank back on, and slot the deck into place, as you will then be able to unscrew it as one piece.
- Once you have the deck and top section of the tank, reattach the base of the tank and screw it down tight.
- Fill your tank with your preferred e-liquid.
- Finally, screw the top cap back on and you’re good to go!
How Does the Steam Crave Aromamizer Classic MTL RTA Perform?
As anyone that has read my reviews will know, I’m a big fan of mouth to lung vaping. I’m always on the hunt to find the “perfect” tank. Flavour, airflow control, build quality, and ease of use, in that order, are my criteria.
As I always do when testing a mouth to lung tank, I have loaded it up with my all day e-liquid SVC Lab’s “Berry Ice” at 50/50 VG/PG. I know this liquid better than any other, so it’s always what I benchmark mouth to lung tanks with.
Airflow
With a range of airflow options I started off with the pins that are in the tank when you buy it, 2x 1mm. It’s definitely a mouth to lung draw at this level of restriction. On a scale of 1-10, with 1 being the tightest possible draw, this configuration is a 3.
For me personally, I felt it was a little loose. I like a mouth to lung vape to really suck at your cheeks a little! So I swapped over to the 0.8mm airflow pins, and this was far more to my taste. The tightness now is between a 1.5 and a 2.
What’s interesting is that the airflow has a different “feel” to it, compared to a bottom airflow tank. It’s got a slightly odd “looseness” to it. Not a bad thing, but definitely different to what you may be used to from a mouth to lung tank.
Switching the airflow to a looser configuration, you have the 1.5mm and 2.0mm options, these give a draw of 4 and 6. At its widest, it is almost possible to manage a very restrictive direct lung draw.
Of course there is nothing to stop you mixing and matching the pins to get the exact level of restriction that you want. With the blank pin, you can even restrict it to a single 0.8mm, which gives a very tight draw indeed!
Flavour
Well, my number one question when it comes to a mouth to lung tank is “how is the flavour?”
The flavour is seriously impressive! I’m using my favourite type of mouth to lung coil, a superfine mouth to lung Clapton in Stainless Steel, with a resistance of 0.5Ω. As I mentioned in the airflow section, it has a slightly different “feel” to a bottom airflow tank, but the flavour is on point.
In fact its standing toe-to-toe with my favourite ever mouth to lung tank. So I am very impressed. In fact it’s so good that I’m planning on buying another of these tanks in Stainless Steel to match some of my other mods.
Pros
- Great flavour
- Nice build quality and design
- Easy to build
Cons
- Screw down top cap
- Not suitable for people who like to change their airflow whilst vaping
- Coil should be wrapped anticlockwise (or you need to bend the legs so they cross over)
Steam Crave Aromamizer Classic MTL RTA – Final Review Verdict
So that was the Steam Crave Aromamizer Classic MTL and honestly this is one of the nicest little RTA’s I’ve reviewed in quite a long time!
It’s not going to be for everyone, especially as you can’t really adjust your airflow on the go. You pick your airflow pins, and then you stick with it. The only other option is to be carrying round the pins and a flat headed screwdriver with you.
But honestly I think that’s a reasonable compromise. Especially with mouth to lung tanks, I tend to find what I like, and then keep the airflow there.
The only other real con about this tank is that you ideally should have your coil wrapped anticlockwise. It’s not a major issue, as it is possible to adjust your coils to work if they’re wrapped clockwise. But it’s much easier to just start off with an anticlockwise coil.
Other than that, I wish it had a bayonet fit top cap, but I’m really nit-picking there!
On the positives, it’s got some of the best flavour I have had from a mouth to lung RTA. The airflow control is spot on once you find the combination of pins that suits you and as with all Steam Crave tanks, it’s really nicely put together. Everything comes apart easily, threads are smooth, and the build quality is great throughout.
It’s still very early in 2022, but I would say that this tank is now the one to beat!
