As I began to look at my new swanky Smok Nord 50w, it seemed all a bit too familiar.
This year Smok seem to have gone through their catalogue rehashing their devices, especially their pod systems. So it isn’t such a surprise that the Smok Nord 50W has a striking resemblance in every way to the Smok Nord 2.
However, let’s not write it off just yet because there is a few very noteworthy additions to the kit.
Founded in 2010, Smok is one of the oldest brands around and one of the most recognisable names in the vape space.
The Nord line was born with the Smok Nord, amazing right? The original Nord was a basic pod system with changeable coils, fixed power and fixed airflow. I loved that kit, it was reliable, easy to use and produced great flavour and vapour making the ideal “Quit Smoking vape Kit“.
Smok then evolved the pod system to have a small screen and adjustable wattage up to 40w and although the base design of the kit stayed the same (including it’s one button), the kit grew in size and introduced the RPM and Nord2 pod.
For some reason Smok called the 3rd Nord “Nord X“. As far as I’m concerned evolution slowed down a little here. The X is a 60w Kit that comes with the RPM and RPM 2 pods.
The Nord 4 evolved into almost a new entity all together. 80W with adjustable airflow, via an inlet ring.
There is also a Nord pro, Nord AIO and N18 Pen kit. Keeping up?
Let’s take a look where the next step of evolution takes us.
What Can We Expect From The Smok Nord 50w Pod Kit?
It seems like Smok realised that they got a bit too carried away with the Nord 4, so they’ve reined it in to create the ‘ultimate Nord’.
The Smok Nord 50W has slide bar adjustable airflow. I’ll be very disappointed if that doesn’t provide a decent mouth to lung (MTL) draw.
The kit comes with the LP2 Pod and the Nord 2 Pod. There is also a Nord 50W RPM Pod sold separately. Personally I am delighted that they’re keeping the Nord coil compatability alive.
As the name suggests, it powers upto 50W and it does have adjustable power. However staying true to the Nord style we still only have one button.
It features a 1,800mAh battery with a 1.2A charge rating.
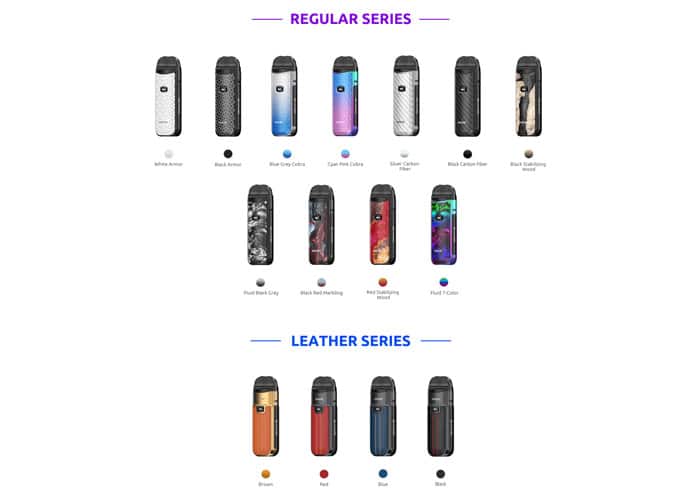
There is 2 designs available, the regular series and the leather series. Interestingly the size of the kit depends of the design. The standard series kits are 31 x 22.6 x 97mm, while the leather series kits are 32x 23.9 x 98mm.
In The Box
There is 3 kits available (standard, EU standard & TPD) all the kits are the same, except the TPD kits have 2ml pods.
- Smok Nord 50W device
- LP2 pod with LP2 Meshed 0.2ohm DL Coil pre-installed (4ml)
- Nord Pod with Nord Regular DC 0.6ohm coil pre-installed (4.5ml)
- USB-C Cable
- Manual
Specs & Features
- Size: standard series – 31 x 22.6 x 97mm, leather series -32x 23.9 x 98mm.
- Weight: standard series – 93g, leather series -95g
- Output Wattage: 5-50w
- Battery capacity: 1800mAh
- Input Voltage: 3.3-4.2V
- Output Voltage: 0.5-4V
- Resistance Range: 0.2-3ohm
- Charging current:1.2A via USB-C
- Pods: Refillable, changeable coils
- Adjustable power
- Adjustable Airflow
- LP2 coil, Nord Coils &RPM Coils (RPM pod sold separately)
- OLED Screen
- 6 Battery Protections
Design & Build Quality
At the time of its release and at the time this review was written, there are 15 ‘colours’. Of which 11 are ‘standard’ and 4 are ‘leather’.
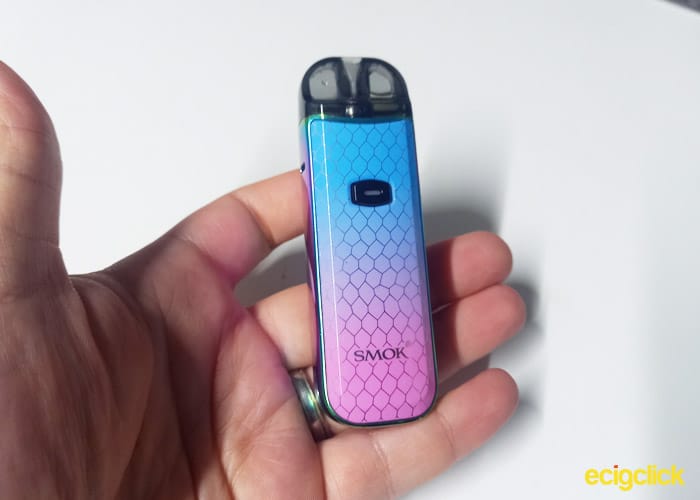
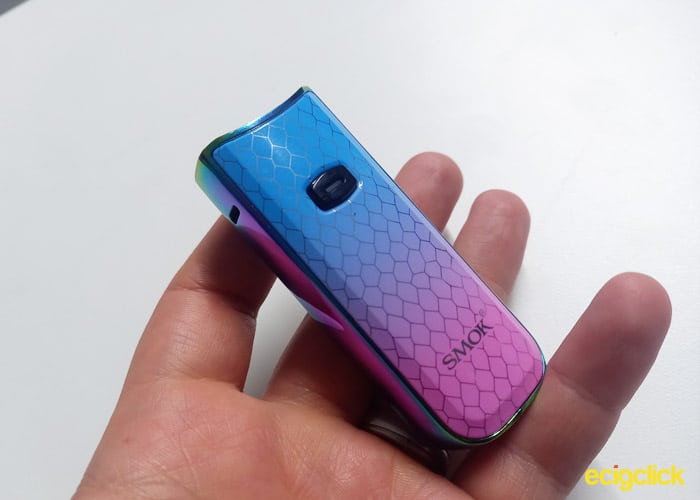
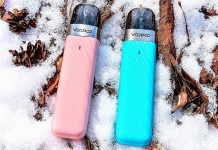
I received the ‘cyan pink cobra’ and although I usually prefer darker colours, I do like it… Even if it does look like a bubble gum cola bottle.
Smok Nord 50W Battery Section
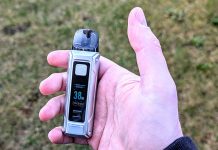
The Smok Nord 50w looks like any other Nord, all be it a fair big bigger than the original, with a screen on one side.
The frame of the Nord 50w is a smooth metal. It’s covered on the front and back by a sticker. It should be noted, unlike the standard panel stickers, the leather doesn’t go all the way up the device.
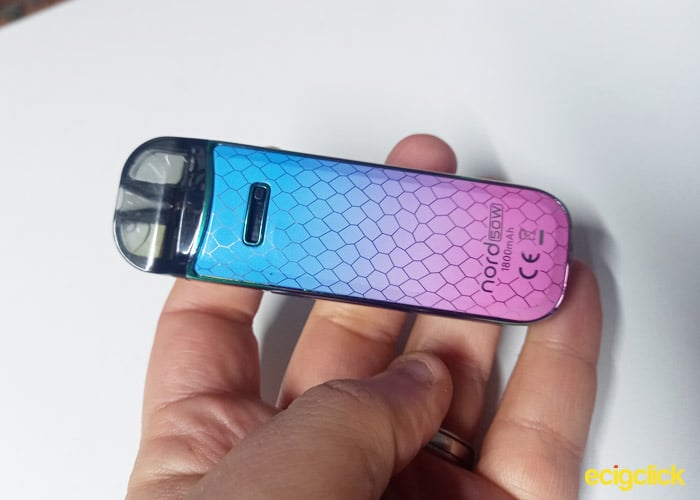
The honeycomb, snake skin scale pattern is quite an iconic design across the entire Smok catalogue. However, I think it’s all the more prevalent on the Nord devices (and the Novo devices alike). I’m a fan. It’s a small and simple effect that makes a big difference. As always the sticker panels are well placed and well stuck.
Button & Indicator
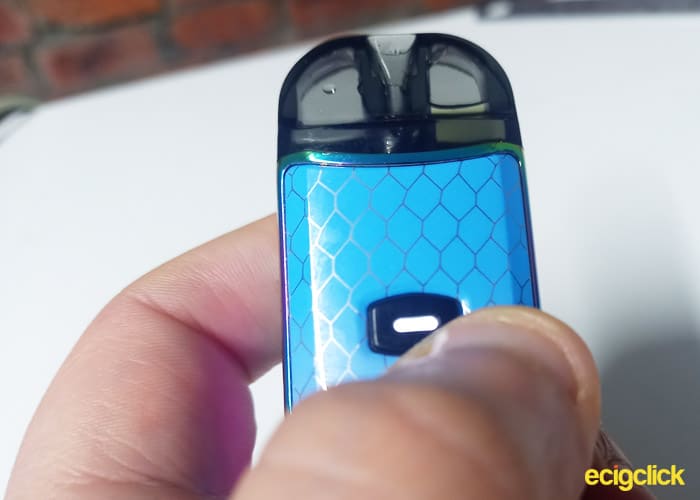
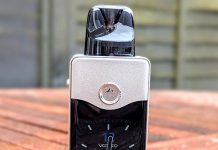
The typical Nord button, with its LED indicator in the middle remains on the front of the Smok Nord 50w.
Quite surprisingly, even though the Nord 50w has a screen, the buttons indicator still functions as an indicator of safety protections, although the screen does also tell you what the issue is.
As always the button is nice and easy to press, giving off a small click. However the button is raised by about 2mm, so it’s probably best to keep the device off while it’s in your pocket to prevent from accidentally firing it.
Adjustable Airflow
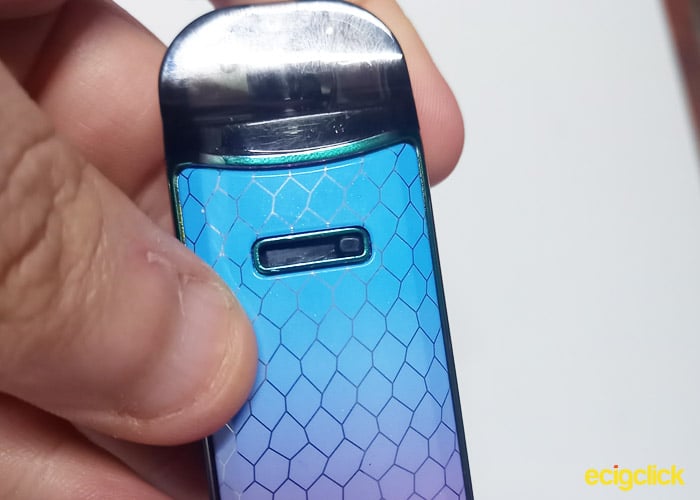
On the back of the Smok Nord 50w is the adjustable airflow. It uses the sliding bar design which I quite like.
Excluding the airflow band which isn’t an option for non-round devices, I think this is the easiest and simplest way for a user to control airflow.
It’s fairly stiff to slide at the start but it quickly loosens up and it only hangs out by about 1mm, so it isn’t the easiest. But I don’t think it’s something you’d have to use too often and if it was too easy, it would move on its own accord. So I’m not complaining.
Unfortunately it’s not very good at providing a restrictive MTL draw, even with the airflow fully closed.
With the airflow fully open it’s pretty free flowing, but as you can guess by the size it’s not restriction-less.
Smok Nord 50W Screen
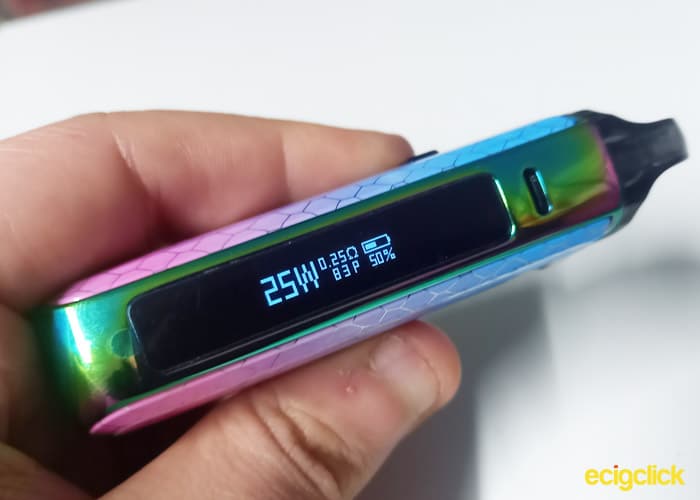
The OLED screen on the Smok Nord 50w measures at 20x5mm. It’s very basic and does just what it needs to.
On the left is the power setting but when the button is pressed this turns into a timer. In the middle is the current coil resistance reading, with the puff count under it.
Then on the right side is the battery level indicator, with a percentage below it.
The screen is ample, like I said, it does what is needed and no more. It’s also easy enough to see in most lighting.
Pod Port
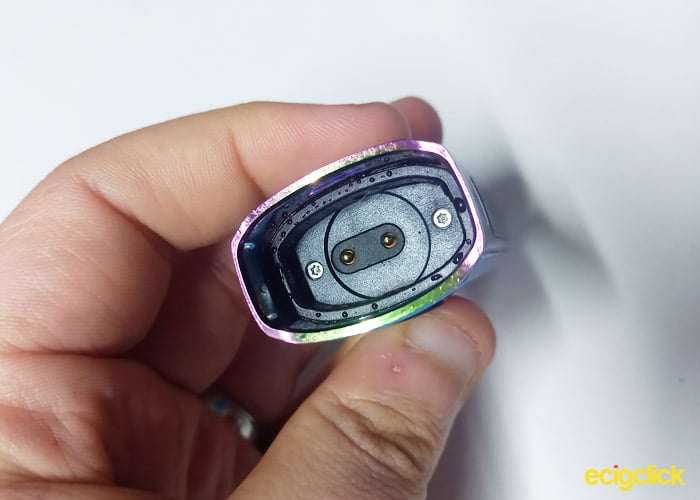
The pod port is pretty basic, it’s exactly what you would expect.
On the bottom is the positive and negative connections and 2 torx screws.
On either side of the port is the airflow.
The pods aren’t held by magnets, there are grooves that hold the pod in place. It’s not unusual for Smok to design pods to do this and I don’t mind it, but I think it’s potentially not sustainable for the super long term.
Smok Nord 40W Pods
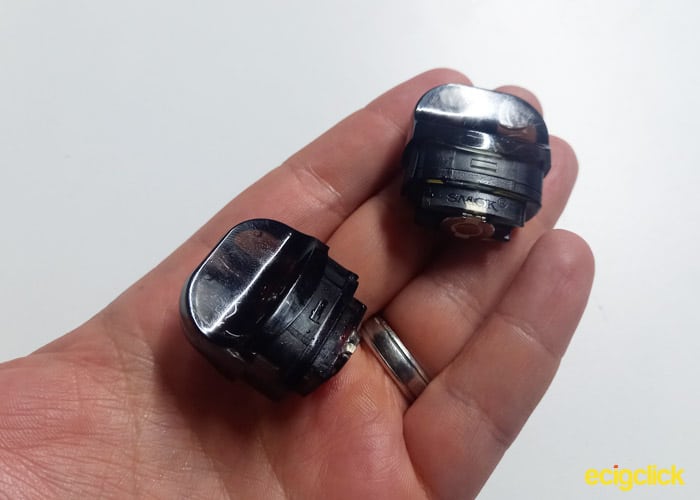
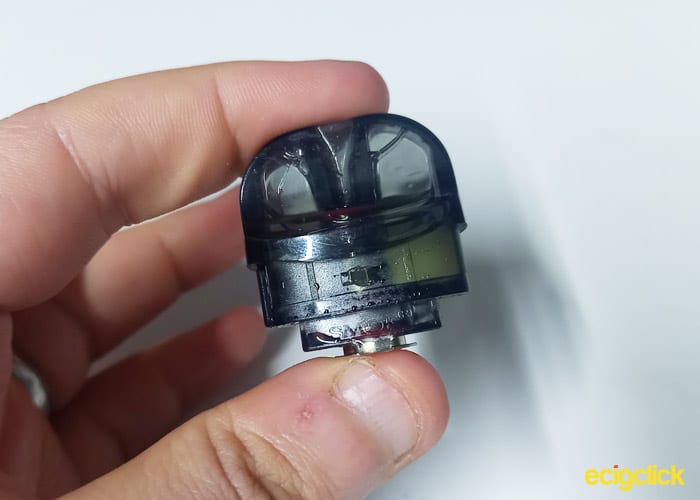
The Smok Nord comes with 2 pods, one for LP2 coils and one for Nord coils.
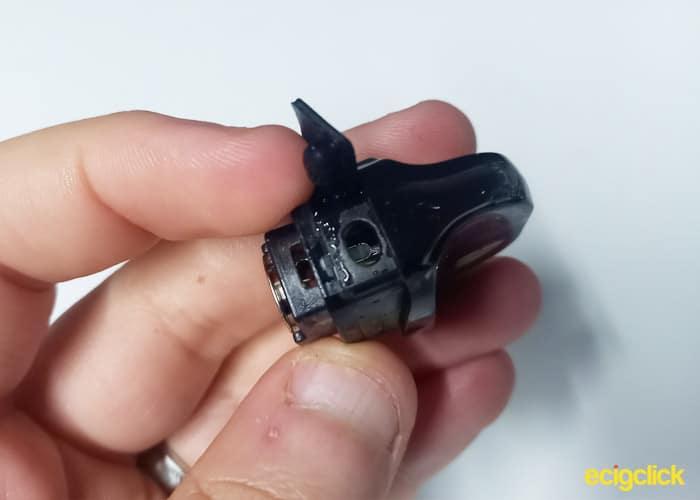
For all intents and purposes both of the pods are the same except from the hole sizes for the coils and the Nord pod has more of a ‘wall’ at the base of the pod. The LP2 pod has more of the inclosed airflow section with an hole at either side.
Both pods have the same fill port, which is a decent sized hole, covered by a square silicone bung. Their location is just under top of the pod ports frame edge.
Thanks to the square bungs covering an entire edge face the bung is easy to remove, even for us nail biters.
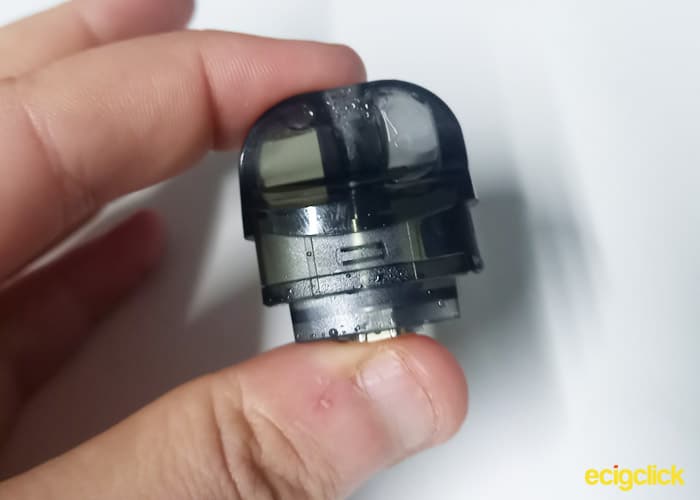
The pod fits fairly flush to the edge of the pod and it then moves in to form the mouth piece.
Confused on which pod is which? Yes, I was a little confused too, thankfully it tells you on the rubber fill hole bungs.
Pod Mouth Pieces
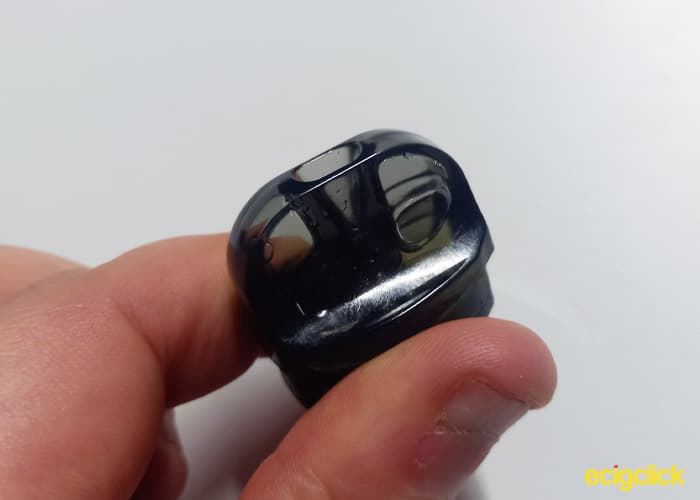
Along with the rest of the pod the mouth pieces are a clear black plastic making it easy to see your E-liquid level. This may not be the case with the TPD versions. However, I don’t have them so I can’t be sure.
The mouth pieces are very typical of the Nord series. It forms a sort of flat dome shame which is 7mm thick right at the tip.
They’ve stuck with this design because it works.
Quick Start
Filling the Pod
Once you’ve decided what pod you’re going to use, you need to fill it.
- Remove the pod from the battery section
- Locate the silicone bung on the side of the pod
- Lift the bung
- Fill the Pod through the newly exposed hole
- Reseal the pod with the silicone bung
If this is a new pod/coil allow it to sit for upto 5 minutes before using.
Changing The Coil
The pods can’t hold much liquid without the coil, so it is recommended to do with the pod as near to empty as possible, to reduce loss of liquid.
- Remove the pod
- Holding the pod upside down, pull from coil out of the base
- Insert new coil
- Fill and allow to sit for upto 5 minutes
Operations
- Turn On/Off = Press the button 5 times within 2 seconds
- Change power setting = Quickly press the power button 3 times. The power setting will start blinking. Press or long press the button to turn up the power, when the power setting reaches 50w, it loops back to 5w. When the desired power setting is set, leave idle for 3 seconds and the device will save the setting.
- Vape= press the power button to fire.
How Does The Smok Nord 50W Perform?
I mainly used the 10mg Got Salts Peachy Promise with the coils. It’s a peach and passion fruit 50VG/50PG e-liquid.
I also spent just over a day on each coil using them with Rochford Projects Lemon Meringue Tart, which is 70VG/30PG and I’ve added a nic shot to make it 3mg.
LP2 pod with LP2 Meshed 0.2ohm DL Coil
This coil is recommended to be used at 20-42W.
Honestly I think the best power depends on how you want to use it. If you’re looking for a fairly restriction-less Mouth To Long draw with a nic salt 20W is great.
If you’re looking for a more powerful Direct To Lung draw with high VG liquid, 40W is great.
Because we have such a huge recommend range, I’m just going to start at 20W. As I’ve just said although it provides a fairly restriction-less draw, it does provide a really good MTL Flavour and vapour.
Having said that, it does also provide a great DTL draw. With a slow Direct to lung draw, it provides great flavour and a small thick cloud.
At 31W it can still be used for MTL but the vapour production as a bit too much for my liking. However with a slow DTL draw, you get plenty of flavour and a small to medium cloud.
Full power ahead.
At 42W the flavour is plentiful and it provides a small to medium cloud. With this power, I found that if you’re going pretty heavy on it 3-4 consecutive drags it seems to struggle to pull the liquid through fast enough. I found this with both 50/50 and high VG liquids.
Needs to be noted though, I did get any actual dry hits.
Nord Pod with Nord Regular DC 0.6ohm coil
This coil is recommended to be used at 20W.
With such a specific power recommendation I have no option but to start down low at 15w.
I have to say I was pretty disappointed. I couldn’t taste anything at all, I turned the airflow all the way down to off and then there was a very slight hint of flavour, but nothing notable.
I took to 20w with the airflow fully off and the flavour was more prominent but still faint. I really hoped that turning the airflow up a little would heighten the flavour but I was wrong.
I like to go above the recommended, but this time I’m doing it in desperation to find some flavour.
At 25W there is ample flavour, It’s not super prominent but with the airflow set to half way it prominent enough to taste and enjoy.
Smok Nord 50w Battery
The Smok Nord 50w has a 1800mAh battery and a 1.2A charge rate.
In my experience it took just under 1 hour and half to charge, from flat to full.
How long the battery lasts depends completely on your power settings.
At 20W I easily got all day out of one charge. If you take a puff every other minute with an average puff time of 3 seconds it will last about 13 hours.
Using the kit at 45W would get you about 6 hours use out of it if you’re using it constantly (a puff every other minute non-stop).
Having said that the highest I frequently used the Smok Nord 50w at was 40w and I got the whole working day out of it, plus a few hours when I got home. On a chilled out day, it lasted all day.
Leaking
With both pods I noticed a slight leaking but the liquid was on the upper section of the pod port walls and not the actual base of the pod port. This suggests that it was leaking from the fill port or it was liquid that was spilt. Either way there wasn’t a lot.
Pros
- Capable of good flavour
- Huge variety of coils (NORD, LP2 and RPM -sold separately)
- Easily adjustable Airflow
- Sturdy & Well built
Cons
- No Restrictive MTL draw
- One button functionality
- Battery is Ok but could be bigger
Final Verdict
So, to summarise, they got the Nord 4, they reduced the power and changed the airflow from a dial to a bar… great.
I am really happy that they are keeping the Nord coil compatibility. That really is a good thing for MTL users… but are they necessary on this pod? I mean if you like any type of draw restriction, you’re going to be let down.
I thought providing 2 different pods, (3 if you include the RPM), and having adjustable airflow Smok had a really good opportunity to make the ultimate All In One device but the airflow let this down quite a lot.
It doesn’t come anywhere near restrictive enough. They could have made the Nord pod to have less airflow by narrowing the airflow on the bottom of the pod… but they didn’t.
I’m also not very keen on the one button functionality. Never have been, never will be. I think it makes a simple device that little bit more faffy.
Call me old fashioned but I still prefer the original Nord, I think this is better for new vapers.
I’m struggling to identify who the target customer is here. It’s a small DTL / RDL pod system that can also accept MTL coils. I know there is customers for that but for me it seems like the Nord has come too far away from its origin, then tried to go back, but forgot the way.
Stop blurring the lines!
Did you buy the SMOK Nord 50W pod? Let us know your thoughts in the comments below.
I prefer the Smok Nord50w because it’s a perfect vape that isn’t disposable and can fit in your pocket without it bulging out. I would recommend to turn it off if your going to keep it in your pocket because I have a accidentally push the button in my pocket while riding in a vehicle and felt it “burn” if you know what I mean and it ruined the pods by cracking the plastic I think from the constant heat. Other than that i prefer the nord pod/coils over the lp2 just because higher nic (50mg strength) and the liquid last a lot longer than the lp2 pod/coils
My screen went black on my smok nord 59w but it still work it’s just bugging me that I can’t see my settings or battery
Might be on Stealth mode perhaps? Click the button 3 times to get into the menu to turn stealth mode off – if this doesnt work then the screen might be knackered.