As a vape reviewer, I’m sampling new vape gear most of the time and actually don’t get much of a chance to go out make my own Nickel, Titanium or Stainless Steel coils.
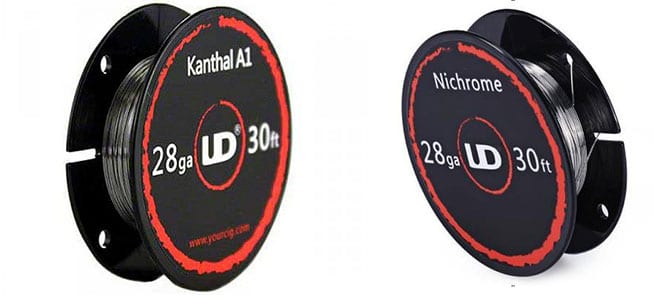
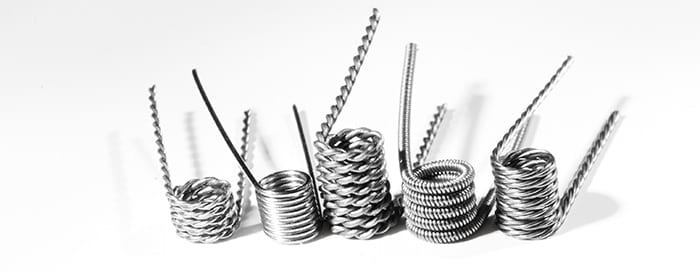
The fact that the alternatives of Nichrome80 and Kanthal coils are note only reliable heat conductors but also the cheaper option for manufacturers means that almost all of the pre-made coils and coil heads I review, whether as part of a kit setup, as tank accessories or on their own, are made of either Kanthal or Nichrome80.
Now, I reserve a few SS and Ni coils to test TC on my new mods but on a daily basis, I don’t really use TC…due to the facts mentioned above. That’s because TC simply doesn’t work on Kanthal and Nichrome 80 Coils.
You might be saying, “yes it does…I’m vaping in TC mode right now with a Nichrome coil!”
Nope, some chips will continue in TC mode because they aren’t programmed to kick you out when you install the wrong coil type but the fact is that the TC won’t actually be working, if you manually measure the temperatures.
A decent, well made and programmed chip like Voopoo’s Gene Chip or the Evolv DNA chip won’t keep you in TC mode when the TC is unable to function properly and will actually kick you straight out so…if your mod doesn’t do this, maybe you should consider upgrading, lol!
Now, as a beginner, you might not yet have a thorough understanding of how the TC on your mod works. I’s suggest you read one of our TC guide articles.
Even if you know about Ohm’s Law, you should still understand the basics of TC, in order to understand how your TC mod does things.
Let me explain just why it is that your mod is unable to or WONT function in TC mode when you have Kanthal or Nichrome 80 coils fitted, before we get onto the fabulous TC alternative that is Wattage or Power Curve Mode, a function that I use every day and thoroughly enjoy using!
Why TC Won’t Work With Your Nichrome80 and Kanthal Coils
Now, your vape mod’s Temperature Control feature works on the basis of reading resistance changes in the wiretypes, SS, Ni and Ti. These metals all increase in coil resistance as they heat up and then decrease in resistance again as they cool, in a way that is constant and highly predictable.
Your mod uses this predictability to its advantage by reading those resistance changes and then using the values to determine future changes and set the TC accordingly.
These predictable resistance increases and decreases vary hugely from wiretype to wiretype and a wiretypes rate of resistance increase per unit of temperature gained or lost is known as its Temperature Coefficient of Resistance.
The higher a coil’s temperature coefficient of resistance, the more room your chip is given for calculation and the more accurately it is able to set and adjust your temperatures as you vape, hence…if effective TCR is what you’re after, the higher the Temperature Coefficient of your coil should be.
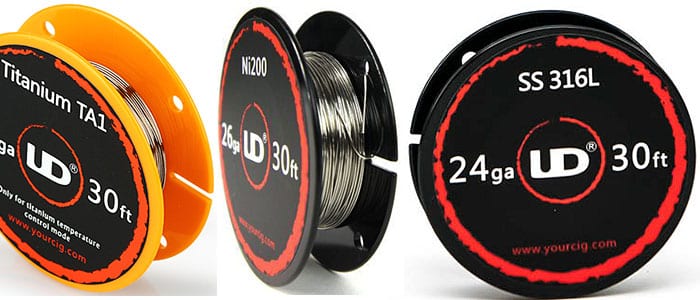
Of the three common TC wire types, Nickel (Ni200) has the highest TC, followed by Titanium (Ti), which has roughly half the coefficient of Nickel, then there’s Stainless Steel (SS) behind that, at about a sixth of Nickel and a third of Titanium.
Kanthal and Nichrome are not on that list because their coefficient is so extremely low.
As Kanthal (Ka1) and Nichrome (Ni80) barely change resistance as they are heated and cooled, they are utterly useless for TC. The thing is, their low or negligible TC also makes them ideal for vaping regularly, without TC in power mode…which a great many vapers do. So, brands aren’t necessarily just thinking about cutting costs with Kanthal, they are actually considering safety and stability to.
The trouble is, there are still reasons why we might need a function similar to TC on our Ka1 and Ni80 coils, to maintain heat and counteract long draw cooling, to preheat and Boost coils without letting them overheat during an extended, high temperature draw, for example.
Luckily for us, though, there is a method of customization that can very accurately mimic the stabilizing and boosting effects of TC…Power Curves, Wattage Curves, Voltage Curves, whatever gimmicky title your new mod may give them.
Newer mods are including this feature more and more, as a way to make the most out of your Kanthal and nichrome coils, so it only makes sense that you learn how to use it!
How Power Curve Setting Works
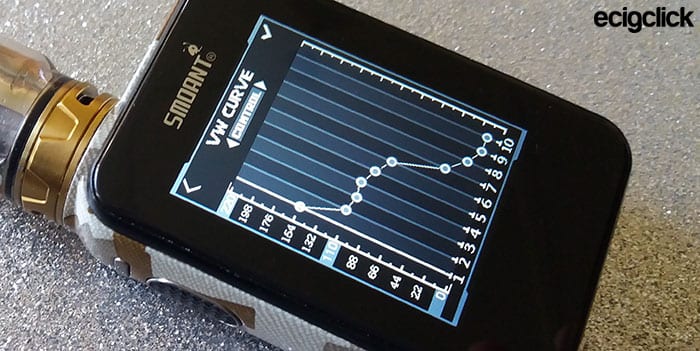
Okay, a power or wattage curve setting works by allowing you to set your wattage separately over a period of increments of time, extending over the complete length of a draw.
So, if a draw is 5 seconds long, your mod might allow you to set an individual wattage for each of those 5 seconds or, better yet, use 0.5 second increments and allow you to create 10 settings over that 5 second period.
Touch Screen Mods With Power Curve
Mods with larger screens or touch screens will often display a pictorial graph to make the curve setting easier to perform. 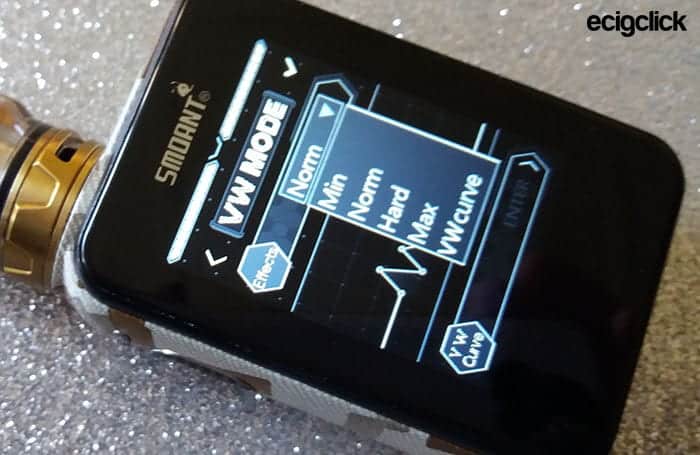
Here is a selection of touch screen mods with power curve settings
How I Set My Power Curve In Mods With 10 Second Draw
Now, you’ll find that a great many mods offer power setting over the length of a 10 second draw, which is confusing and actually quite excessive, since a 10 second draw is rather uncommon.
In the event of this I tend to repeat my setting for each of the 2 five second halves (since my draws never exceed 5 seconds unless I ‘m showing off) or I flatten out after 5 seconds, which I tend to do when I’m feeling lazy whilst setting up.
Small Screen Mods
Some brands, marketing power curve mods with smaller screens, will try to make things easier by allowing you to customize your curves with an app or online, using a graph such as we see on popular touch screen devices. This may seem like a hassle if you’re doing it regularly, but this won’t be necessary if you find a few custom curves that are good enough to stick to and program them to memory.
Mimicking TC With Power Curves or Wattage Curves – Reasons Why: To Maintain A Constant Coil Temp on Small Coils
Smaller coils, with a high resistance and straightforward, un-fancy wires, may have a tendency to actually cool while you’re vaping them, as a result of the constant influx of cooler juice and air…especially if you’re an aggressive drawer (okay, that sounded weird, vision of aggressive desk drawer, aggressive sock drawer, damn, you know what I mean!).
The fact is, the thinner the wire, the quicker it will cool down. Now, this isn’t a common usage for custom wattage curves since this really might only be an issue if you’re vaping tiny coils at a low wattage, which most of us aren’t. What you’d do if this was your issue is you’d set up that wattage in a very slight but steady incline, slight enough just to counteract juice and air cooling, without actually reaching a coil temp higher than you began with.
To Preheat Coils or Improve RAMP Time
There are numerous mods out there which might allow for power curve customizations but do not come with a preheat function. Now, those of us vaping on beefy AF, weird-ass coils, know all about the usefulness of a pre-heat function to speed up ramp time and drop off on the heat required to vaporize a coil like like this, later in the draw, so that you don’t burn the business out of your lips and lungs.
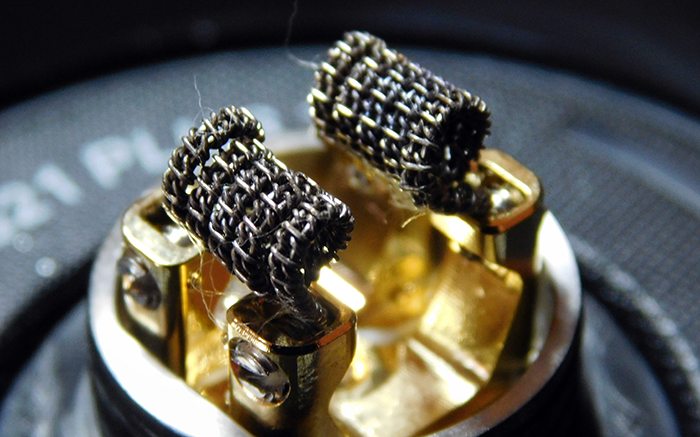
Because crazy bird’s nest coils and the like take just as long to cool down as they do to heat up. What tends to happen as you fire them during a long, constant wattage draw is that the heat builds up, overheating the coils, diminishing their lifespan, overheating the juice so that it splurts and splutters into your gob and just generally burning the crap out of everything within reach.
That’s where mimicking the preheat function comes in because, unlike those tiny coils mentioned in the previous section, beefy alien type coils will cool so slowly that they’ll still be hot, even by the end of a long, 6 second draw.
So, it follows that the sensible thing to do is start off your curve with the boost required to get that coil to temp…then drop down steady and easy or simply drop and maintain from the boost on out. No more dry hits, no more painful spit-back.
The result? You’ll be able to withstand a longer draw, which means more cloudchasing fun and more flavour for you.
To Pulse Heat Coils
Okay, this one can be used in either of the situations above, extending the length of a comfortable draw or maintaining heat to assist cloudchasing.
Setting Your Power Curve On An RDA:
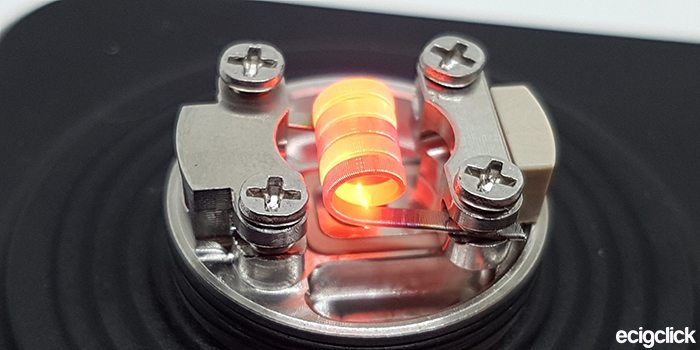
Finding the ultimate wattage values for your power curves happens to be a lot easier on an RDA, where you can actually open up and take a look at the coil, how hot it’s glowing, what colour it is, how quickly it’s heating and how quickly it’s cooling off…that’s because every coil is different.
Whether it be the number of wraps, the complexity of the twisting technique employed to maximize surface area or the actual gauge and material that the wire is made from, each coil will benefit on a custom curve that’s set with respect for its unique peculiarities. Every coil just needs to be loved for what it is, LMFAO!!!
If you’re vaping on an RDA and keen to set the perfect curve for your fresh build, you need to start by finding the temp at which your coil sings. You want to atomize your e-liquid without overheating it; you want to make your coil glow without overheating it.
Observing Your Coils
Before you’ve fitted a wick or juiced your RDA, fit it to the mod so you can observe the coils when you fire them. This is something that you should do after a build, regardless of whether you are setting a power curve.
Your coils should always be pulsed first, as this will minimize heat stress and allow you to see any hotspots or cool spots in your build and rectify it.
Now… starting with the wattage set as low as your mod allows:
- Pulse in turns of 5 seconds and working up in minimal increments
- Locate the wattage range and level at which the coils break through from metal coloured to dark red to red to orange
- But not past that into a bright yellow because that would mean that they’re likely going to burn your coils and your juice, making it thin out and splutter into your mouth
Now, write down the particular wattages at which your coil breaks into:
- Red
- Then into bright red
- Then into orange and so forth
These figures will be invaluable to you when setting your custom curves for that coil.
You’ll also observe, using this method, the way a beefy coil fired at the wattage level required to reach the orange glow, for an extend 5 second period, will become yellow hot.
This demonstrates the need for setting power curves to cool a coil or maintain over time, since yellow hot is not ideal for any coil!
Setting Your Curve On A Pre-Made (Enclosed) Coil
Now, obviously, visually observing your coils during fire with an enclosed coilhead in a regular tank is not going to be possible.
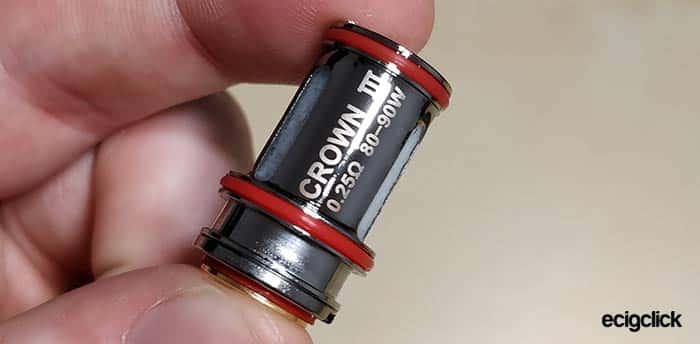
We overcome this barrier with the help of the markings on our coil head, which should indicate the wattage range of the coil, the package markings which might state the ‘favoured range’ for that coil.
The wattage chart which is shared below and last but not necessarily the safest adviser, your own brave self, who will partake of test-inhales (I don’t necessary advise this, when dealing with extreme wattages, please note!).
The Wattage/Voltage/Resistance Chart (1st Row=Volts, 1st Column=Resistance):
| 3.2 | 3.6 | 4 | 4.4 | 4.8 | 5.2 | 5.6 | 6 | |
| 0.1 | 102.4 | 129.6 | 160 | 193.6 | 230.4 | 270.4 | 313.6 | 360 |
| 0.2 | 51.2 | 64.8 | 80 | 96.8 | 115.2 | 135.2 | 156.8 | 180 |
| 0.3 | 34.1 | 40.8 | 53.3 | 64.5 | 76.8 | 90.1 | 104.5 | 120 |
| 0.4 | 25.6 | 32.4 | 40 | 48.4 | 57.6 | 67.6 | 78.4 | 90 |
| 0.5 | 20.5 | 25.9 | 32 | 38.7 | 46.1 | 54.1 | 60.5 | 72 |
| 0.6 | 17.1 | 21.6 | 26.7 | 32.3 | 38.4 | 45.1 | 52.3 | 60 |
| 0.7 | 14.6 | 18.5 | 22.9 | 27.7 | 32.9 | 38.6 | 44.8 | 51.4 |
| 0.8 | 12.8 | 16.2 | 20 | 24.2 | 28.8 | 33.8 | 39.2 | 45 |
| 0.9 | 11.4 | 14.4 | 17.8 | 21.5 | 25.6 | 30 | 34.8 | 40 |
| 1 | 10.2 | 13 | 16 | 19.4 | 23 | 27 | 30.3 | 36 |
If you’re keen to set a power curve but I’ve failed to include your voltage in the chart above, don’t fret, since the equation used to determine these wattages is a simple one.
Voltage Squared (Voltage x Voltage) / Resistance = Wattage, Voila!
Because coil structures, wraps and coiling styles differ from coil to coil, it’s important that you supplement these values by reading the print on your coil and also performing actual inhale tests, using small increments so as not to burn yourself with a sudden increase, for example.
In Conclusion:
So you see, power curves or wattage curves are not just a gimmicky feature. They genuinely can improve the quality of your vape, your ability to extend your hits and maximize flavour and cloud formation.
Not only that, using the RAMP increase or preheat curve type will extend the life of your coils.
The important thing is that you kick back, pour yourself a cider and actually play around…enjoy yourself and find the curves that are right for you.
I contemplated adding some of my own favourite curves to this review but the fact is, we all have different styles, some like it hot, some like it cool, you may want to pour yourself a vodka instead of a cider, it’s about personal taste…Enjoy!



Brilliant article , the first time I’ve seen TCR explained properly anywhere , thankyou
Can u explain how the 1st column(voltage) works?, is for example the voltage of 1x 18650 3.6v etc?
Great article!
Greetings from Melbourne, Australia.
It would help a lot if you included a video on this showing step by step and different settings how it does.