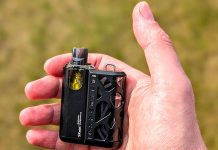
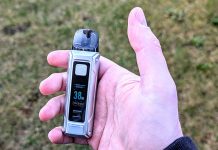
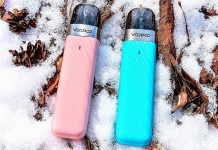
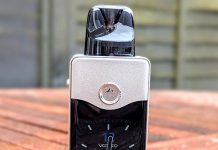
In for review is the Nevoks FEELIN X pod kit.
 Established back in March 2019, Nevoks are a Shenzhen based vaping manufacturer on a mission.
They already have outlets in over ten countries, producing high quality open pod kits designed to create a healthier lifestyle. Nevoks aim is to become the most trusted and reputable creators in the industry.
It’s the same bold claim all companies tend to employ but Nevoks are certainly having an impact. Well, in Malaysia at least because they won the 2020 award for best pod kit at the regions international vape summit.
As well as the FEELIN range Nevoks are also responsible for the Veego, Veego 80 and Pagee box style pod kits.
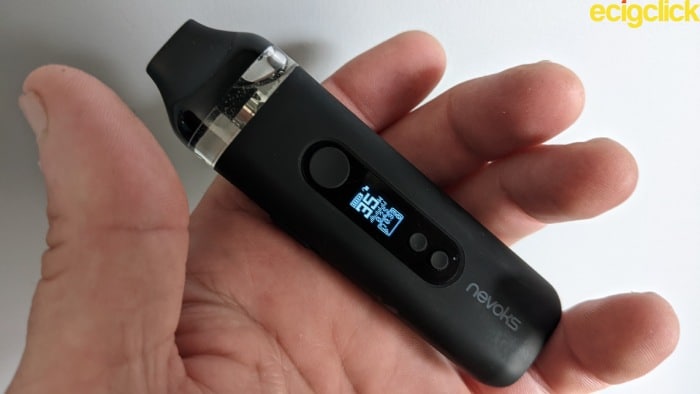
The FEELIN X goes down the more traditional path in terms of design and build quality.
We’ll take a look at that shortly..
What Can We Expect From The Nevoks FEELIN X Pod Kit?
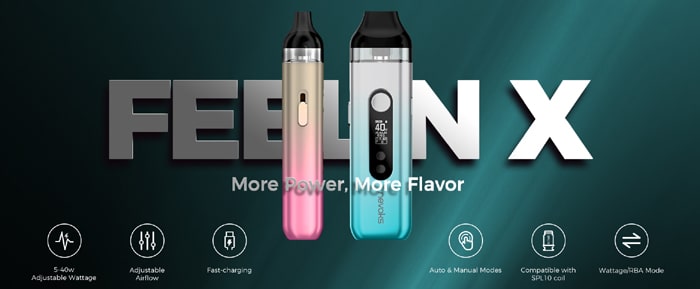
It’s an upgrade to the original FEELIN pod kit and there are a few differences. It doubles the power capabilities, holds more juice, uses adjustable airflow and ditches three step voltage control in favour of variable wattage.
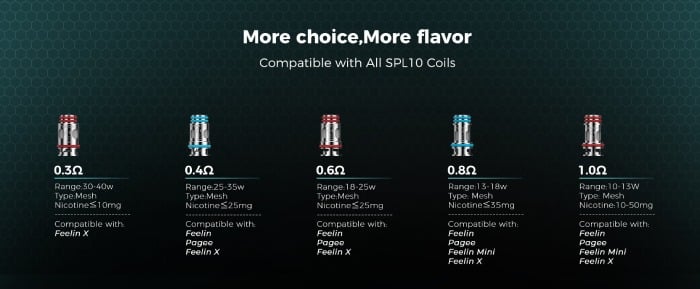
Yet two things remain unchanged. The design and form factor together with the ability to use the same range of proprietary SPL10 coils. So although only two are included with the kit there are others available including a MTL (Mouth To Lung) coil. We tell you what the terms MTL and DTL (Direct To Lung) mean in our Guide to Vape Styles.
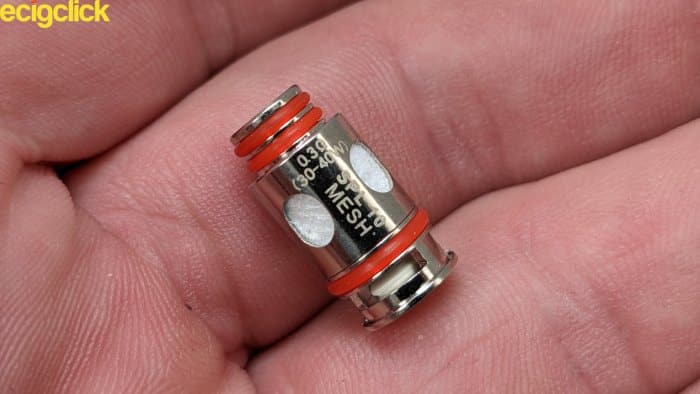
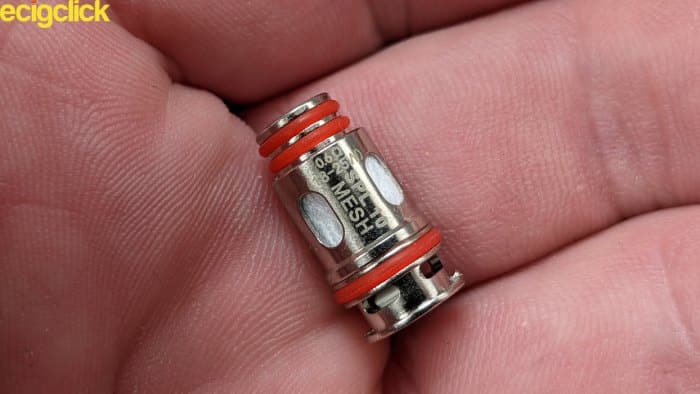
Made from Kanthal mesh they’ve been upgraded too, supporting Insta-fire for a denser, richer flavour.
Thanks to an increase in battery capacity the Nevoks FEELIN X can now power up to 40W. All relevant information is displayed on the 0.49in monochrome screen and seven safety features have been built into the NX chip.
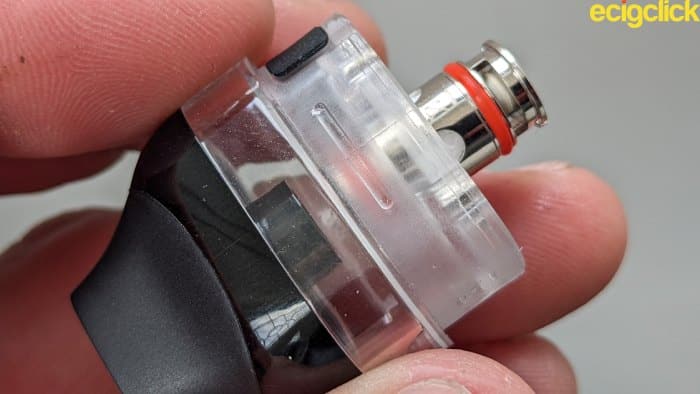
The cartridge or pod is fully transparent and can hold up to 5ml of e-liquid or 2ml where TPD regulations apply.
A side filling system makes things easy when in a hurry. The mouthpiece has been designed for comfort and made from a “TPE” material? Which stands for ThermoPlastic Elastomers apparently. Don’t ask me! lol ! Chances are it distributes heat more evenly to prevent hot lips.
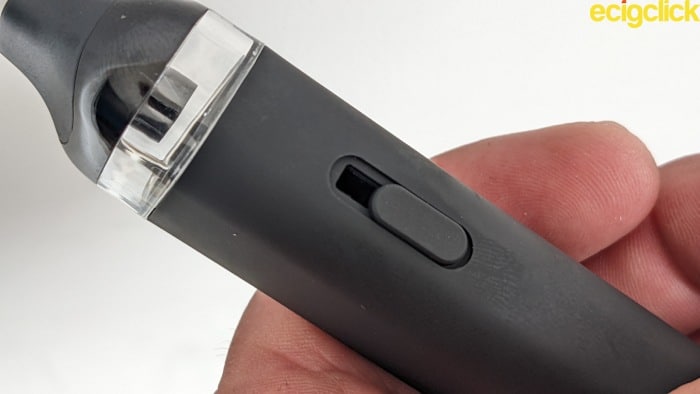
Instead of the fixed airflow of the original FEELIN an adjustment slider is now incorporated into the side of the battery section.
The Nevoks FEELIN X gives the user the choice of either manual (button activated) or auto draw for added convenience.
An RBA mode has also been included – this allows full output adjustment. The Nevoks Veego 80 pod mod uses the SP12 RBA section. If it is indeed compatible you’ll need to build within sensible wattage parameters.
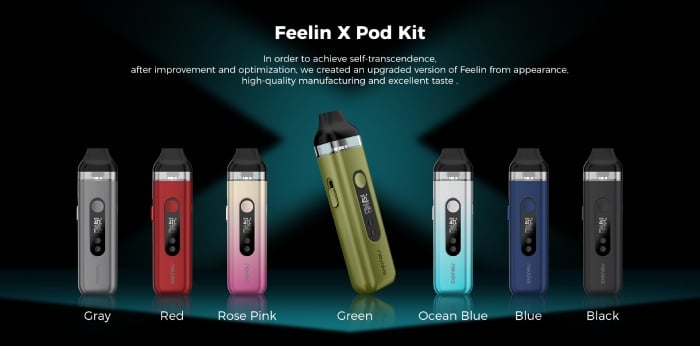
The FEELIN X comes in an assortment of colours. Choose from Grey, Red, Rose Pink, Green, Ocean Blue, Blue and Black (under review).
What’s In The Box?
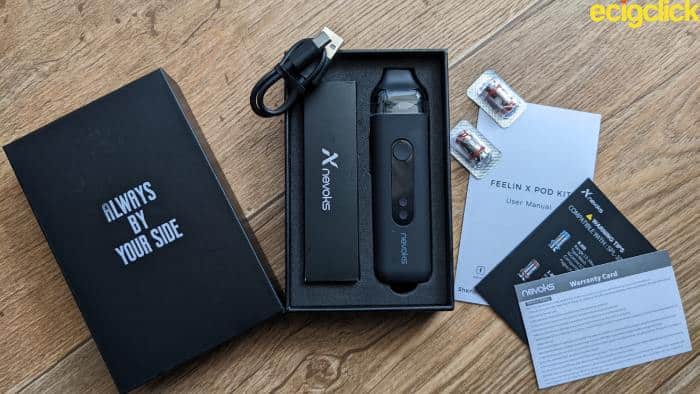
- FEELIN X
- FEELIN X empty pod (5ml)
- SPL10 Mesh coil (0.3ohm)
- SPL10 Mesh coil (0.6ohm)
- Type C USB charging cable
- User manual
- Warranty card
- Coil compatibility card
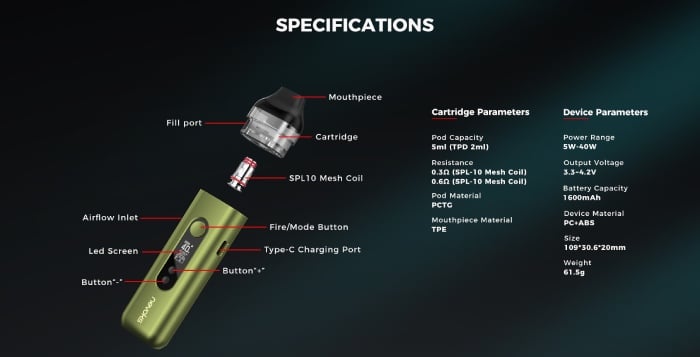
Nevoks FEELIN X Pod Kit – Specifications
Pod Specs
- Material: PCTG
- Drip tip material: TPE
- Capacity: 5ml / 2ml TPD
- Coil Resistance: SPL10 0.3ohm Kanthal mesh / SPL10 0.6ohm Kanthal mesh
Battery Specs
- Material: PC+ABS
- Size: 109 x 30.6 x 20mm
- Weight: 61.5g
- Output wattage: 5-40W
- Screen size: 0.49in monochrome LED
- Input voltage: 3.3 – 4.2V
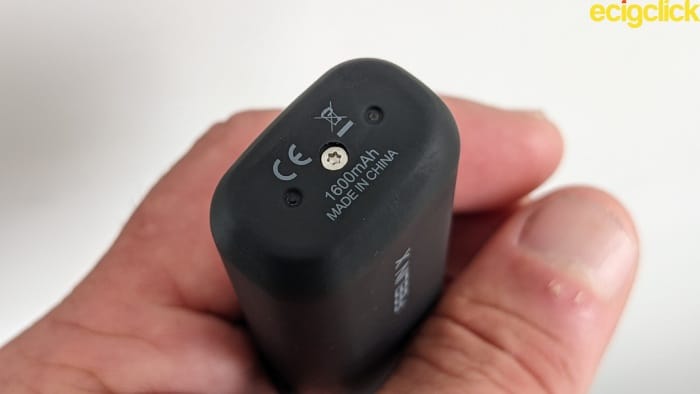
- Battery capacity: 1600mAh
- Charging: USB Type C, 2A charge rate
- Charging period: Approximately 50 mins
- Maximum vaping duration: 10 seconds
- Airflow: Adjustable
Nevoks FEELIN X Pod Kit – Design and Build Quality
At 61.5g the device is nice and light weight. It may be a little too tall and bulky for a shirt but will certainly fit inside a trouser pocket no problem.
The Pod
The pod is well designed with some decent contouring around the mouthpiece. There’s a visible difference between the PCTG and TPE material.
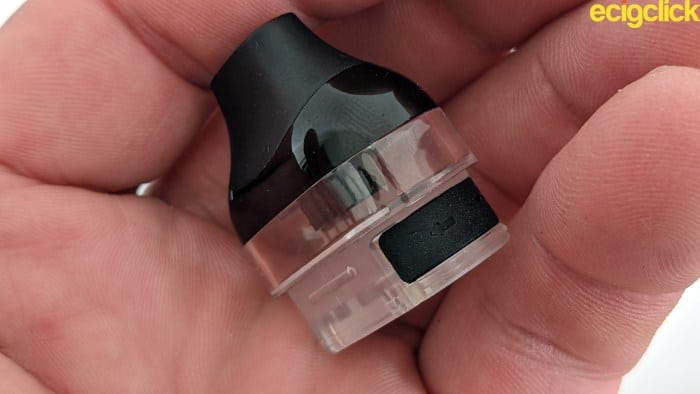
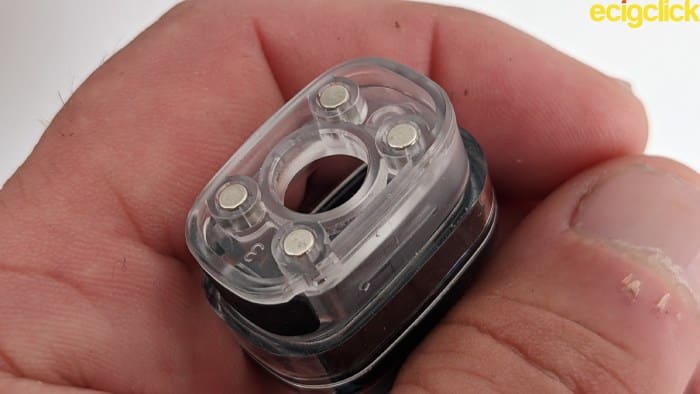
The silicone stopper is positioned on the side of the pod – thankfully it’s one of the easier ones to use. The pod can be attached to the battery either way round via four strong magnets.
The Battery Section
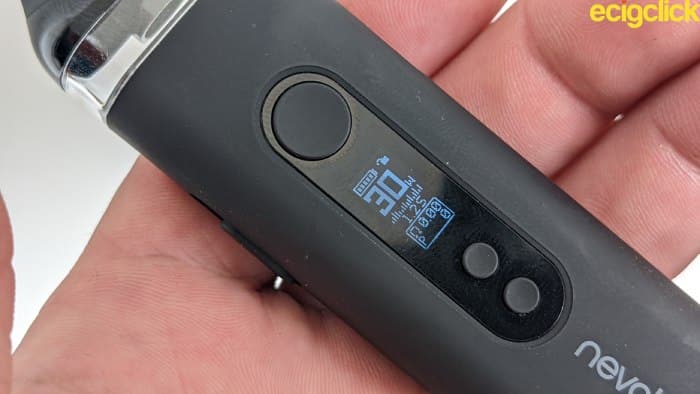
Unlike the original Nevoks FEELIN pod kit the upgrade now incorporates a monochrome LED screen. This means power (wattage) can be controlled between 5 – 40W. It’s really as simple as that.
The screen displays a current battery strength icon, whether locked or unlocked, wattage, puff duration, coil resistance and number of puffs. That’s not too bad given the small amount of space available.
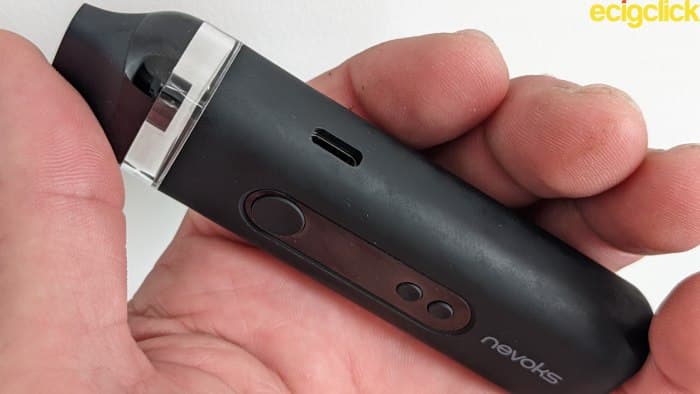
Also new to the upgrade is the ability to adjust the airflow. A slider is incorporated into the side of the battery and has an opening of around 9mm. This should allow for a direct lung vape when fully open and a restrictive one when altered.
On the opposite side of the battery the type C USB charging port has been positioned quite high up. No bad thing because that assists with stability when plugging in and standing in a vertical position. It’s also heavily recessed which makes it less prone to damage.
Nevoks FEELIN X Pod Kit – Set Up Guide
Installing A Coil and Filling The Pod
All the coils in the Nevoks SPL10 range are plug and play. There are no flat edges so there’s no wrong way of installing them either.
- Remove the pod from the battery section
- Push the coil up inside the pod chamber ensuring a firm seal
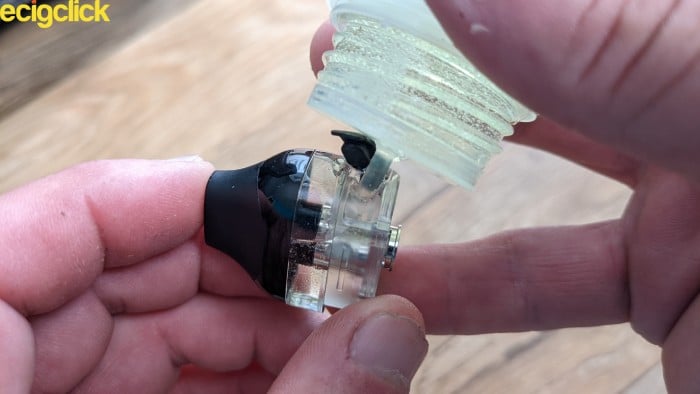
- Lift the fill tab on the side of the pod
- Gently pour e-liquid into the opening ensuring the cotton wicks are submerged
Return the fill tab to its closed position ensuring a good seal
- Drop the pod back into the battery section
Let the e-liquid soak into the cotton for around five minutes before vaping.
How To Operate the Nevoks FEELIN X Pod Kit
This device has been designed with a new pod user in mind. It’s very simple and straight forward to operate.
- Press the fire button rapidly five times to turn the device on or off
- Press the fire button rapidly three times to lock or unlock the device
When the device is locked the menu buttons will not function and neither will the fire button. Auto draw vaping is still possible.
- Hold the up and down menu buttons together to lock the current wattage.
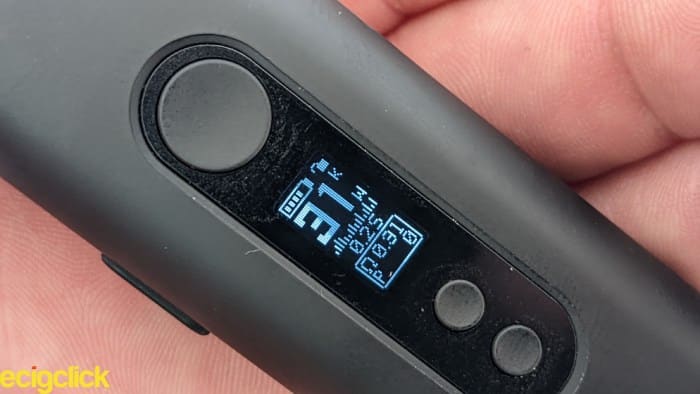
When wattage is locked the menu buttons will not function but it’s still possible to vape, either manually or auto drawn.
- Hold the fire and up button together to enter RBA mode.
- Press the fire and down button together to reset the puff counter
The NX chip is capable of automatically detecting minimum and maximum power setting for the installed coil.
- Use the up and down menu buttons to manually adjust power in single watt increments. Hold either button down to increase the speed.
The screen will time out after 20 seconds of inactivity.
The NX chip comes with a host of safety features built in. These include over vaping, short circuit, low voltage and over charge protection among others.
How Does The Nevoks FEELIN X Pod Kit Perform?
For more information on terms used see the following guides…
0.3ohm Kanthal mesh SPL10 coil (30-40W)
I started off by using the 0.3ohm Kanthal mesh SPL10 coil.
Clotted Dreams Strawberry Jam and clotted cream, a 70VG/30PG juice ratio was used to test flavour and cloud production.
The coil is capable of running between 30-40W. To begin with, airflow was left wide open.
Although this coil affords more airflow over the 0.6ohm there was still around 25% restriction. However, I didn’t notice any turbulence and the inhale was smooth and quiet.
Vapour production was incredibly good with dense white clouds tumbling out into the ether. That was a very satisfying vape experience.
As for flavour replication? Around average if I’m honest. The coil wasn’t producing enough punch to the fruit and any creaminess was pretty much absent.
Some of the sweetness of the Strawberry pulled through but I still sensed that this was something of a dry and somewhat bland tasting vape.
At 35W the coil was sufficiently heating the e-liquid which allowed some of the dairy notes to express themselves but it still had no impact on the fruit.
The coil can definitely handle a maximum of 40W but I suggest leaving airflow wide open while vaping on this setting. The vape becomes warmer but that’s about it. There’s not much to be gained by the additional power in terms of flavour replication.
I preferred vaping the 0.3ohm coil with the airflow slider wide open at 35W.
0.6ohm Kanthal mesh SPL10 coil (18-25W)
This coil was used to test airflow adjustment sensitivity as well as overall flavour and cloud performance. I used Cuttwood Blueberry Smoothie, a 70VG/30PG blend and ran the coil at 22W throughout.
The Blueberry literally jumped out at me with the airflow slider wide open. The overall sweetness of the vape came along for the ride instead of being left as an after taste on the tongue.
This was a clear indication that the coil was wicking the e-liquid perfectly. The flavour experience was replicating that of an RTA. Further indication came in the form of a turbulent free, smooth and relatively quiet inhale.
Admittedly the vapour production was slightly less than the 0.3ohm coil but still satisfying enough.
Mid Airflow Restriction
When the airflow slider is left wide open, the restriction is at around 40%. This semi restrictive direct lung vape becomes much more supressed when the slider is set mid position. I’d say restriction is around 60% and that’s my ideal vaping style.
Yet the mouthpiece still doesn’t produce the hot lips experience found with the more powerful 0.3ohm coil. Even during extended inhales. This restrictive direct lung (RDL) vape warmed the vape and helped to bring out more of the creamy, dairy sub notes of the e-liquid.
The fruit content is still kicking proverbial butt while the sweeter elements are working in perfect harmony during the exhale. Not too wet, not too dry.
Further Airflow Restriction
This demonstrates the effectiveness of the adjustable airflow slider. The increased restriction means that a direct lung vape is a little too tight to be comfortable while a mouth to lung (MTL) vape is also out of the question. That’s because it’s too loose to be effective.
Flavour reproduction remains very good and cloud production doesn’t suffer too much.
This coil worked best for me with the slider set around two thirds open.
Battery Performance, Number of Puffs and Charging
I got a respectable 7 hours use when using the 0.3ohm coil at a constant 35W. During this period I puffed around 180 times and vaped a pods worth (5ml) of e-liquid.
The 0.6ohm coil lasted for 9.5 hours when vaping at 22W. I managed 250 puffs while getting through a pods worth of e-liquid.
Fast type C charging did its job – it took exactly one hour to revive an exhausted battery.
Pros
- Great flavour and cloud production from the 0.6ohm SPL10 mesh coil
- Effective airflow slider
- Fully transparent e-liquid viewing window
- Light weight and pocket friendly
- Can be charged in a vertical position
- NX chip automatically detects the coil parameters
Cons
- Average flavour from the 0.3ohm SPL10 mesh coil
- Both coils prone to weeping from their base
- The TPE mouthpiece doesn’t prevent hot lips syndrome
- Lack of battery venting
Final Review Verdict
I’m a bit confused about the auto coil detection of the NX chip. It does set the recommended parameters which is cool but doesn’t automatically set best wattage when inserting the pod. This would have been useful to a newer vaper.
Despite the inclusion of TPE on the mouthpiece I still suffered hot lip syndrome. It was nothing major but showed the material wasn’t really doing what it was claiming to.
I was really hoping the 0.3ohm SPL10 mesh coil would deliver the goods with a dessert based e-liquid. The coil is more than capable of generating the heat to force out all that creamy, fruity goodness. Yet flavour clarity, intensity and presence just really wasn’t quite there for me.
Both coils are set up for either a direct or semi restrictive lung vape. If you’re looking for a comfortable MTL vape I should imagine the 1.0ohm SPL10 coil will be the one to try.
The auto draw feature works well enough. If lung capacity is an issue I would recommend using the fire button – especially when the airflow slider is set wide open.

 Return the fill tab to its closed position ensuring a good seal