The Kanger Protank 4 is a long awaited follow up to one of the best selling MTL vape tanks in the vaping world.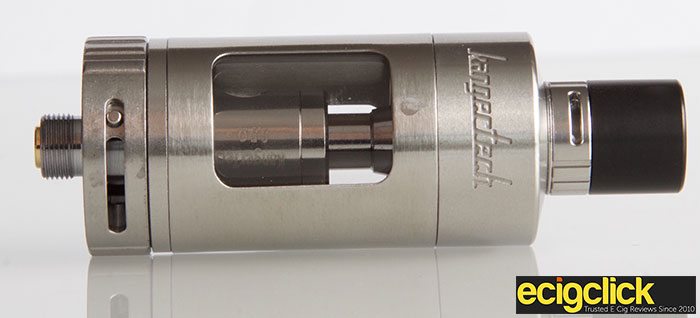
The original Protanks were a revelation when they first hit the market a couple of years back. Mainly due to the fact that they featured replaceable coil heads and a tank that could be disassembled for cleaning!
What Can We Expect From The Protank 4 By Kanger?
The Pro Tank 4 offers a rebuildable coil head as well as stock coils. It features an easy side fill port and a 5ml capacity tank.
Of course vaping has moved on a lot since the original so the Pro Tank 4 should have come on in leaps and bounds.
Lets find out.
In The Box
- 1 x Kanger Protank 4
- 1 x Mouth to Lung SSOCC 1.5ohm coil head
- 1 x 0.5 Ohm ceramic coil head (Pre-installed)
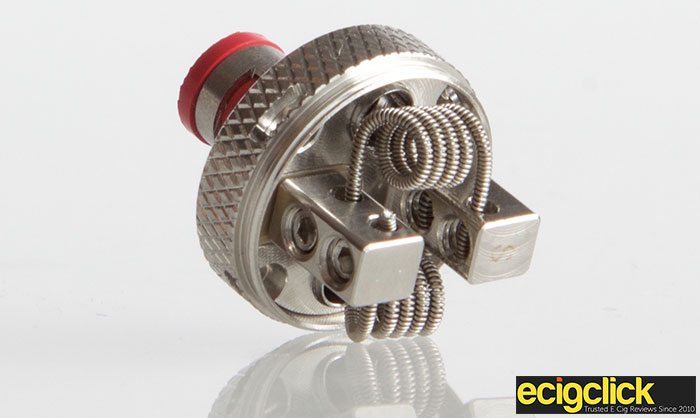
- 1 x RBA head with dual Clapton coil
- 1 x User Manual
Features
- Diameter: 22mm X Height: 65.5mm
- 5ml Capacity
- Can be used for both mouth to Lung and direct lung vaping
- Adjustable airflow drip tip
- Convenient top and side Filling
- Adjustable airflow
- 2 Post Velocity Style RBA deck with dual Clapton coil
- Child Lock system
Design & Build Quality
I’m not going to go back and do any kind of Kanger Protank Vs Protank 4 comparison as they are a completely different beast.
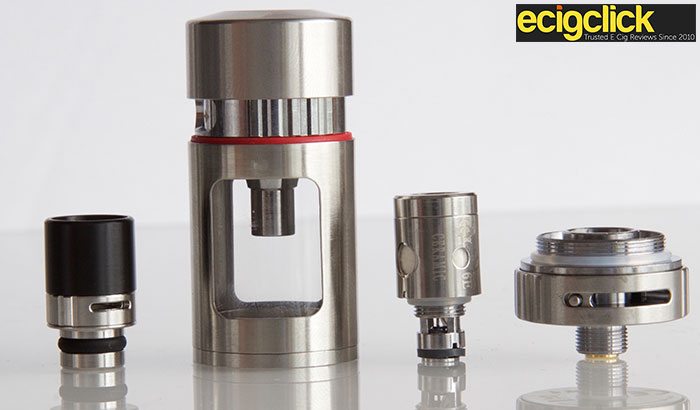
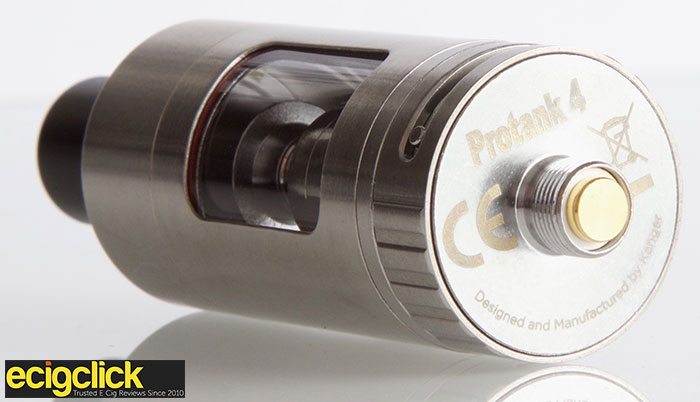
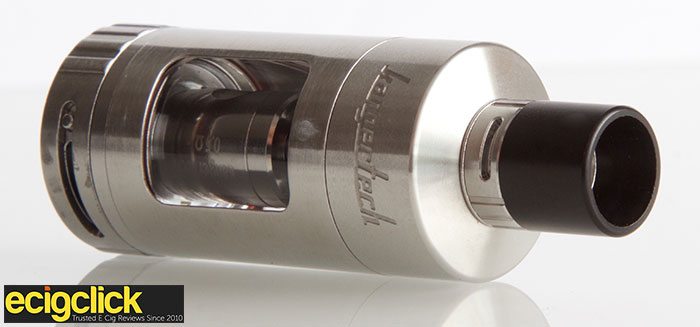
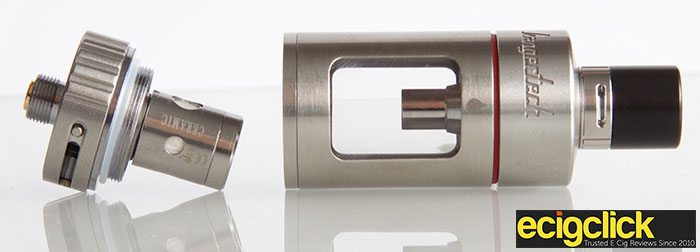
The Kanger Protank 4 is a slick looking clearomizer tank. It’s an all in one tank in a similar vein to the Innokin Apex. By all in one I mean that the pyrex glass is built into the device and not removable. It’s basically the base and the rest of the tank, so a two piece design.
Which straight of the bat will be an issue for some vapers. Especially vapers that have a tendency to drop things! If the glass breaks a complete new tank is needed.
I’ve personally never broke a tank, it has to be said, and I’ve dropped lots!
Once the base is removed there is plenty of room to rinse and clean the tank so not bother there.
The Pyrex tank is covered by stainless steel with two windows cut out of the body revealing your eliquid levels.
The windows are plenty big enough to see how much e liquid you have remaining in the tank so no issues here.
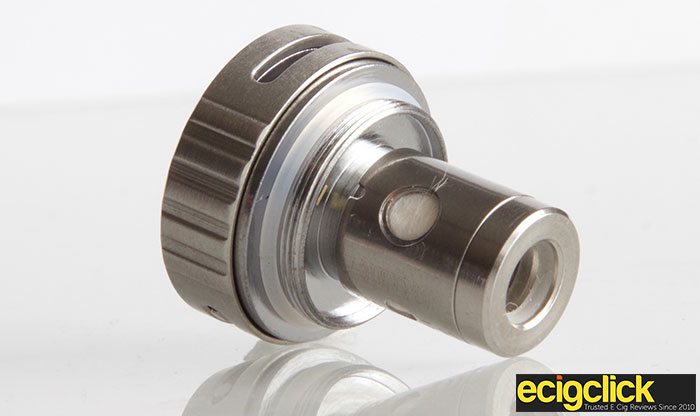
The base of the device features two airflow holes which are around 11mm wide. The adjustment ring is gripped easily and is smooth to turn. The base is removed when you need to replace the coil head.
Drip Tip
The 510 drip tip is removable so if you prefer using your own then that’s possible.
At the base of the drip tip is a small airflow adjustment that just lets you tweak your vape. This does tighten things up a touch, if you are a mouth to lung vaper then you will want to have a play with this.
All of those features are quite standard on most tanks. The difference with the Kanger Protank 4 comes in with the top portion of the tank.
How To Fill The Kanger Protank 4
The top section of the tank is basically one piece and attached with the rest of the tank. It does have an easy side fill feature that makes dripping your vape liquid in a breeze.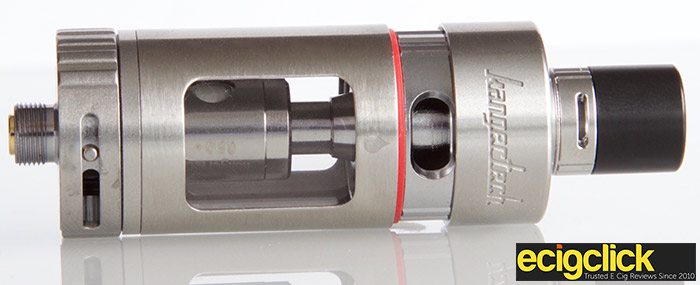
- Unscrew the top section until you can see the red O ring
- Then pull the top piece to reveal the fill hole
- Then use the knurling grips that appear to open the side fill hole
- After filling close the hole and repeat the above process, obviously in reverse!
So, super easy to fill. Just remember to close up that hole before pushing down the top cap or you will have an empty tank in no time if the tank tilts.
One thing I did notice after refiling that there can be a little eliquid residue left over. Not a huge amount or a big problem. Once wiped all is good.
There is also a child lock feature apparently. I’m not 100% sure what this is. Maybe it’s just the extra steps you have to go through to fill or likely the fact that the fill hole is covered and hidden?
Coil Heads
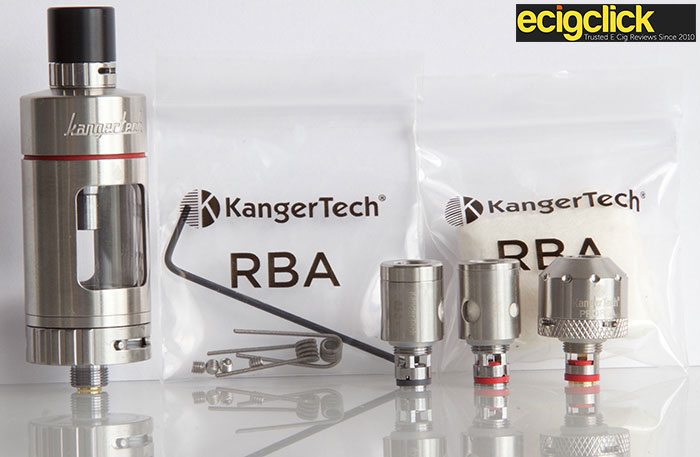
The Protank 4 comes with three options. The pre-installed coil is a ceramic coil head with a 0.5 Ohm rating.
The spare is a SOCC with a rating of 1.5Ohm. Kanger recommend this is used for mouth to lung rather than direct lung inhales.
There is also an RBA deck with stock dual Clapton coils. Always a good option to have if you build your own coils or want to try your hand at rebuilding. If you are the latter check out our beginners guide to RBA’s.
How Does The Kanger Pro Tank 4 Perform?
This tank offers both a mouth to lung and direct lung option. The Kanger SOCC coils are a little confusing. SSOCC is in short Stainless Steel Organic Cotton Coil. The thing is the SS refers to the casing and not the wire type.
Ceramic Coil 0.5 Ohm 
The pre installed Ceramic coil with the airflow holes fully open gives a good direct lung inhale. It’s not as airy as bigger, sub ohm specific tanks. It’s a slightly tighter draw but taking a long slow drag still produces some decent clouds.
The flavor also came through well although I found myself having to go to 55W on my Cool Fire 4 TC100 for the best results.
At 30W I was I was getting nothing, this coil only started kicking in at 45W.
1.5 Ohm Nichrome Coil
Nichrome is for use in wattage mode and not to be confused with material that is compatible with temperature control.
Kanger state this is a mouth to lung coil. While this can be the case, for me it required closing off the drip tip airflow and closing up the main airflow on the base a touch.
They are recommended to be used up to around 18W. To get your ideal setting I would recommend starting low and working your way up until you reach your preferred settings.
I actually settled on 20W, the vape was cool but the flavor was decent at this setting. It didn’t, however, blow me away.
Pro RBA 0.3 Ohm
The RBA has a velocity style 2 post deck and comes with a dual Clapton coil build pre installed. There are also 2 spare Clapton coils in the kit.
The deck is fairly easy to build on and the Clapton coil setup performs very well indeed. For me this setup offered the best when it comes to flavor and vapor.
Final Kanger Protank 4 Review Verdict
The Kanger Pro Tank 4 is a really well built tank and the featured side fill works well although it can get a little messy.
The flavor was just OK for me with the Nichrome coil, while the Ceramic and RBA heads were very good.
Pyrex glass is inbuilt, not a huge problem but if you do have an accident and break the glass a new tank will need to be purchased.
This would be a good option if you are looking for both MTL and direct lung inhales. Although the tank does have a tighter draw than many sub ohm specific tanks that are available.
Pros
- Excellent build quality
- Side fill feature is a good design
- Good for vapers wanting a tighter draw for MTL
- Good dual post RBA head
- Flavor good with RBA and Ceramic coil
Cons
- Flavor was a little muted with 1.5 Ohm coil
- Pyrex glass is not replaceable






Can anyone please help me out what is the best gauge Clapton wire I should use for the protank 4 rba section
Good question! I’ve looked everywhere for an answer. Did you get any joy??