Kangertech are currently one of the biggest brands in the e cig world (in terms of clearomiser/tank production) and despite the varied reviews the Pro Tank series received I was looking forward to getting my hands on the Kanger Aerotank.
Having used it, I can say upfront it was definitely worth the wait. Read on to find out more.
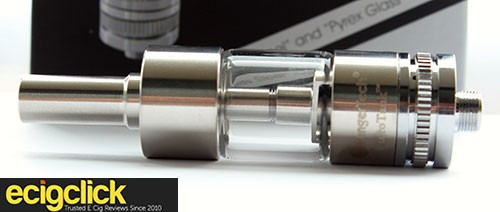
Aerotank Setup
The Aerotank has a 510 thread and uses a bottom dual coil system. First impressions out of the box is that the stainless steel finish is quality, the pyrex tanks smooth edges, the airflow control and drip tip all combine to make a solid clearomiser that feels like it would stand the test of time as a long term vaping partner.
Kanger have again steered away from using any glue to put this together so at first glance, especially for those new to clearomisers like this, all the different parts may seem a bit overwhelming. It’s all very easy though!
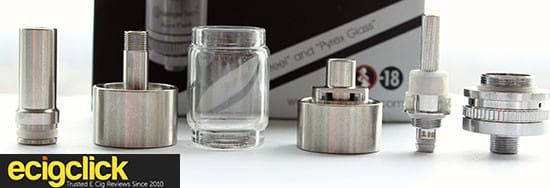
If you take a bit of time to get to know the parts and where they go it should make things a little easier in the long run.
Also when screwing the atomiser head into the base be sure it’s in nice and snug.
Filling The Aerotank
The Aerotank has a decent 2.5ml capacity and is filled from the bottom, so carefully removing the base with the airflow control, turn the tank upside down and be sure not to get any liquid in the centre tube. Screw the base back on and it’s ready to go.
Kanger Aerotank Performance
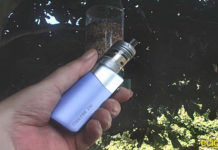
For this review I was using Real Raspberry e-liquid from Jacvapour with the Aerotank sat on top of a Vamo V5, which I have to say looks pretty cool.
It also looks great on the Cool Fire 1
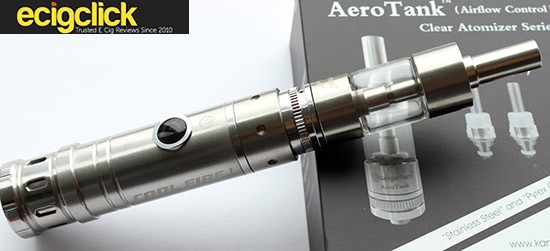
Notching the watts up to 11 on the dial and closing up the airflow a touch gives, as you would expect, a slightly tighter draw. The flavour is still excellent with a nice warm Raspberry coming through, again there are plumes of vapour.
The Aerotank performed well throughout the settings although my personal sweet spot was between 8w-11w.
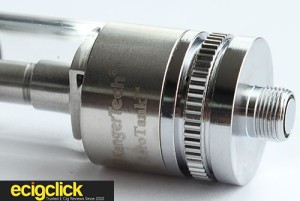
Just be warned, with the airflow closed above 90% you will get a pretty intense nicotine rush as you take a more laboured drag! Or maybe that was just me!
The Kanger Aerotank coils are available in 1.5ohm and 2.0ohm and are compatible with the Aerotank Mega, Pro Tank 3, Mini Pro Tank 3, EVOD Glass, EVOD 2 and T3D. They cost around £9 for a pack of 5.
Final Thoughts
From the build quality to the performance the Kanger Aerotank really ticked all the boxes for me.
The airflow control also helps you tweak the vape to fit in with your personal tastes.
Very Impressed, if you are considering a new tank or delving into this area for the first time go get yourself one today.




Use this great little tank at work. Has never leaked or let me down.
a really good tank for beginners, nice look, good work, good quality with not too much vape 🙂
the best tank imho for MTL slash tootling a high nic e liquid 🙂 rocking mine for straight two years with no complaint whatsoever.
ok there is a complaint. i have never been able to find real-genuine-authentic coil for my aerotank, in my area at least, i have been reconditioning my coil for the last 10 months or so.