Today I’m going to be taking a good look at the new Hellvape Dead Rabbit R Tank.
Hellvape is on fire this year! It’s released some really great toppers for us to enjoy, most notably they’ve been extending their Dead Rabbit range.
Based in China, Hellvape was established in 2016; to be frank they need no introduction to the wider vaping community and are most famously known for their Dead Rabbit range of RDA and RTAs!
They’ve also designed a few regulated device like the Arez 120 and mechanical mods like the Trishul V2 mech and Trishul V2 semi mech.
What Can We Expect From the HellVape Dead Rabbit R Tank?
I like to treat this tank as a regular mesh stock coil atomiser, even though it has rebuildable deck, I must say the tank is very impressive in its rebuildable functionality.
The R Tank has dual bottom airflow, a unique rebuildable coil system, a large liquid capacity with a ¼ turn cap.
And like always Hellvape include a descent amount of extras/spares with the kit.
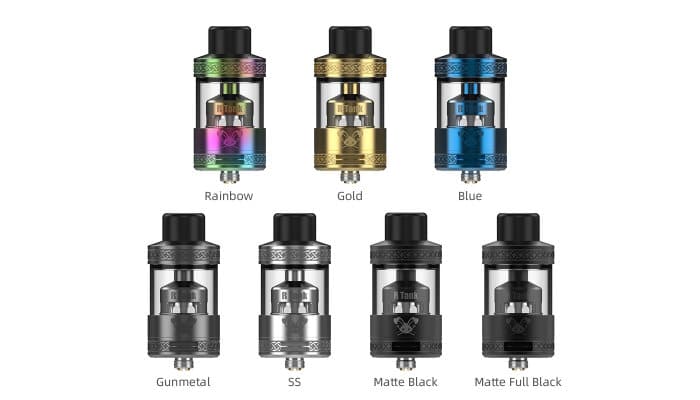
Hellvape have produced the R Tank in 7 colours to choose from.
This product was sent from Hellvape the purpose of review.
As always my thoughts and views are my own after a long testing period.
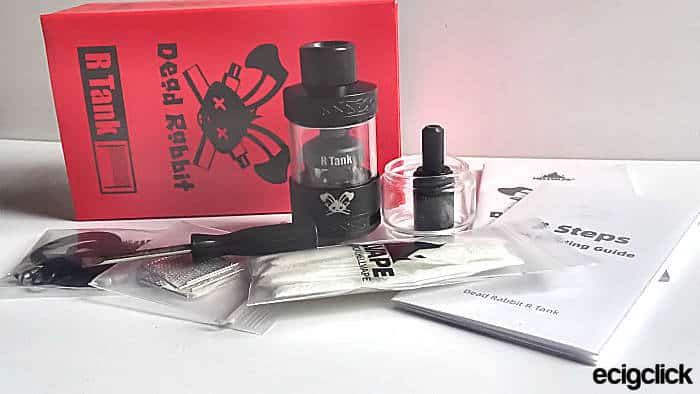
Inside the Box
- Hellvape Dead Rabbit R Tank
- 5x 0.2ohm KA1 Mesh strips
- 5x Organic cotton strips
- Coil building tool
- Coil building guide
- Bubble glass (standard version only)
- Extra’s bag
- User manual

Features
- Size: 25.5x51mm
- Capacity: 6.5ml (Bubble glass standard)
- 5ml (straight glass standard)
- 2ml (TPD)
- Unique single mesh coil build deck
- 510 mouthpiece
- ¼ turn top cap fill system
- Bottom adjustable airflow
Design and Build Quality
Hellvape has surpassed itself in design and the quality of materials along with manufacturing for the R Tank.
I was super impressed when I opened the box, the R Tank like the Fat Rabbit is substantially built, with a design that has been thought out well.
Hellvape Dead Rabbit R Tank
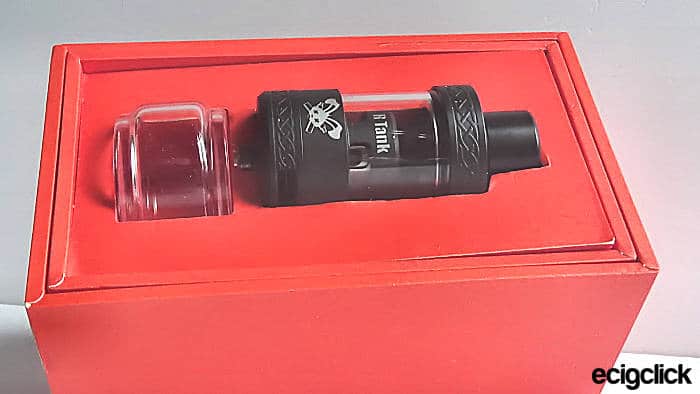
As you can see by my photos I was sent the Matt Black standard version of the R Tank, it comes displayed in a cardboard box with a paper over sleeve, the extras are baggies under the foam tray they include; a building tool, mesh strips, 6.5ml bubble glass, cotton strips, O-rings, screws and a driver.
This tank measures in at 51mm tall with a tank diameter of 25.5mm and weighs 64g empty, the construction is 304 Stainless Steel, and comes pre installed with a 5ml Pyrex glass tank and an 510 mouthpiece made from black Delrin.
Made to the same specs the TPD version has a bung to reduce the liquid capacity to 2ml.
Hellvape Dead Rabbit R Tank Overview
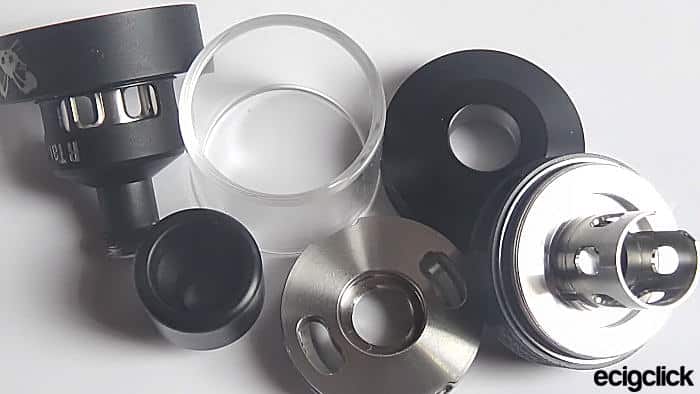
Breaking the Hellvape Dead Rabbit R Tank down, it has 6 parts including the mouthpiece.
Starting at the top, this RTA has a wide 510 delrin drip tip that has 2 O-rings around the shaft for seating in the top cap.
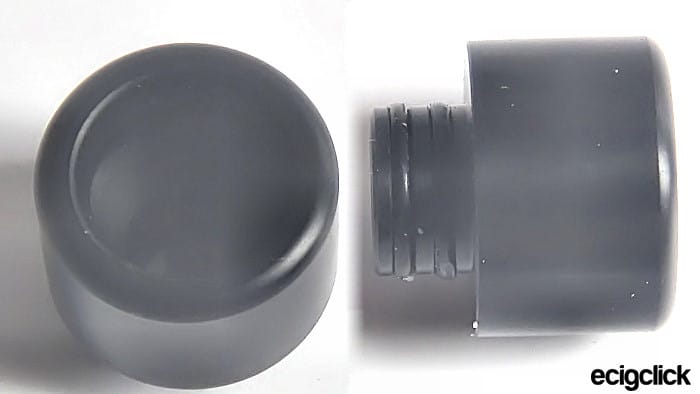
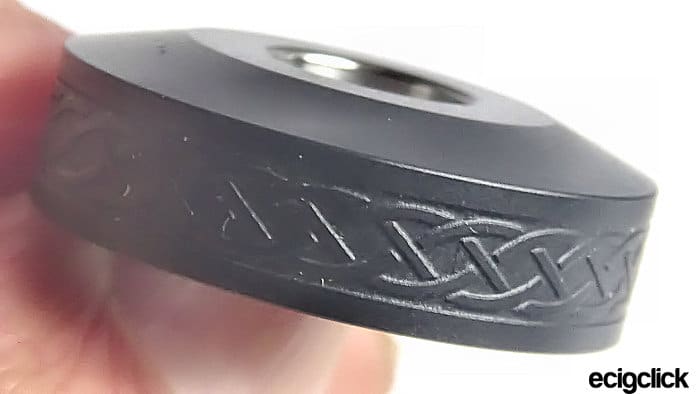
The top cap is a ¼ turn with a lightly engraved pattern on the edges, the cap vertically is thicker compared with the Fat Rabbit.
On the reverse side of the cap you will see the connection bayonets as well as a gasket embedded to stop leaks from the fill port.
When removed the top cap reveals two fill port slots.
Around the outside of this section is an O-ring for the glass to sit on, and on the reverse side is threading for the chimney.
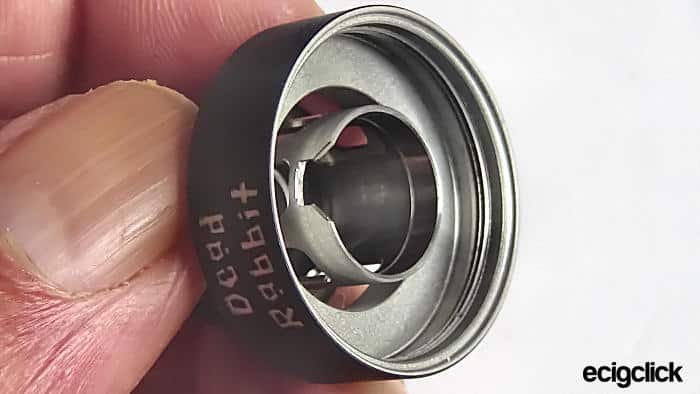
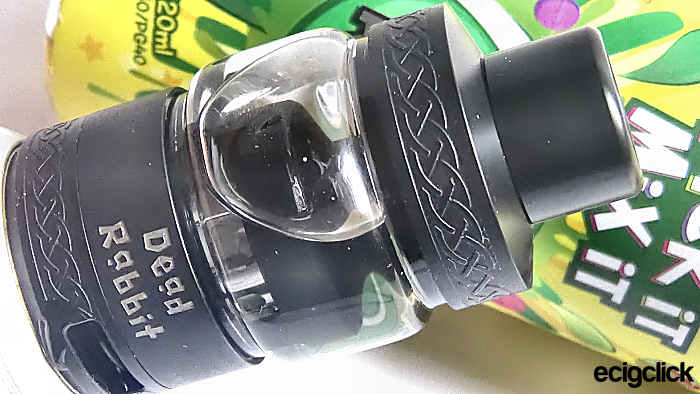
The main chimney section is all one part, and includes the coil cover, the chimney screws into the fill port.
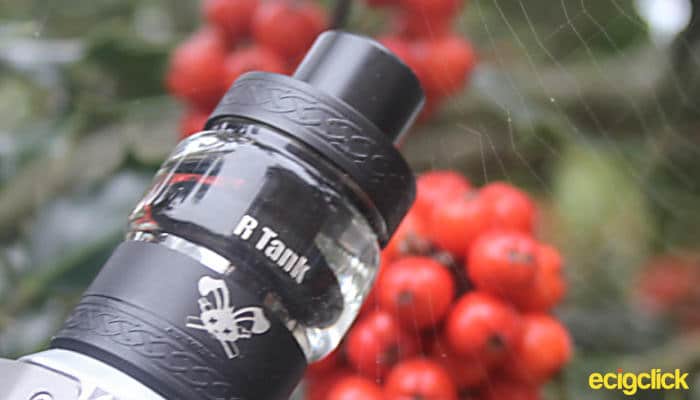
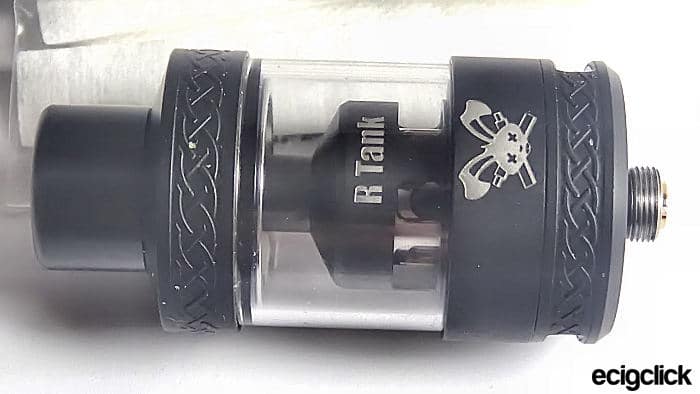
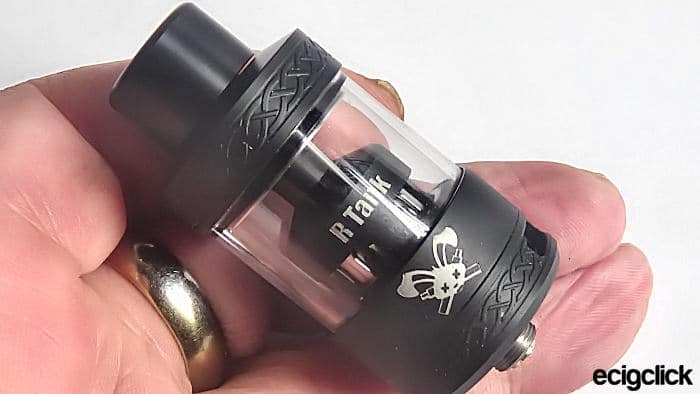
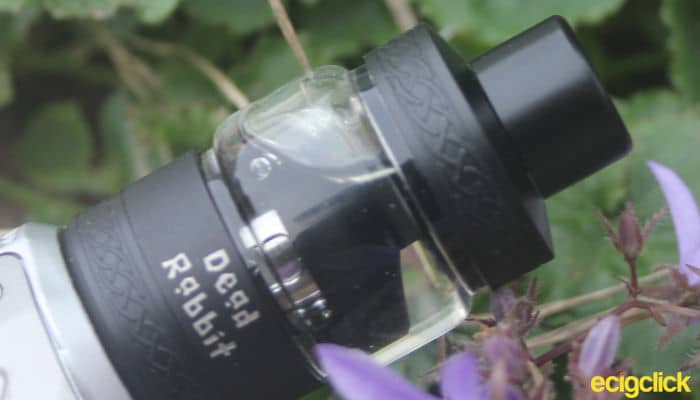
For advertising the coil cover has “R Tank” lightly engraved under the chimney and the Dead Rabbit logo on the base of the cover the other side has been again lightly engraved with “Dead Rabbit”.
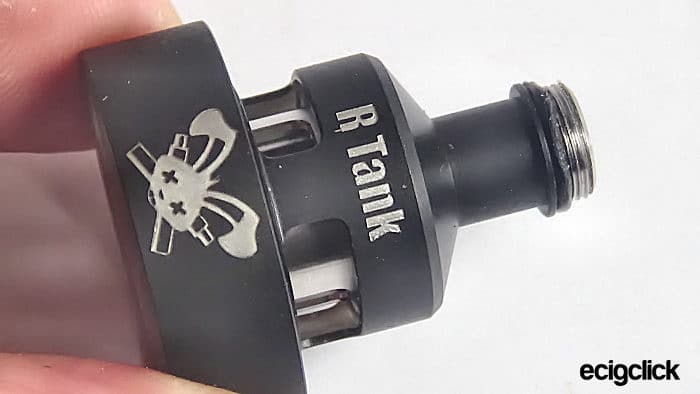
Inside the coil cover – it resembles the top part of a stock coil which will cover the coil and cotton, this section has threading that will screw on to the build deck.
Between the chimney and fill port sections is a (pre installed) 5ml glass, a spare 6.5ml bubble glass is in the box.
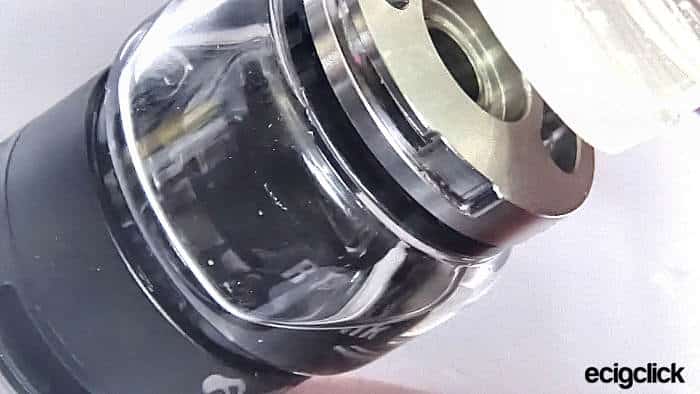
Hellvape Dead Rabbit R Tank – Build Deck
The dual airflow system that is fairly easy to turn and is aided by the lightly engraved pattern around the ring.
BTW this airflow ring is removable for cleaning.
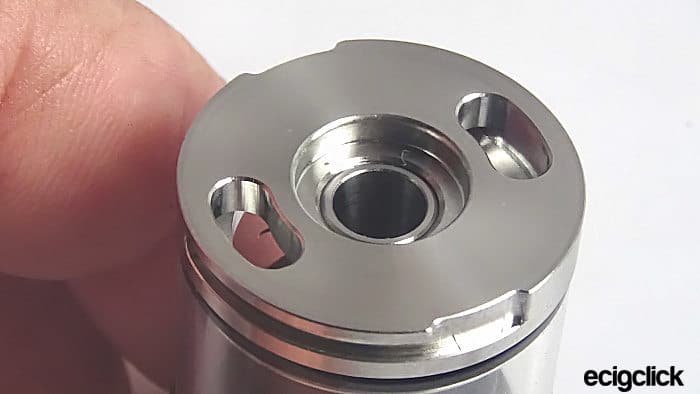
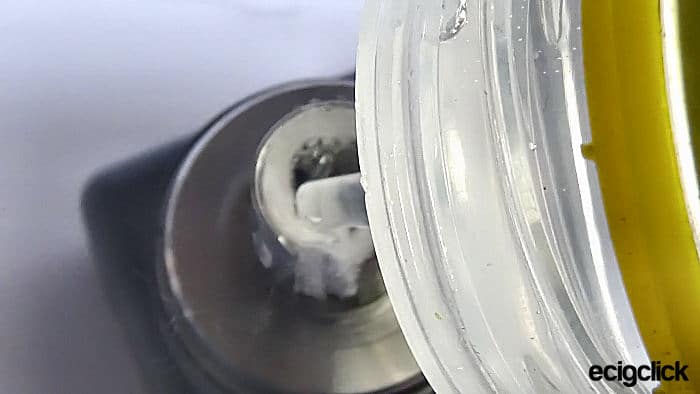
The base has a unique build deck, that consists of a cage structure, and you will see 2 wire slots for your coils tails, the positive plate is sitting on a peek insulator.
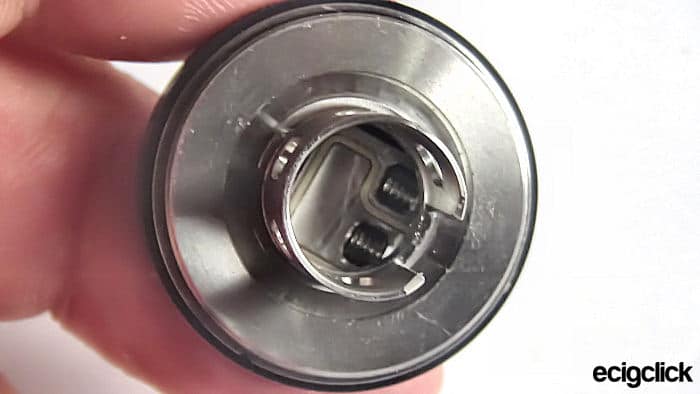
To operate the screw heads turn your airflow anticlockwise until flat head screws are revealed through one of the slots.
The bottom has the usual safety marks along with the Hellvape logo.

While the connection pin does protrude out a little way from the threading, I personally wouldn’t be comfortable using this atomiser on a hybrid device.
How Does the Hellvape Dead Rabbit R Tank Perform?
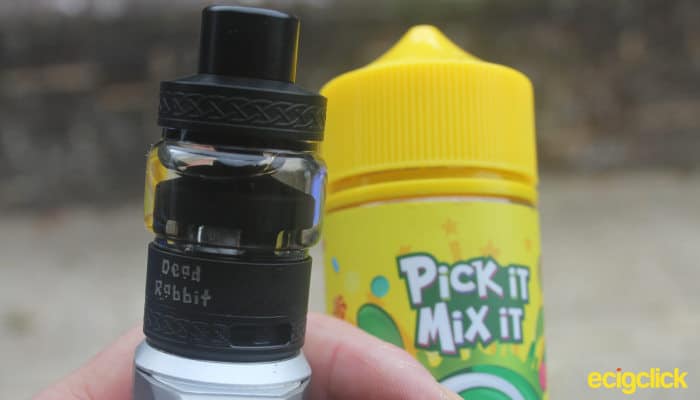
I have opted to use the R Tank on my Aspire Deco with the 6.5ml bubble glass installed.
The E-liquid I will be using is Pick It Mix It Sour Apples.
Hellvape Dead Rabbit R Tank Build Tutorial
- Unscrew the post screws.
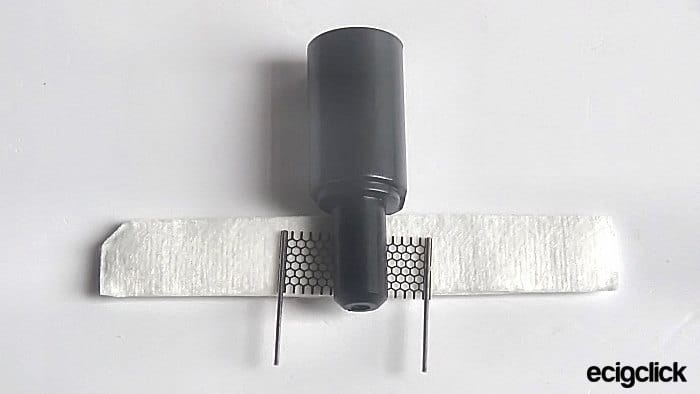
- Locate the supplied cotton and 0.2Ω mesh strips.
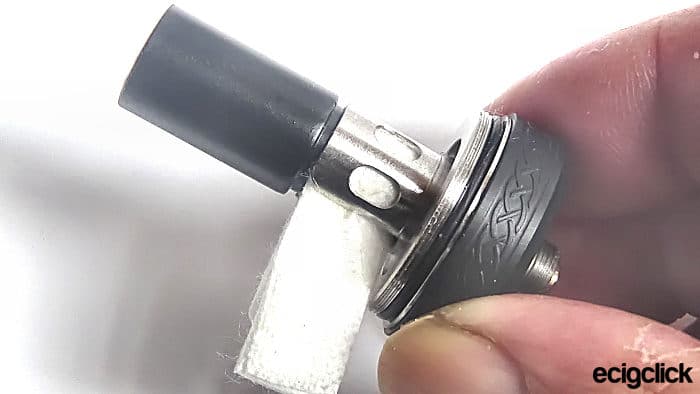
- Place the cotton with the cut corner at the top! position the mesh strip in the centre of the cotton level with the bottom of the cotton.
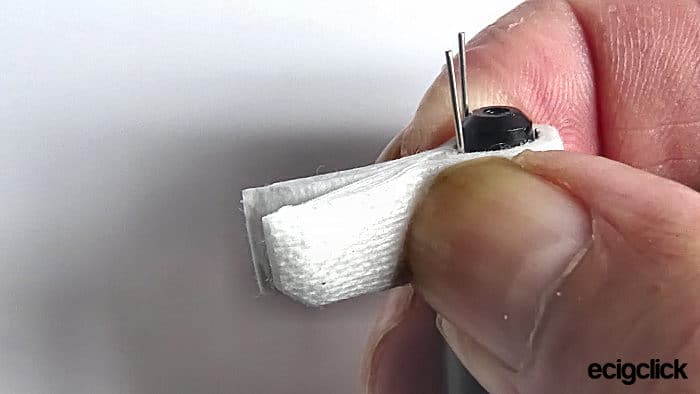
- Place the building tool in the centre of the mesh! and bring the cotton ends together, pinch the cotton around the tool.
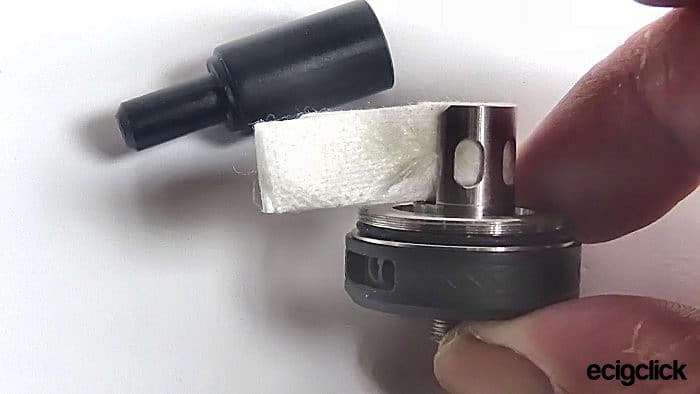
- Slide the tool and cotton into the deck gently, making sure to line up the legs with the post holes.
- Keeping the tool in place tighten the wire screws, remove the building tool gently.
- Cut the over lapping cotton near to the assembly!
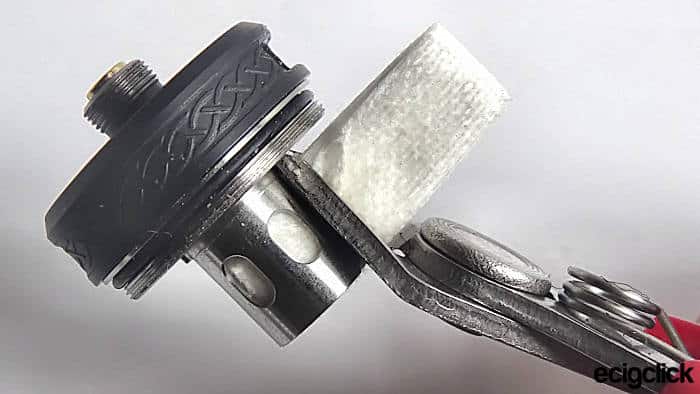
By running tweezers along the join, the cotton will invert slightly, this makes it easier to re assembly the tank!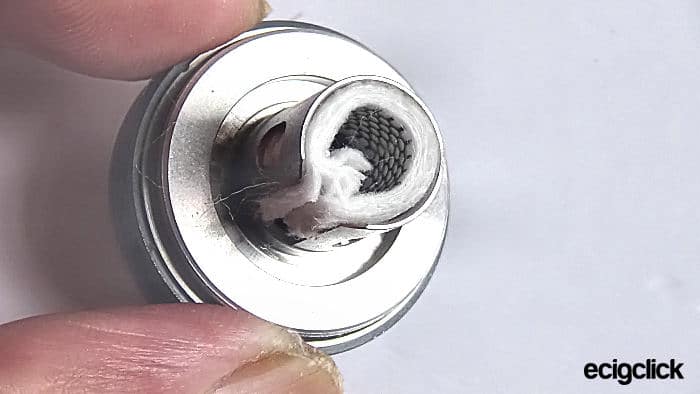
- Dampen the cotton with E-liquid on all exposed surfaces.
- Re-assemble the R Tank.
- Remove the top cap and fill with e-liquid.
Wait for a couple of minutes so the cotton can soak up more liquid.
And then screw the R Tank on to your chosen mod and enjoy!
Hellvape Dead Rabbit R Tank in Use
OK let’s call this tank what it is a rebuildable tank atomiser, which has one heck of a liquid capacity!
Hellvape has taken rebuilding to the next level by styling the build deck and almost simulating a stock coil.
Personally I like this style of build deck.
I’d like to see more tanks with this type of build deck, this is a really cool way of going about building mesh coils.
I’m impressed how quickly and easily it was to build this tank…well once I got my head around this way of building lol.
I was slightly concerned about length of the coil tails, and worried they would cause a short thankfully this didn’t happen.
While in my opinion this is a direct to lung tank, it is possible to get a loose mouth to lung draw by closing the airflow right down.
Airflow, Leaks and Wattage
The airflow is a little turbulent, but for me personally the vapour production is very good and while the flavour is not stellar at high wattage with DTL, it was pretty fair at 50w, the flavour for me was a lot better if I treated the tank as a MTL topper at around 30w.
I have been using the R Tank now for over 3 weeks at various wattage levels up to 80w – Hellvape’s recommend wattage for the 0.2Ω mesh is 50 to 60w they have been very conservative in their estimate.
In all honesty I can say I haven’t had any leaks with this tank even from cold.
Chain vaping with this deceased bunny was fine at 45/50w, I did however notice the tank does get quite hot, and took its time to cool down again!
Pros
- Good quality
- Interesting Design
- Fascinating build deck
- Easy to build on
- Good vapour production
- Fair flavour production
- No leaks for me
- Shop around for good prices
Cons
I have no major concerns with the Dead Rabbit R Tank!
Only 0.2Ω Kanthal mesh strips are available as replacements at the moment.
Final Review Verdict
The Hellvape Fat Rabbit R Tank was a big surprise for me, and I give Hellvape a very big round of applause for thinking outside the box!
While I would call this tank an RTA, really it isn’t but at the same time it is lol, in my mind the tank sits in a gray area somewhere between a standard stock tank and an RTA, I can’t fault the logic as this is what innovation is all about!
It’s great to see a company come up with something that is different and that it actually works well!
BTW replacement, mesh and cotton strip can be purchased for about a five quid.
Would I recommend the Hellvape Fat Rabbit R?
“Yes” this tank would be great for those who don’t get on with standard RTA’s but still want the satisfied feeling of building their own coil with a good vape as the end result.
Would I buy this tank again due loss or damage?
Most definitely “Yes”
Are you using this one or planning to buy it?
Please let me know your thoughts and opinions in the comments below.


Question… how do you change the glass to the bubble glass? Tried so many ways to take it apart but no luck.. any tips would be appreciated
I have a question about the cotton strips. I noticed that there were 5 “pads” of multiple layers. When building do I use all of the layers to one pad or do I split it up? Thank you!