Hellvape are back again, with another deceased bunny! This time I’m going to take a close look at the Hellvape Dead Rabbit V3 RTA, this is the third generation of the RTA which now heralds a postless deck!
Hellvape have been around since 2016 and are based in China, they really need no introduction to the wider vaping community.
They are most famously known for their Dead Rabbit range of RDA and RTAs. I have personally reviewed 3 Dead Rabbit products, I love this brand so much that I own many more of these excellently produced toppers!
The company have a few regulated mod devices like the Arez 120 and mechanical mods like the Trishul V2 mech and Trishul V2 semi mech on the market.
What Can We Expect From the Dead Rabbit V3 RTA?
This RTA was unveiled during Jive Expo on 28th May 2022 in Jakarta.
There is an old saying “to breed like rabbits”. This saying is especially true with this topper brand as it seems to be never ending! Not that that is a bad thing in my book, as I always look forward to the next Hellvape D.R product release!
The Dead Rabbit V3 RTA has an interesting top to bottom airflow, and comes with 3.5ml and 5.5ml glass tubes or for the UK TPD 2ml only.
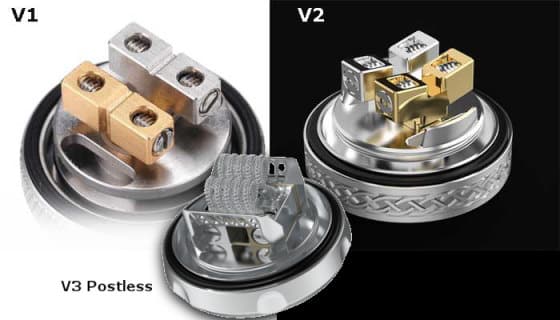
The two previous versions of the deck had rabbit ear posts, Hellvape have updated this version with a dual postless deck!
Hellvape have also mentioned in their promotional advertising that this version of the RTA is leak free – we shall see!
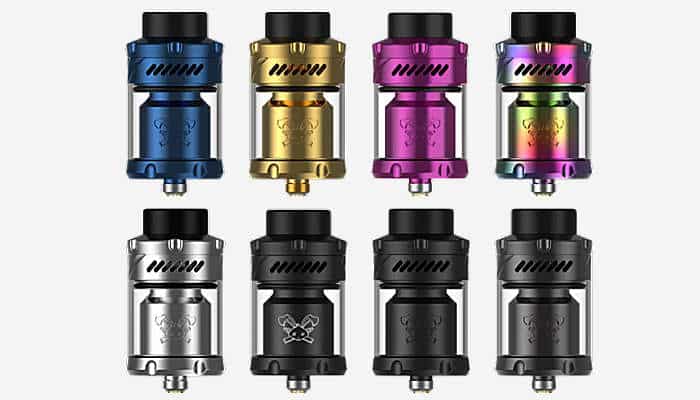
There are 8 colours variants of the Dead Rabbit V3 RTA available to choose from.
This product was sent to me by Hellvape the purpose of review.
As always my thoughts and views are my own after a considerable testing period.
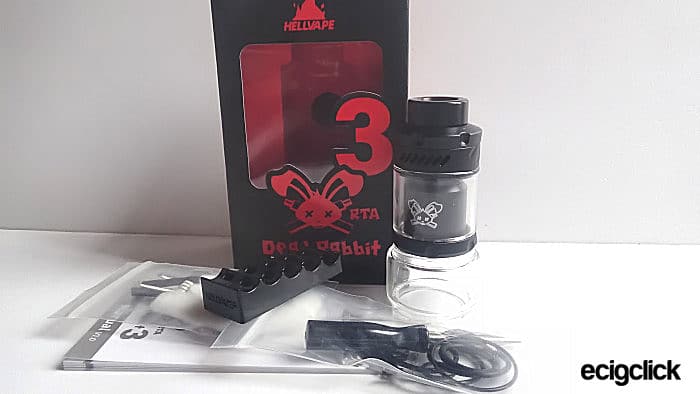
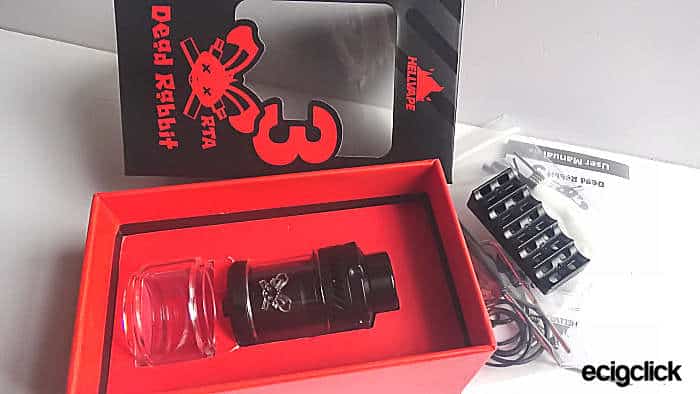
In The Box
- Hellvape Dead Rabbit V3 RTA
- 0.37ohm Ni80 Clapton coils x2
- Shoelace cotton x2
- Coil cutting tool
- Extras bag
- Spare Glass (standard version only)
- User manual
Features
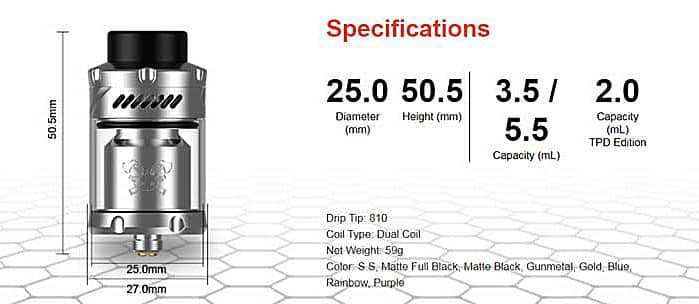
- Size: 25×50.5mm
- Capacity: 3.5/5.5ml (Standard) / 2ml (UK TPD)
- Dual coil build deck
- 810 drip tip
- Top adjustable airflow
- Top fill
Design and Build Quality
As always with any Hellvape product, the V3 RTA has a good and solid construction with a great design quality!
I was sent the standard version of this RTA, so my review reflects this.
And as always Hellvape have included a decent amount of spares with the kit.
Hellvape Dead Rabbit V3 RTA
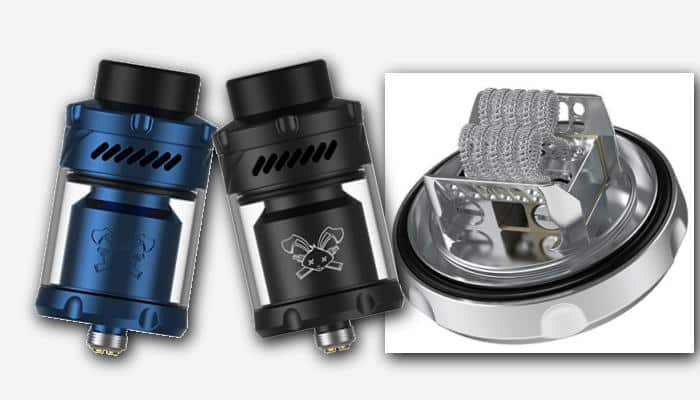
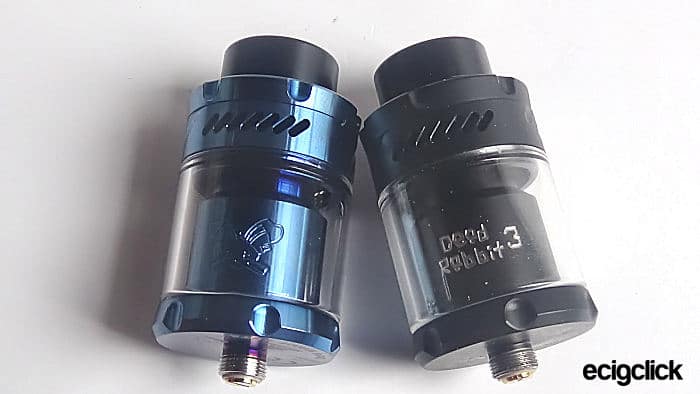
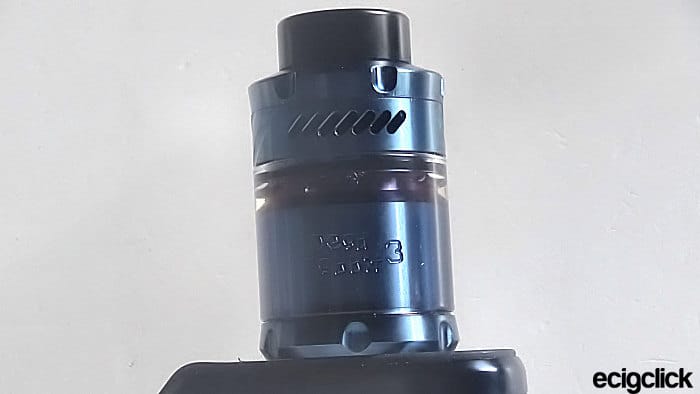
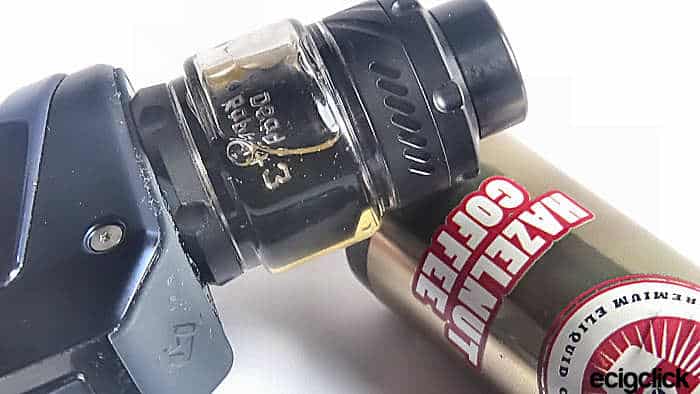
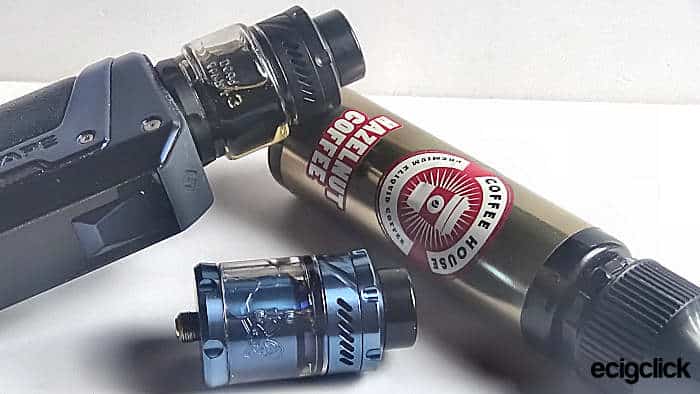
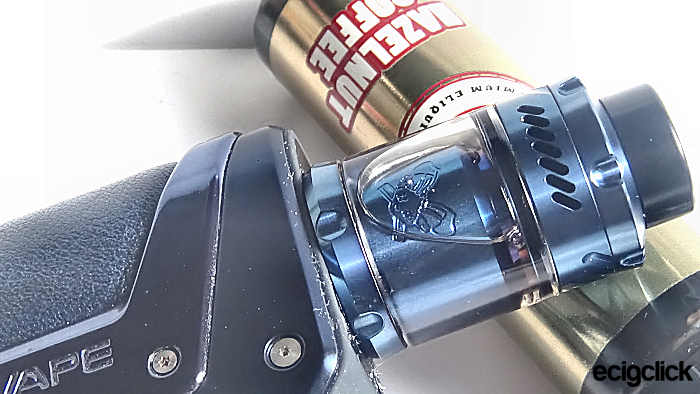
As you can see by my photos I was sent the RTA in Matt Black and Blue and the kit comes nicely displayed in a card box.
The extras can be found under the foam inlay tray; they include – a cutting tool, coils, cotton, O-rings, screws, driver and Allen key.
The tank is solidly built and quite heavy even when empty the weight is 59g! Design is good with an excellent standard of manufacture!
Measuring in at 50.5mm tall including the mouthpiece the tank diameter is 25mm and it bulges slightly to 27mm.
Materials
The tank has a solid 304 Stainless Steel construction with Pyrex glass and Delrin.
Hellvape Dead Rabbit V3 RTA Overview
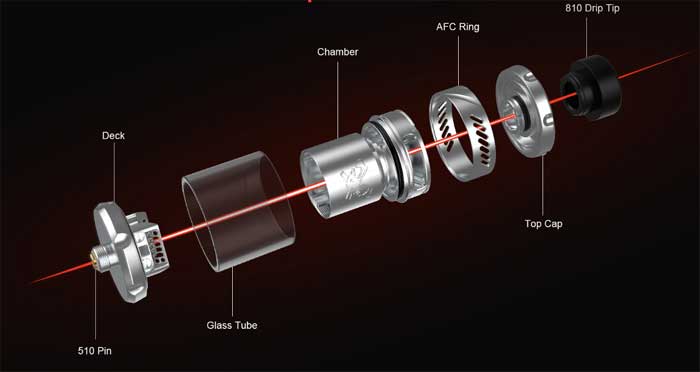
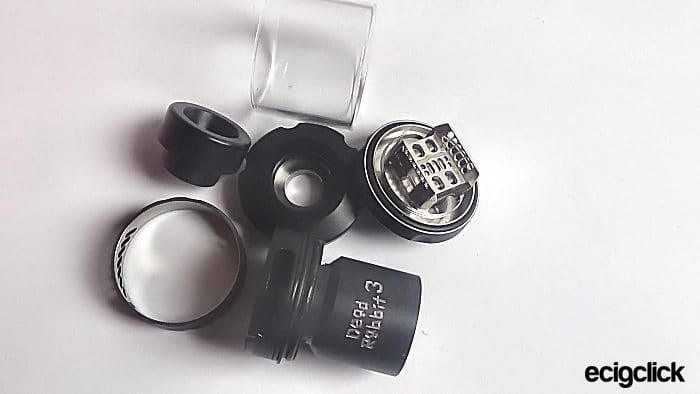
Dismantled this RTA has 6 components including the mouthpiece and the airflow Control Ring.
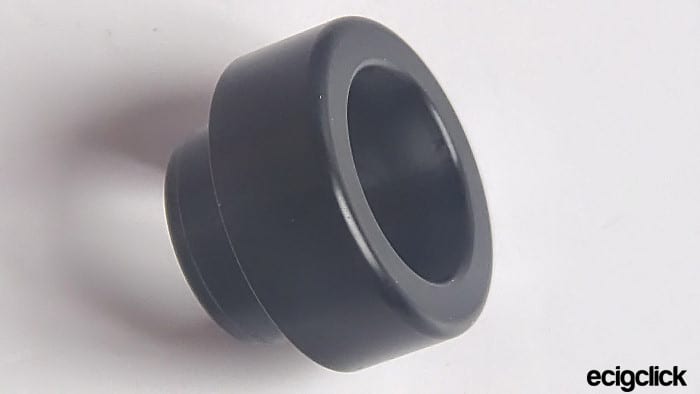
Starting at the top the RTA has a chunky Delrin 810 drip tip.
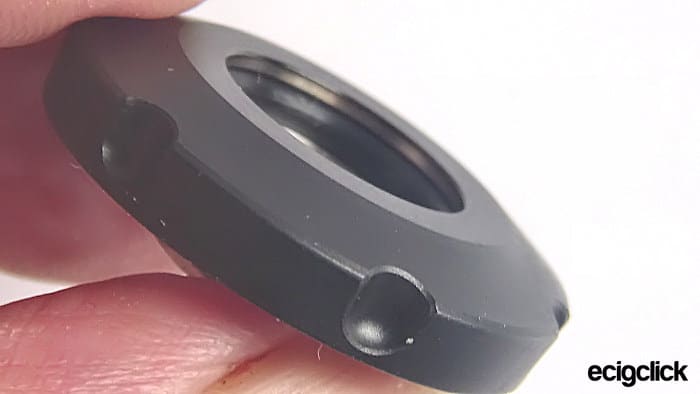
The top cap is a ¼ turn and the cog wheel like pattern on the edges aids in placement and removal. The cap has an embedded O-ring for firm seating of the mouthpiece.
On the reverse side of the cap you will see the connection slots as well as another embedded O-ring to help stop leaks from the fill port.
Chimney, Fill Port, Airflow and Coil Cover
This section is in one piece.
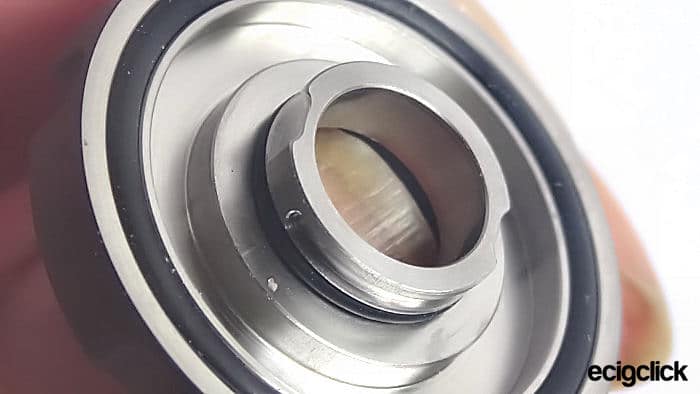
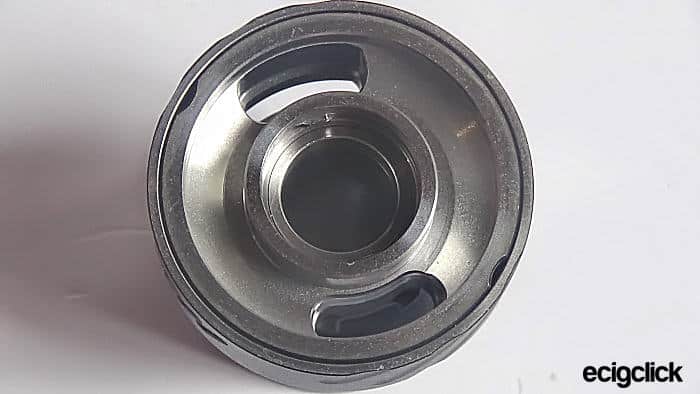
Removing the top cap you will see 2 kidney shaped fill ports and looking into the top of the chimney you will see the connection bayonets that match up to the cap slots!
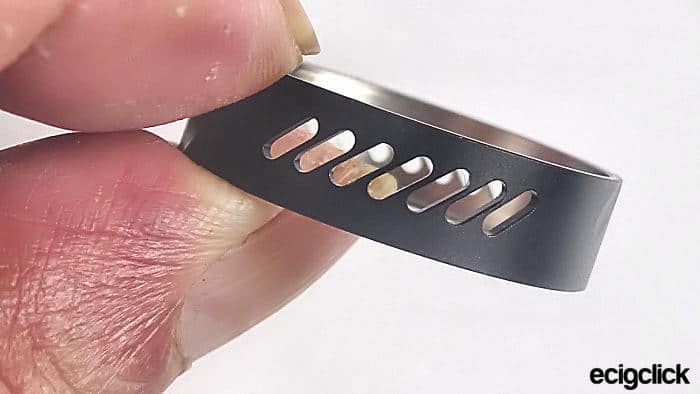
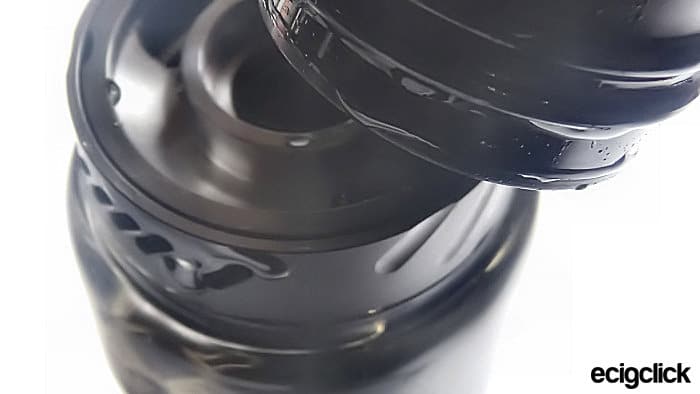
Around the outside of top of the main structure is the removable airflow control ring that consists of 7 slashed slots to each side.
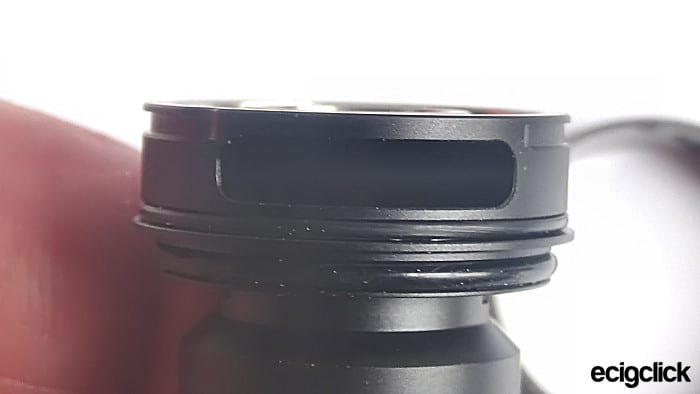
When the ring is removed you will see 2 very wide airflow slots; the airflow ring sits on an O-ring which allows for smooth adjustability!
Just under the airflow ring there is another O-ring this is for the glass to sit on.
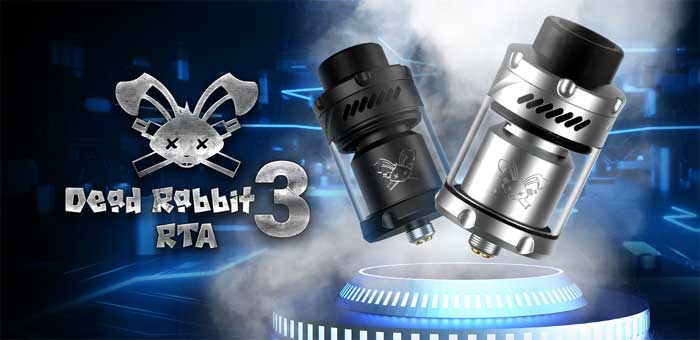
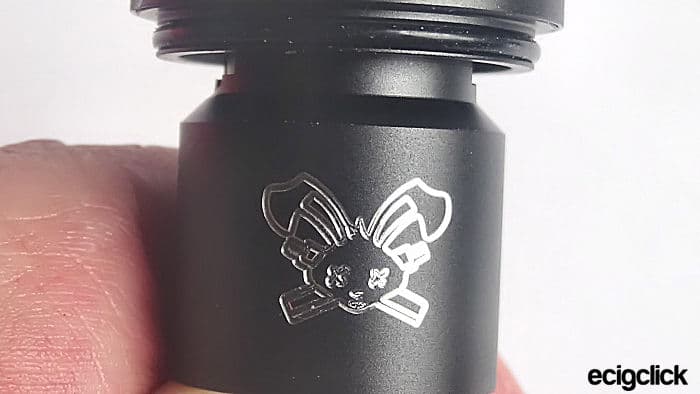
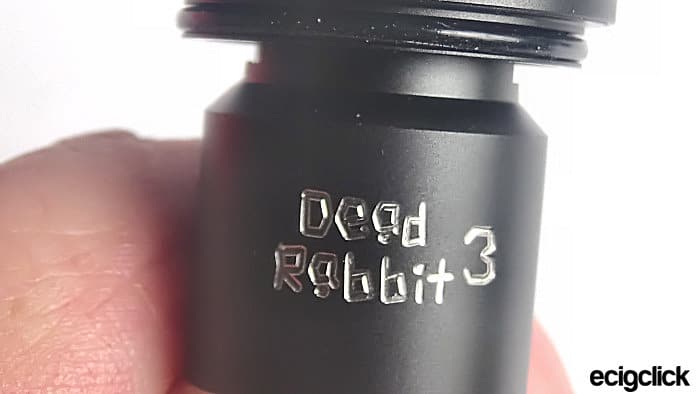
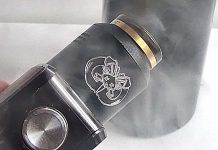
Advertising has been engraved onto the metal coil cover that includes the Dead Rabbit logo one side and the other says “Dead Rabbit 3”.
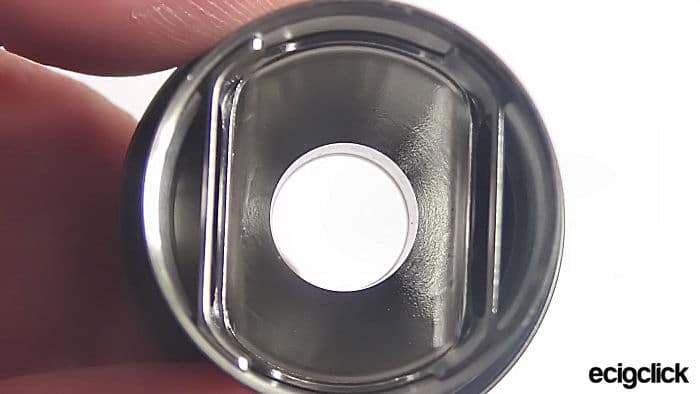
Looking into the coil cover you will see the bottom end of the airflow.
The build deck can only fit one way into this section – once situated it will then screw on and off. BTW the deck can be quite stiff to remove when loaded.
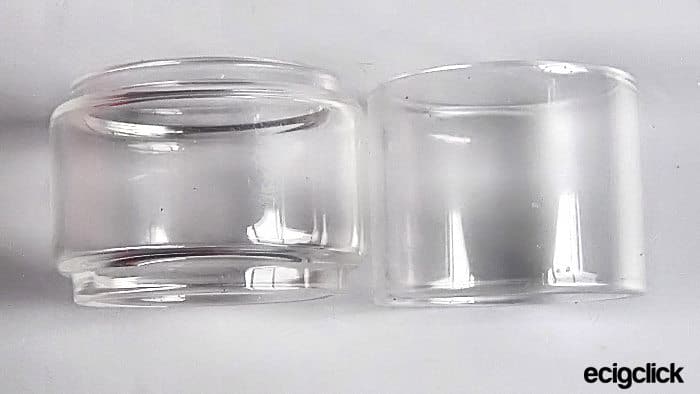
The glass tank is centrally situated between the fill port and build deck. It is made of Pyrex glass, the capacity is 3.5ml with a 5.5ml spare.
To be honest I feel that the 5.5 glass spoils the look of the RTA although it definitely comes in handy while out and about!
Hellvape Dead Rabbit V3 RTA Build Deck
Removing the build deck from the tank is a simple matter of unscrewing it from the main tank section.
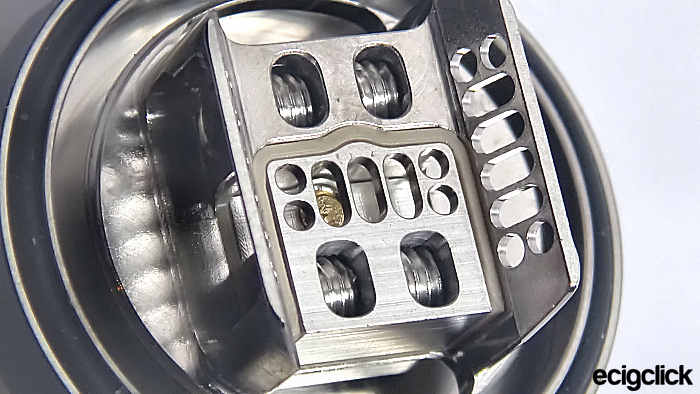
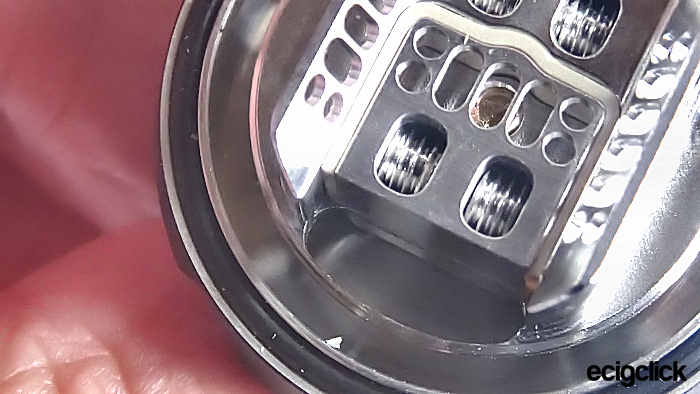
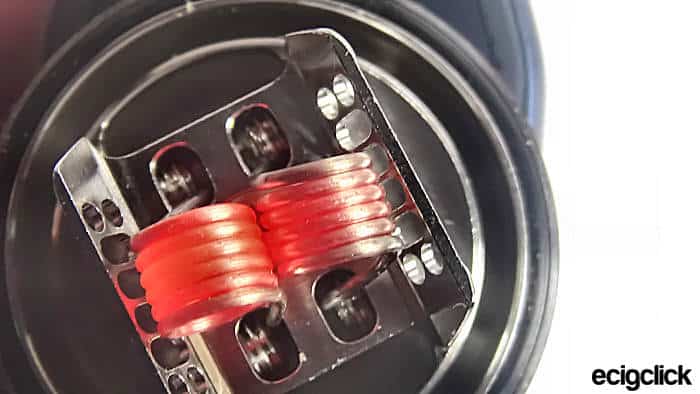
The build deck for this RTA is a postless design.
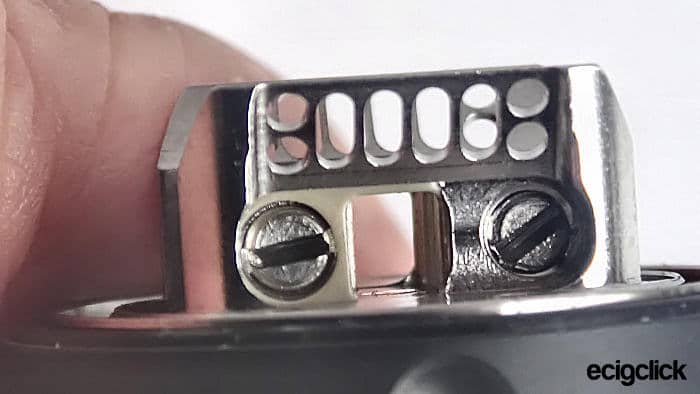
The internal airflow consisting of 3 slots and 4 dots is in the centre of the build deck. Behind the wire terminals you will see the similar design for directional airflow!
The positive wire terminals sits along with the internal airflow on a peek insulator and the two wicking slots at each end of the airflow are a little shallow but adequate.
Each side of the build deck you will see 4 flat head screws for mounting the wire and around the base of the deck is an imbedded O-ring that helps to eliminate leakage from the bottom of the glass!
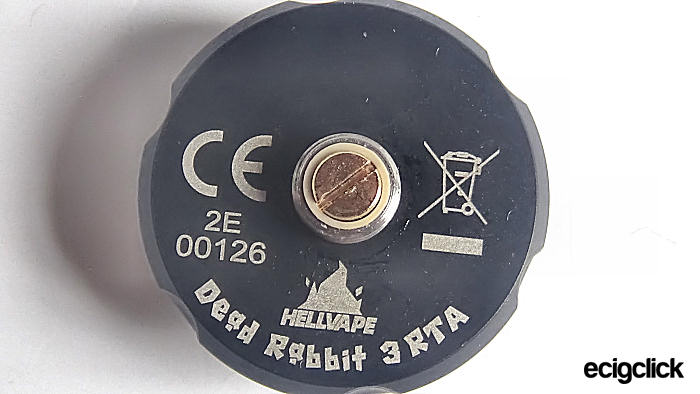
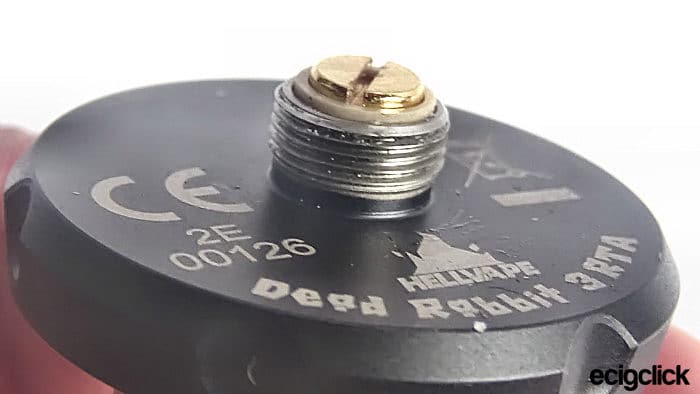
On the bottom of the deck you will see it’s printed with the normal safety marks and the Hellvape logo as well as a unique serial number.
The 510 threading has been turned well, the gold plated connection pin sits out enough to be used with a mechanical device!
How Does the Hellvape Dead Rabbit V3 RTA Perform?
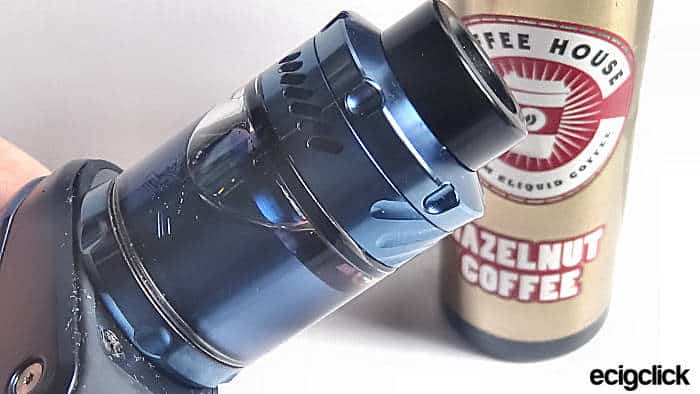
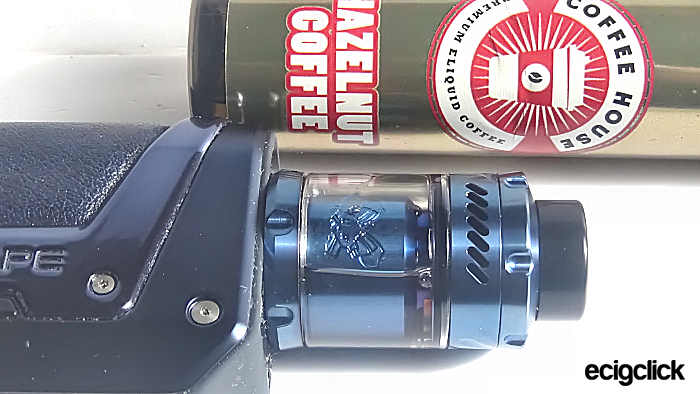
Today I will be using the Dead Rabbit V3 RTA on my Geekvape L200 aka the Legend 2!
Because of my nickel allergy, I will be using my own DIY Kanthal coils!
The E-liquid I will be using is Coffee House “Hazelnut Coffee”
Basic Quick Start Guide to building the Dead Rabbit V3 RTA
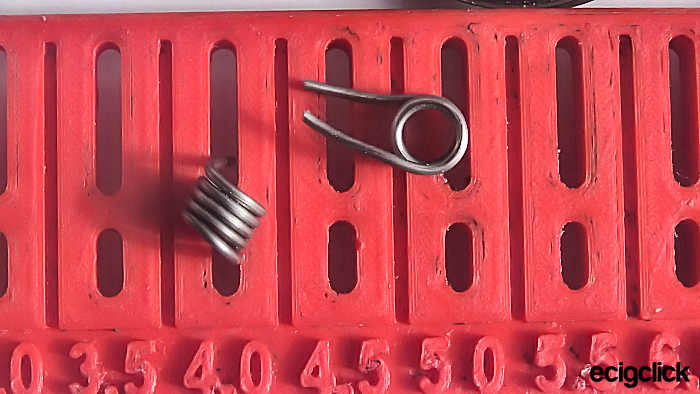
I’m using a pair of 22g KA1 coils created on a 3.5mm bit, they came out to 0.13Ω!
- I cut my coil tails at 4mm and dropped them into the terminals.
- Heat and scrape each coil to get rid of any hot spots!
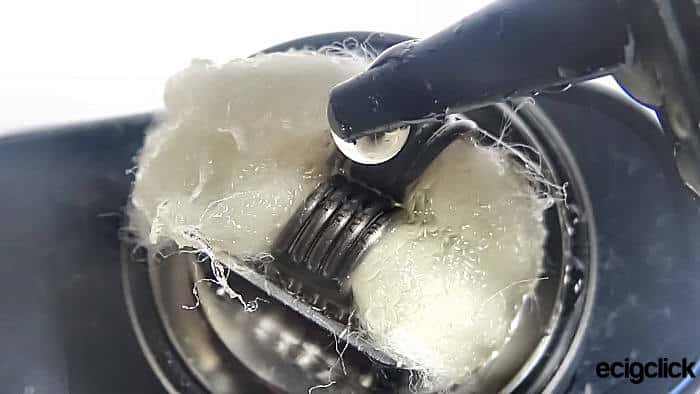
- Insert cotton and lightly fluff it.
- Tuck the cottontails into the wick slots, don’t over stuff as this will strangle the liquid getting to the coils!
- Dampen the cotton and reassemble the build deck into the tank.
- Remove the top cap and fill with e-liquid.
Screw the Dead Rabbit V3 RTA on to your chosen mod and enjoy!
Hellvape Dead Rabbit V3 RTA in Use
Building this topper is real easy, the only thing I found a learning curve was the wicking, but then it always takes me a few tries to get things perfect for me!
Let’s talk about leaking. Hellvape have said that this version of the RTA is leak free, on that so far they are correct.
No matter what I do with this tank I can’t get it to leak!
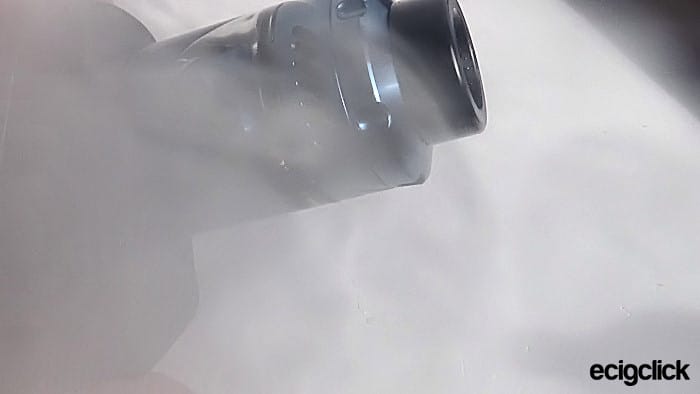
I really like the airflow on this one, it’s smooth and almost silent. I thought that the dual airflow on the Fat Rabbit RTA was good, but even half open this RTA produces a rich cloud production with great flavour to match!
Normally I vape this setup around 55 to 60W with the airflow ¾ open!
During my tests I took the RTA to 120W with the airflow fully open, LOL yes I think I barfed a lung with these 0.13Ω coils as the vapour was very warm!
Chain vaping the Dead Rabbit V3 was a great experience for me at 55W. I did notice that the tank does get very hot while chain vaping, but it soon cooled down due to the stainless steel construction!
The 510 connection pin sticks out enough for me to be happy and safely recommend using this RTA on a hybrid mod like my Reewape Ruok Ghost 21700 Mech!
Pros
- Very good quality
- Design is good
- Great vapour production
- Good flavour production
- Airflow is very smooth
- Very easy to build on
Cons
Try as I might I have no major concerns with the Dead Rabbit V3 RTA. If I had to be picky the 5.5ml glass doesn’t look right to me on this tank!
Final Review Verdict
I am very rarely impressed with flavour or vapour production from most tanks (I prefer RDA’s).
The Dead Rabbit V3 RTA is another shining example of Hellvape’s great quality of design and manufacturing.
The airflow is smooth and almost silent, in drawing the vapour from the bottom to top!
Building is very easy but wicking like most RTA’s you need to play to get it right or suffer liquid strangling.
Would I recommend the Hellvape Dead Rabbit V3 RTA?
“Yes” this is another great looking topper from Hellvape, it’s a ridiculously easy RTA to use and maintain.
Would I buy this RTA again due loss or damage?
“Yes” for overall looks and of course the flavour and cloud production!
Did you buy the Hellvape Dead Rabbit V3 RTA? Let us know your thoughts in the comments below.



Everything in your review is spot on.
Just got one of these from AliExpress and assembled it within minutes of it arriving. Wicked it right on first attempt (woohoo) and it’s so much better than the Taifun GTV I’ve been using.
Dual coils need a bit more battery to run, as you’d expect, but I have spares.
Paired with my Drag 5 the Expired Rodent is even better than the UForce-X from factory.
Nothing to complain about; the 5.5ml tank is chonk, but the trade off is another hour of capacity over ridiculous TPD attys which need constant filling.
I wouldn’t hesitate to recommend this atty to anyone.
As a newbie, I’m considering this product. However, most coil builds I’ve seen with it are Clapton. That might be next level for me. So good to see you can use “single strand?” Kanthal, I guess making sure the resistance is appropriate? Is this correct?
I’m not looking for flavor as I don’t use any. Just want smooth, fast delivery of nicotine, with minimal throat hit.
My other question is more about what batteries I’d need for this. I currently have a GeekVape S100 with an 18650. Would this be sufficient?
Thanks,
Michael
yes the sweet spot coils resistance is around 0.15 to 0.30 ohm. trying to not lower your ohm too much. the easy ways for rta and rda build is using the pre-made coils, most they sell in 10pc/box. i own this dead rabbit 3 tank and its work pretty well and its the good overall tank for sure.