Having finally got around to vaping on RDAs and RTAs recently and given I own literally no tools of any description I found myself using my trusty old toe-nail clippers to trim the legs off the pre-made coils I’d bought.
Gross or what haha – sadly I had to bin the clippers as it appears kanthal wire is stronger than toenails and they are now as blunt as a butter-knife – who’d a thought!
So I bought a micro multi tool [which included a nifty little LED torch] which of course broke the moment I got it out of the box.
Not being at all manly when it comes to tools – I like the shininess of them and the idea that I know exactly what to do with them – I considered purchasing all the bits and bobs I’d need to build my coils.
But I literally had no idea what I needed – what sizes – what they were called or where to get them from.
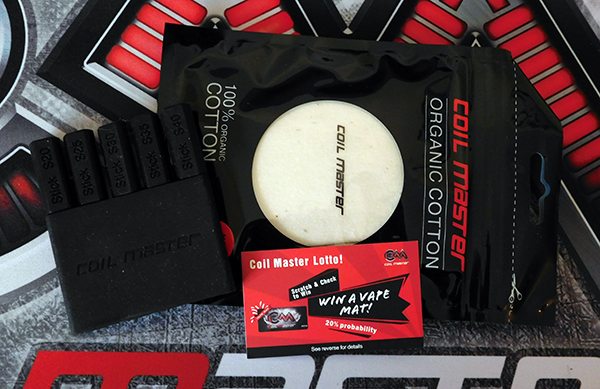
Thankfully Jonny and Coil Master heard of my plight and a brand spanking new all singing all dancing Coil Master DIY Kit V3 landed on my doormat – complete with the huge Coil Master build mat and a new set of ceramic sticks.
So – on seeing all those shiny new ‘manly things’ was I overwhelmed? Did I know the difference between a pair of ceramic tweezers and elbow tweezers?
As a complete novice – OK clumsy idiot who can’t even change a plug without hitting Google for a ‘dummies guide’ – did the kit make my coil building easier?
Let’s have a complete beginners look at the Coil Master DIY Kit V3, a must have for vapers into coil building and I have to say right off the bat it’s pretty amazing.
Note: safety is of course paramount when building your own coils.
As always with this kind of thing – please make sure you know exactly what you’re doing!!!
Inside the Box
Just your typical cardboard box – but don’t re-cycle it to soon as there’s a scratch off area where you could be lucky enough to win one of the superb Coil Master building mats.
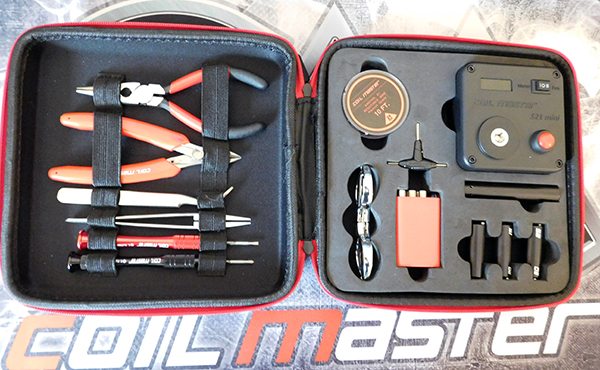
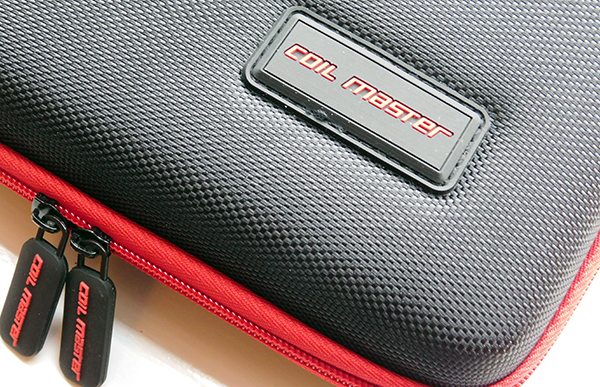
The whole kit is packed away beautifully inside a tough carry case:
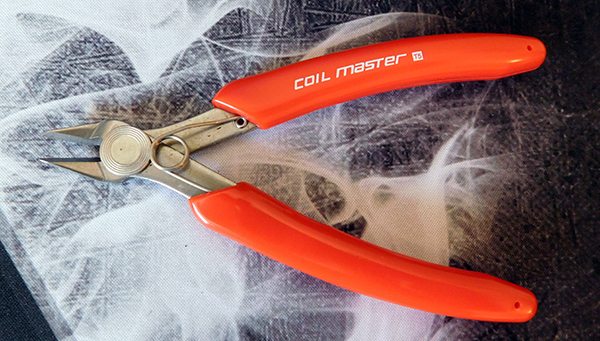
- 1 x Diagonal pliers
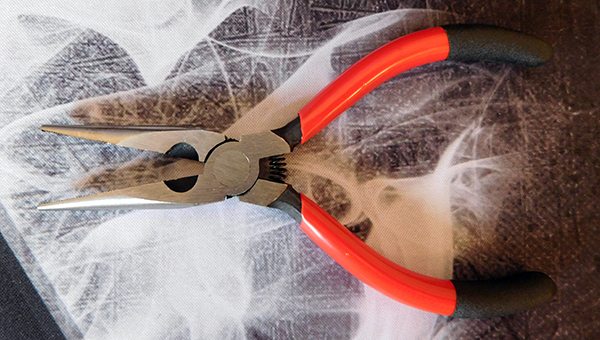
- 1 x Needle-nose pliers
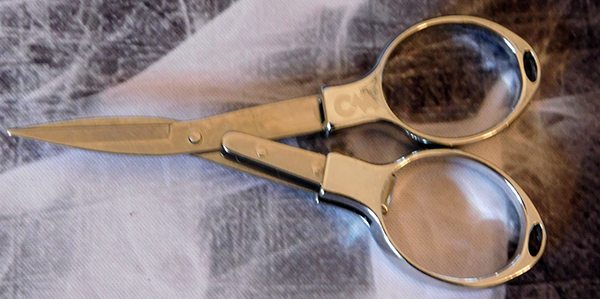
- 1 x Stainless steel folding scissors
- 1 x Pen styled Phillips screwdriver
- 1 x Pen styled Flathead screwdriver
- 1 x Ceramic Tweezer (T1)
- 1 x Elbow Tweezer (T3)
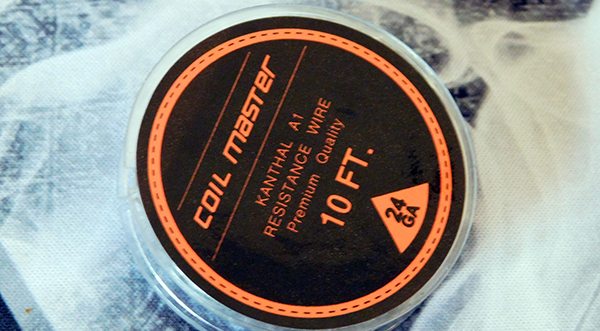
- 1 x 10 ft 24 GA Kanthal A1 Wire
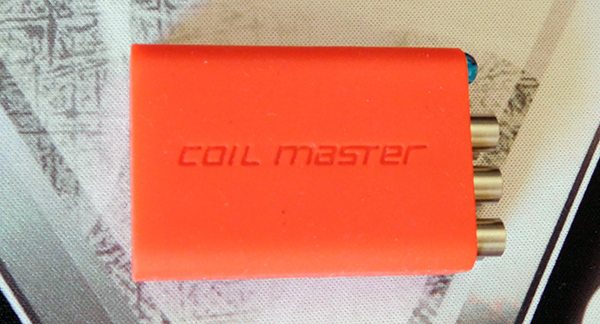
- 1 x 521 Mini Tab
- 1 x Coiling Kit V4
- 1 x Silicon rubber case for jigs
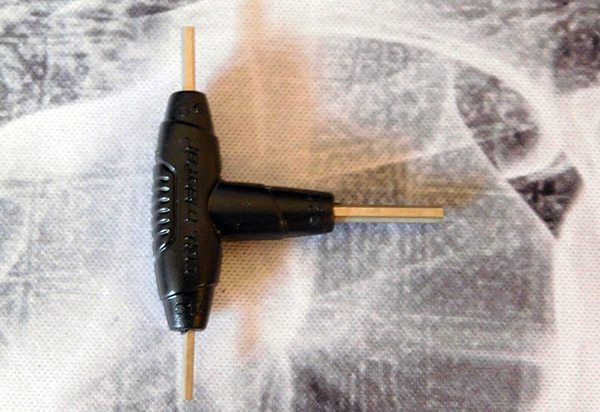
- 1 x T styled HEX screwdriver (◇1.25mm, ◇1.5mm, ◇2.0mm)
- 3 x Japanese Organic Cotton
That’s pretty much everything you’ll need to build your first coils.
However you will need an 18650 battery for the 521 Mini Tab – this is the ohm reader.
Coil Master DIY Kit V3 Features
OK let’s break down each piece of the kit and what it’s for.
Diagonal Pliers
They call them diagonal pliers however I call them ‘wire snips’.
After using a pair of old toe-nail clippers these are fantastic for snipping off the ‘legs’ of your coils.
They’re spring loaded with a rubberized handle and are sharp and simple to use – snip! Snip!
Needle Nose Pliers
Again spring loaded with that rubberized handle and these little beauties are perfect for pulling your coils tight from the legs.
Stainless Steel Folding Scissors
At first you’ll think they’ve popped in a pair of John Lennon specs – but pull these apart and you get a super sharp pair of scissors perfect for trimming cotton wool for your wicks.
Pen Styled Phillips Screwdriver
Pretty self-explanatory really – the swivel top makes things a whole lot easier when screwing in your grub screws.
Pen Styled Flathead Screwdriver
Again self-explanatory and again with the nifty swivel top.
Ceramic Tweezers
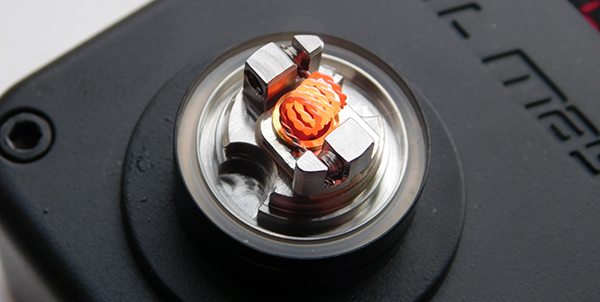
Used for pinching and scratching your coils whilst firing enabling you to get rid of hot-spots and tidying your coils.
Elbow Tweezers
A variety of uses but predominantly for working with your wicks – ideal for fluffing the cotton wool and pinching and moving your wick around.
10 ft 24 GA Kanthal A1 Wire
This is a great wire for the coil making beginner and I found it coiled beautifully with builds coming in sub 0.5ohm.
However be careful when opening it as it’s tightly spooled and will escape like a Jack-in-the-Box if you ain’t careful 😉 Yeah I was that guy lol.
521 Mini Tab
This is one of the most important items in the kit.
Not only does it make a great stand for building – more importantly you can check the resistance of your coil – dry fire it – and fine tune it until you’re happy.
It has a resistance range of 0.1 to 9.9ohm and spring loaded 510 threaded pin – I had no issues using a variety of RDAs and RTAs.
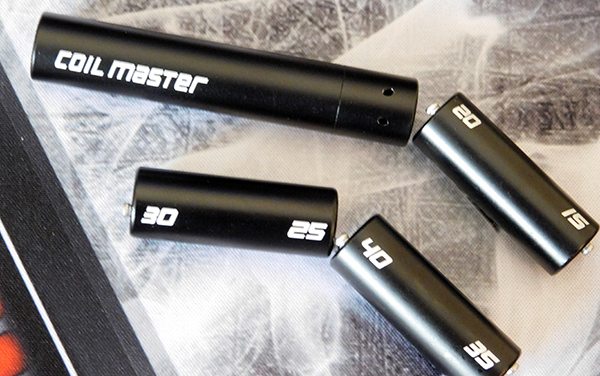
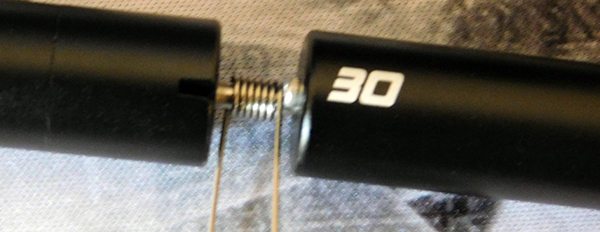
Coiling Kit V4
Forget wrapping your wires around a screwdriver – the V4 coiling kit makes the whole thing a pleasure.
You get the coiling tool and a collection of coil posts and jigs ranging from 1.5mm to 4.0mm – pretty much all you’ll need to make any sized coil.
Silicon Rubber Case with Jigs
Another set of jigs containing x6 pieces ranging between 1.5mm and 4.0mm – there’s also a little blue hex key slotted down the side.
T styled HEX screwdriver
Self-explanatory really – but I found this a nice little tool to use.
Japanese Organic Cotton
Very nice 100% organic Muji Japanese cotton that makes wicking a cinch.
I also received a set of ceramic sticks [sold separately] useful for moving your coils around without any chance of shorting them out – and some very nice fluffy ‘Pro Cotton wool’ – and of course the awesome build mat.
Final Verdict on the Coil Master DIY Kit V3
I guess anything after using toenail clippers as a coil building tool anything will be better 🙂 – but I can honestly say even as a stone cold newbie to coil making – this kit is amazing.
There really is absolutely everything you’ll need to build your first coil for your RDA or RTA which is not only fun to do – it will save you money in the long run – no more £15 shell outs for a set of stock coils 😉
Look I can’t be any clearer than saying as the least technical bloke on the planet I was able to figure this kit out without reverting to You Tube lol.
OK I told a little porky – I managed to make my first coil and THEN headed to You Tube to see if I’d done it right!
It’s value for money too – if you were to buy all of these tools and the ohm reader you’d be looking at spending much more than the cost of the kit.
For the complete newbie and the advanced vaping enthusiast this is all you’ll ever need to begin making your own – it’s strangely therapeutic as well 😉
Pros
- Value for money
- Six jig diameters
- Well-made tools
- Well thought out
- Easy to use
- Sturdy case
- Scratch code on box to win a build mat
Cons
- No user manual – not too much of an issue to be honest!
- Maybe the elastic tool holdings could be swapped to Velcro maybe?
