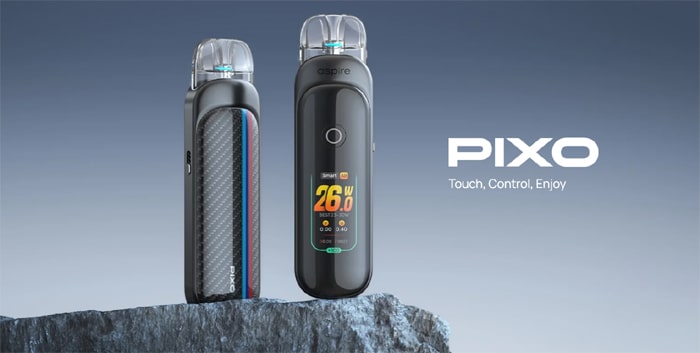
Aspire are back with another pod kit – the Aspire Pixo!
Aspire are one of the biggest names in the industry. They offer a huge range of different kits to suit all types of vaping styles, making their name with the release of the Nautilus and Cleito tanks.
We’ve recently taken a look at a couple of pod devices from Aspire. We have reviewed the Aspire Nexi One Pod Kit and the Aspire Gotek X II.
But the Pixo is shaping up to be something totally different…
Many thanks to Aspire for sending the Pixo in for review. Let’s see what this device has to offer! As always, all views are my own…
Read on to find out more!
What Can We Expect From The Aspire Pixo?
Aspire are going all-in on creating a device that will really turn heads with the Aspire Pixo!
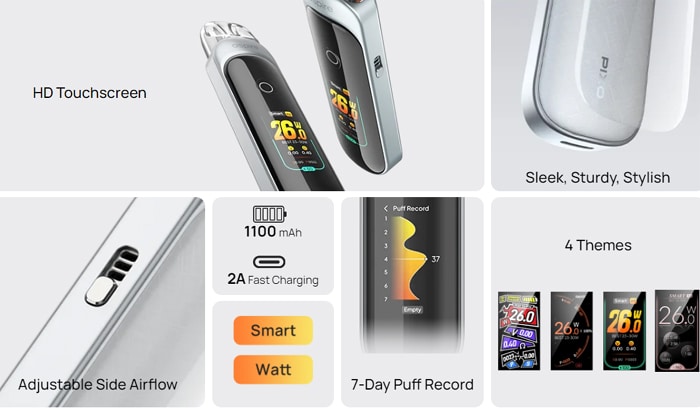
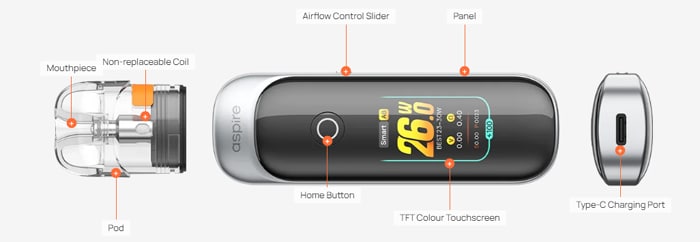
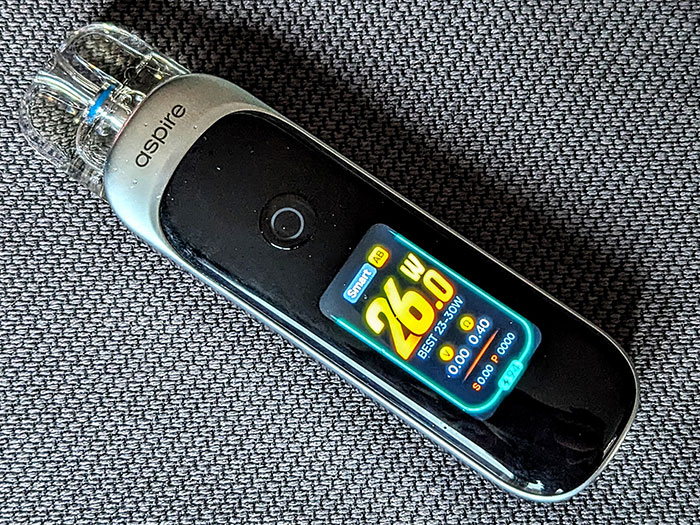
With the Pixo, Aspire are delivering the industry’s first true touchscreen pod device. It features a bright, high definition TFT Colour screen that can be customised with different eye-catching themes.
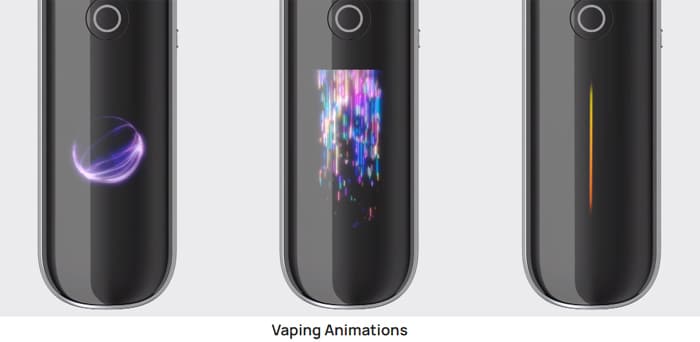
Plus you can select different animations and activation methods to really personalise your device.
And this is a truly touchscreen device too! You can scroll through the menu and adjust the power output without needing to press buttons and you get tactile vibration feedback.
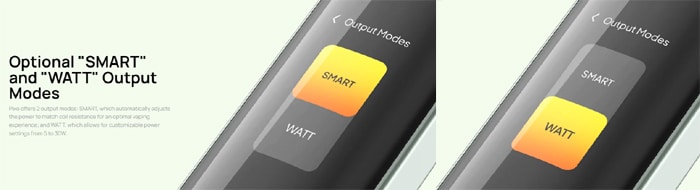
There’s the ability to switch between two different output modes…
- SMART automatically adjusts the power to match the resistance of the coil
- WATT allows you to adjust the wattage yourself from 5-30W.
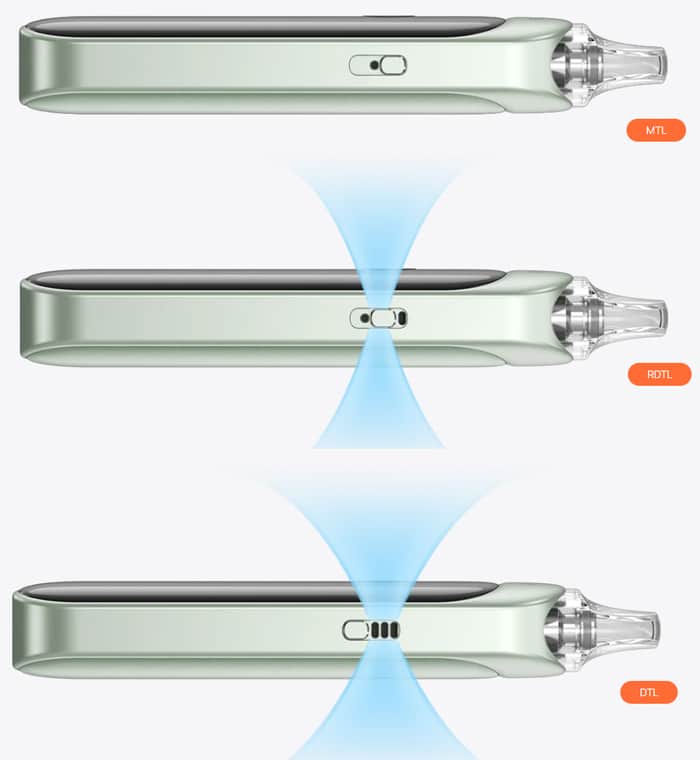
Airflow can be adjusted seamlessly to suit your vaping style. The Aspire Pixo is able to deliver a Mouth To Lung (MTL), Restricted Direct To Lung (RDTL) and Direct To Lung (DTL) vape. We tell you what all these terms mean in our Guide To Vape Styles.
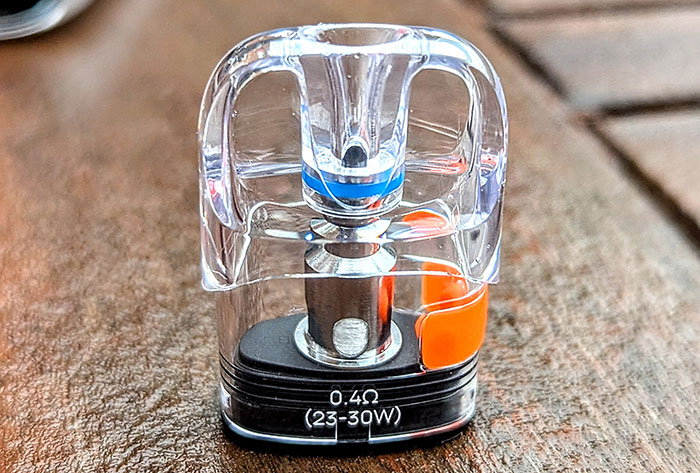
Four different coil resistances are available that are tailored to different styles of vaping. Choose from 0.4ohm, 0.6ohm, 1.0ohm and 1.2ohm easy side-filling pods.
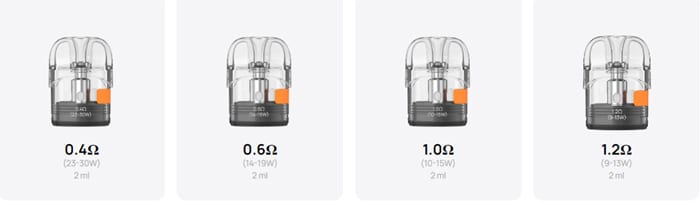
Aspire have tested these pods extensively, stating that the built-in mesh coils offer 43% longer coil lifespan and 36% more flavour duration than pods from other manufacturers.
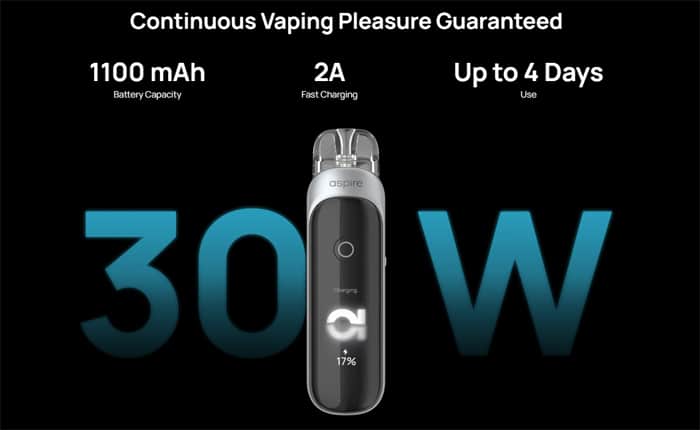
You can get up to four days of use thanks to the built-in 1100mAh battery. 2A fast charging ensures that your Pixo can be fully recharged in under 35 minutes.
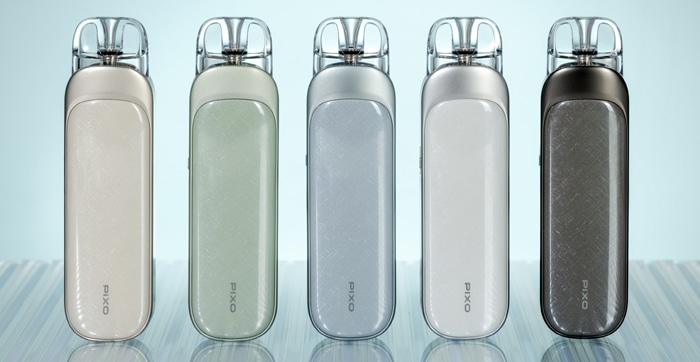
There are a total of 8 colours to choose from. The first initial production includes 5 colours: Beige, Sage Green, Frost Blue, Ice Silver and Gunmetal.
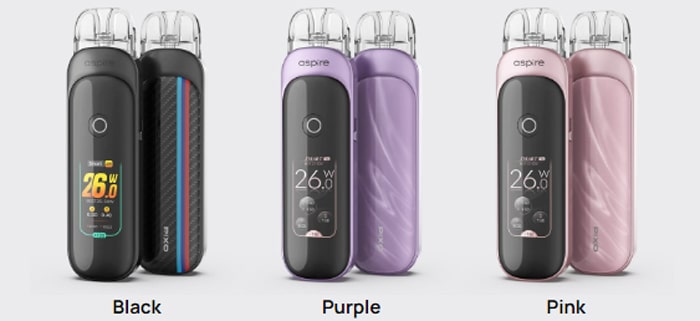
A further 3 new colours are on the way with Black, Purple and Pink. Apparently an extra new screen theme comes with these versions. Or you can download the new theme from Aspire here.
Kit Contents
- Aspire Pixo Device
- Aspire Pixo 0.4ohm Pod (installed)
- Aspire Pixo 1.0ohm Pod
- USB Type-C charging cable
- Microfibre cloth
- User Manual
- Quick Start Guide

Specifications
- 108.9mm x 30.4mm x 16.6mm dimensions
- Draw activated and button activated vaping options
- Mouth to lung, restricted direct lung and direct to lung vaping
- Upgradeable firmware
- 5-30W power output range
- Aspire ASP chipset
- Smart and adjustable wattage output modes
- 1.47″ HD TFT colour touchscreen
- Customisable themes and animations
- Adjustable airflow
- Built-in 1100mAh battery
- 2A fast charging
- 0.4ohm, 0.6ohm, 1.0ohm and 1.2ohm pods available
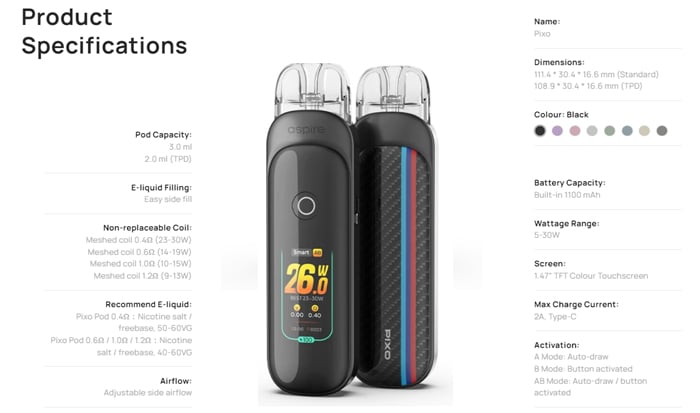
- 2ml capacity (TPD version) / 3ml capacity (non TPD)
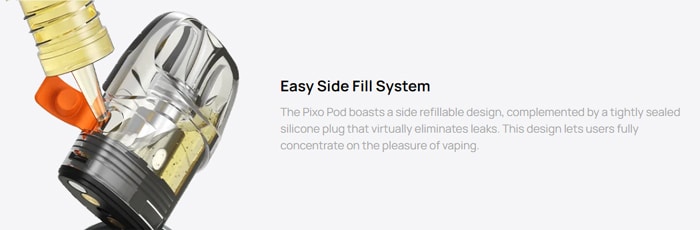
- Easy side filling
- 8 different colour options
- 8 safety protections
Design & Build Quality
Depending on whether you have got the TPD version or the non-TPD one, the Aspire Pixo measures 108.9mm x 30.4mm x 16.6mm (TPD) or 111.4mm x 30.4mm x 16.6mm (non-TPD).
The difference in size is a result of the TPD version coming with a 2ml capacity pod to fit with regulations, hence it being a couple of millimetres shorter. Whereas the non-TPD version has a larger capacity 3ml pod.
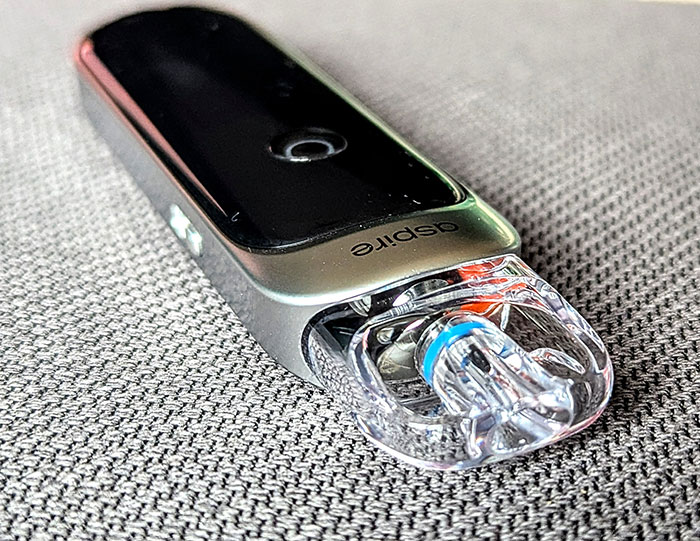
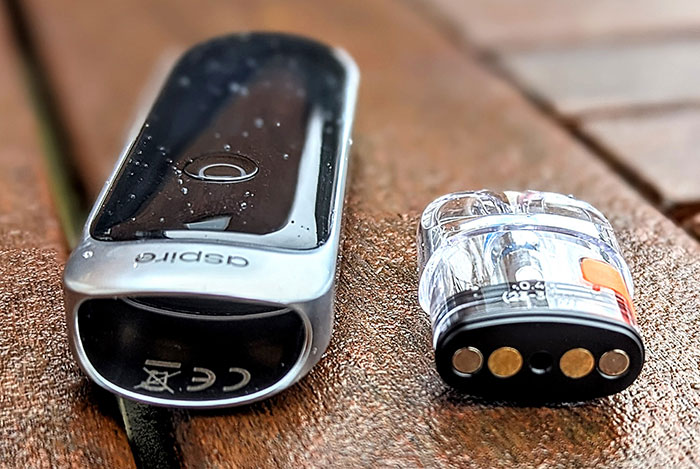
The Pixo pods connect magnetically to the device but I did notice that there is a slight wobble to them. During use I didn’t experience them accidentally disconnecting from the device or any issues with the coil resistance being incorrectly read due to a poor connection.
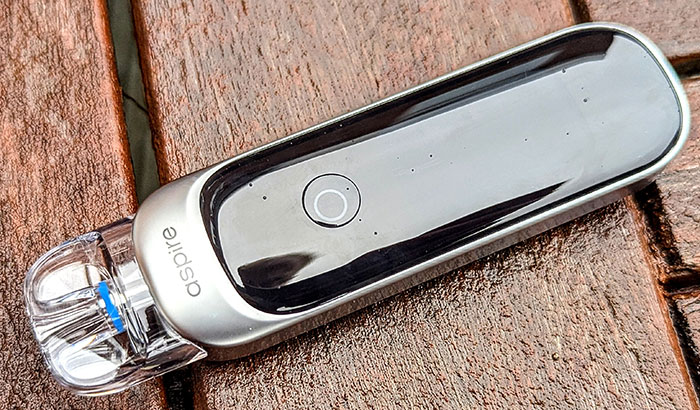
Looks wise, the Pixo exudes absolute class and not only does it look like a premium high end product, it feels very robust too. There’s a really nice, smooth feel to this in the hand.
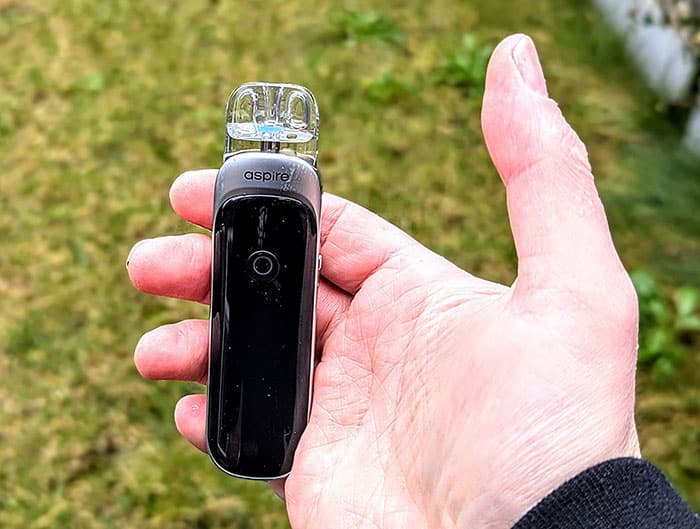
The listed product weight is 70g and it really does feel like there is some weight to it in the hand. I definitely notice it in my pocket too!
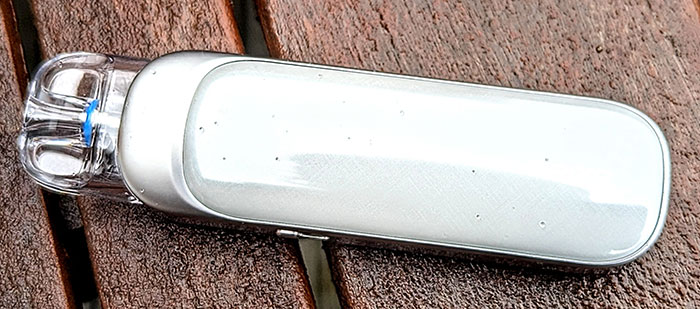
Such is Aspires commitment to providing a premium vaping experience with the Pixo, you even get a microfibre cloth included in the kit to keep that lovely finish on the device fingerprint and smear free!
HD Touchscreen
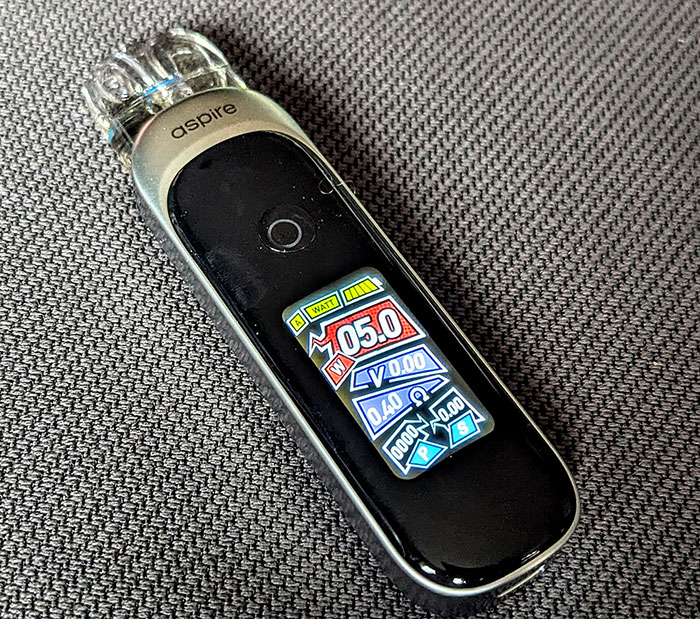
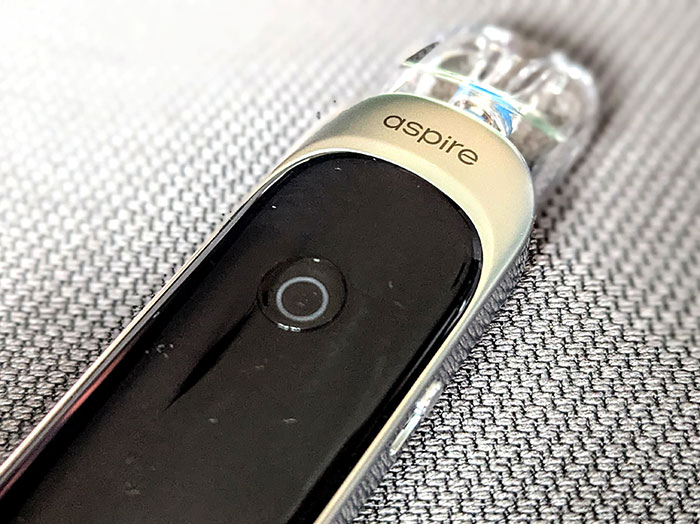
A standout feature on the Aspire Pixo is the high definition touchscreen that is prominently present on the front of the device, just below the circular power button.
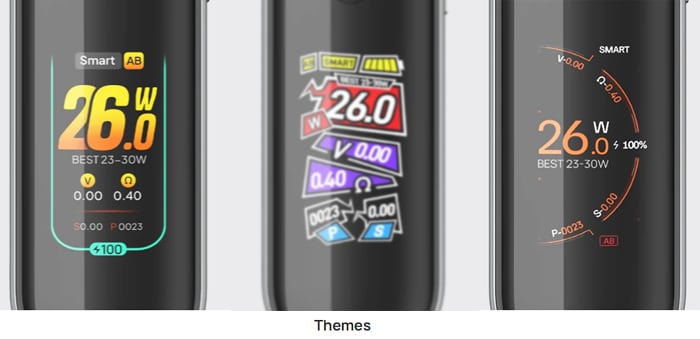
This is a 1.47″ TFT colour screen that can be customised with three different preset themes (four if you connect the Pixo to your computer and download the latest one from Aspire) and animations that kick in when you take a puff.
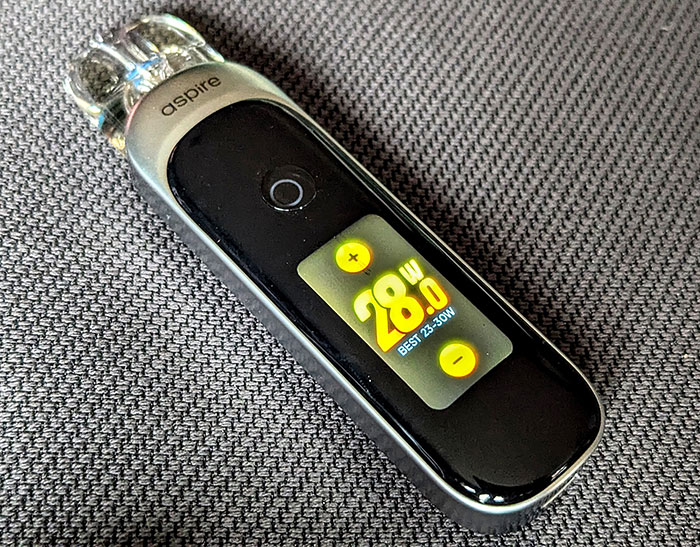
It is a large and clear screen that is very vibrant in colour and easy to see under any light conditions. Displaying information such as the battery life, output mode, output wattage, voltage, coil resistance, puff counter and a vaping timer.
This really is a magnificent looking screen and in my opinion, this is the best one that I have seen on any pod mod that I have used.
Quick Start Guide
Firstly, you are going to want to fill up one of your Aspire Pixo pods, a 0.4ohm one is installed in the device and a 1.0ohm one is spare in the box.
How to Fill the Pod
You need to locate the silicone filling port cover, which is Aspire orange coloured and located on the side of the pod.
Pop this open, and fill the pod up with your e-liquid of choice.
After you have filled the pod up, let it stand for five minutes to allow the cotton in the coil to absorb e-liquid. This will reduce your chances of getting any dry hits or a nasty burnt taste. Also this will also help to prolong the lifespan of your pod by ensuring that the cotton is fully saturated with e-liquid.
Menu Options & Operation
To power on the Aspire Pixo, quick press the power button five times. You can also turn the Aspire Pixo off by quick pressing the power button five times.
To bring up the menu, quick press the power button three times whilst the device is on.
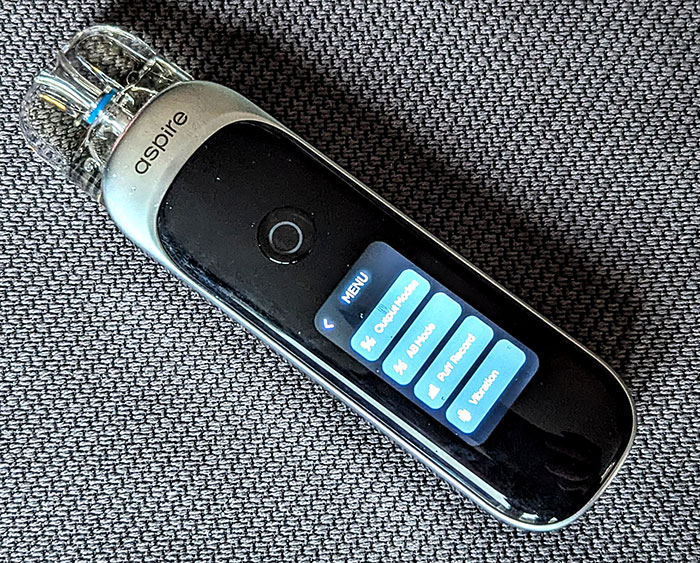
This will bring up a suite of options, which you navigate by scrolling and pressing the screen using your finger and these are:
- Output modes: allows you to switch between smart and variable wattage modes. Smart mode automatically sets the output power depending on coil resistance. Wattage mode allows for manual output adjustment.
- AB mode: switch between auto draw (A mode), button activated (B mode) or auto draw and button activated firing (AB mode).
- Puff record: displays a graph showing the last seven days of your vaping habits on the Pixo.
- Vibration: turns vibrating feedback on and off.
- Screen setting: adjusts the screen brightness and screen time out.
- Theme: change between distinct preset themes for the home screen.
- Vaping animation: change the animation that displays when you take a puff or turn it off entirely.
- About Device: displays the software version number. Also, if upgrading the software, enter this and long press the power button to activate.
Touchscreen Wattage Adjustment
Adjusting the wattage is done via a gesture swipe on the screen itself. A quick double swipe will bring up the wattage adjustment screen and you simply press the + or – touchscreen icons to adjust the wattage.
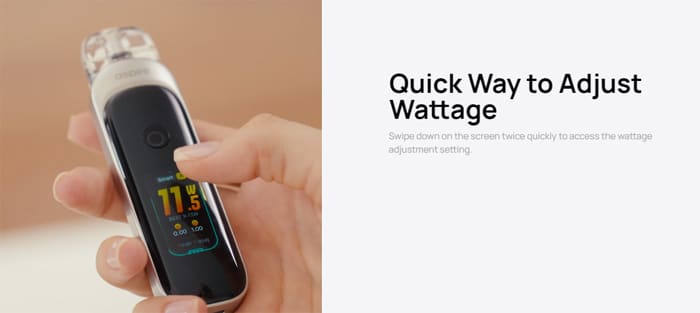
Wattage can be adjusted from 5-30W in 0.5W increments.
I have noticed that this has accidentally activated a couple of times in my pocket or when fiddling with the device, but I do stress that this was pretty rare.
Charging
The Aspire Pixo offers USB-C charging and you do get a USB-C cable included in the box. The USB port is located on the base of the device.
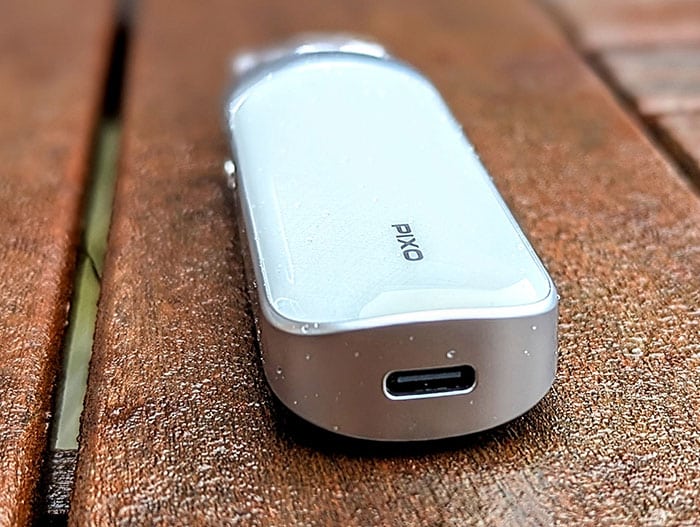
Charging this device up is absolutely rapid, it has 2A fast charging so it can be charged from empty to full in under 35 minutes.
Whilst charging, the battery percentage is displayed on screen so you can check on the charging status in real time.
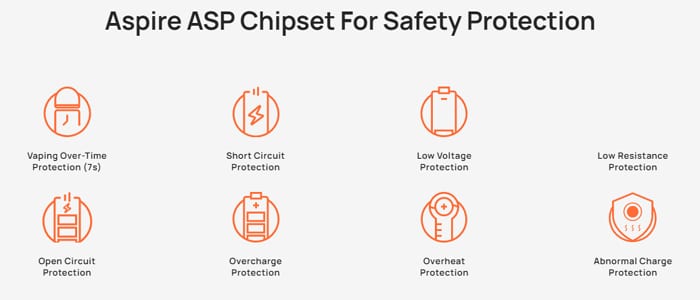
Safety Protections
Eight safety protections are built into the device. These are: 7 second vaping over-time protection, open circuit protection, low resistance protection, short circuit protection, low voltage protection, abnormal charging, overheat and overcharge protections.
How Does The Aspire Pixo Perform?
A 0.4ohm Pixo pod is installed in the device and a 1.0ohm pod is included as a spare, so the Pixo can appeal to all styles of vaping right out of the box. 0.6ohm and 1.2ohm pods are available to purchase separately.
Each of the pods features a mesh coil inside and I got good longevity out of these. Over a weeks’ worth of use from each using a range of different e-liquids, from NET tobaccos to desserts and sweet disposable-styled bar salts.
I didn’t get any issues with burnt hits or the pods leaking during use!
0.4ohm Pod
This is the pod that comes installed on the Pixo and it is ideal for restricted direct lung or direct to lung vaping, with a recommended power output range of 23-30W.
I felt that I got the best out of it at the higher end of the scale, my preference with this pod was to use it at 28-30W and I found that the flavour was pretty much faultless.
My e-liquids tasted exactly how I expected them to and I was picking up on all of the flavour notes present.
This pod is best used with lower nicotine e-liquids that have a higher VG content in the mix ratio.
1.0ohm Pod
This is a pod that is best suited to mouth to lung vaping, as with the 10-15W power output range this is too under-powered for restricted lung or direct to lung vaping.
But, it is perfect for mouth to lung vaping, so you get a vape that is just like a disposable once you close the airflow down!
Flavour is great here too and this pod is superb for disposable styled bar salt e-liquids with a high nicotine content.
Power
Plenty of output power is available here, with an adjustable output wattage range of 5-30W.
I feel that is plenty for a pod mod, as any higher than that and there’s a risk of the device becoming too warm during use.
Airflow
A buttery smooth sliding airflow control is located down the side of the Aspire Pixo. You genuinely can vape mouth to lung, restricted direct lung and direct to lung with this device.
There’s even a separate, small airflow hole on the airflow control for those that enjoy cheek-suckingly tight mouth to lung draws!
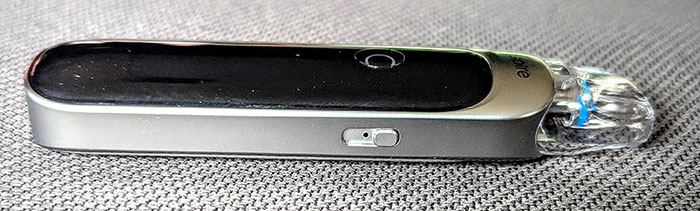
My preferred style of vaping is restricted direct lung and having two out of the three larger airflow slots open provided a near perfect draw for me.
This device is also more than capable of kicking out the clouds if that is your thing!
Battery Life
Battery life is really dependent upon the resistance of the coil and the selected power output, as well as how frequently the device is used.
For example, I would get a full day when using the 0.4ohm pod at 28-30W. But when using the 1.0ohm pod at 12-15W I would get two, even three days of use from this.
You can eke out a little extra battery life by changing settings such as the screen brightness and turning the vibration and vaping animations off, but you won’t get a hugely noticeable difference.
Pros
- Screen on the Pixo is absolutely stunning
- Touchscreen controls offer something a little different
- Great battery life
- Robust build quality
- Mouth to lung right through to direct lung inhales available
- Lovely flavour from the pods
- Variable wattage and adjustable airflow
- Charges up very quickly
Cons
- Not the most beginner friendly pod mod on the market
- Easy to accidentally change power output due to the swipe controls
- One of the larger and weightier pod mods
- Bit of rattle from the pod when inserted
Final Verdict
I’ve got to say, Aspire have done an absolutely excellent job here with the Pixo, delivering a solid all-rounder of a pod mod that caters to pretty much all styles of vaping.
The standout feature for me has got to be that lovely HD screen!
Honestly, this is one of the clearest and best-looking screens I’ve seen on a device yet. And it has the added bonus of having touchscreen controls too.
There’s plenty of power in the Pixo too, with this being one of the most powerful pod mods on the market and it delivers a very flavoursome vape as well.
The build quality on the Pixo is something to admire, this is a really robustly built device. However this might be a little too on the weighty side for some.
All in all, I’ve really enjoyed the time that I’ve spent using the Pixo and this is a device that I definitely will continue to use. I’m already in the process of purchasing some replacement pods for it!
Many thanks to Aspire for sending the Pixo in for review, this is available in the UK now!
What are your thoughts on a pod mod boasting touchscreen controls? Let us know in the comments below?


