In for review is the Aspire Flexus Blok Pod Kit.
 Since 2013, Aspire have been engineering perfection. Not my words, theirs. Whether I personally choose to believe that isn’t under debate today. Their ability to innovate however, is something you’ll never find me questioning.
A year after inception, Shenzhen based Aspire developed and released the Atlantis sub ohm tank. It was the first of a kind and shortly followed by the Nautilus X tank with the now fabled Nautilus BVC coils.
In 2017 Aspire broke new ground by entering the pod market with The Aspire Breeze. It went on to sell to an audience of over 4 million. Since then pod kits have played a pivotal role in their continuing success. Take the Minican series for example.
More recently, a new pod kit range has been released and the Flexus series already includes the Flexus Q and Flexus Stik.
Today we’re taking a look at another addition to the family. The Aspire Flexus Blok pod kit.
Thanks to Vape Club for sending this over to review!
What Can We Expect From The Aspire Flexus Blok Pod Kit?
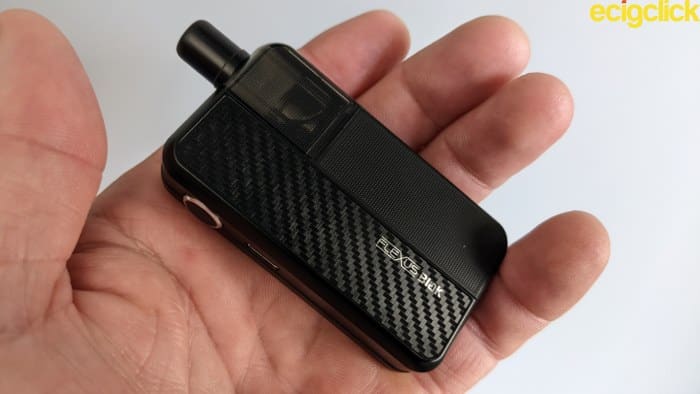
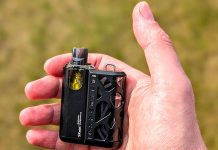
It doesn’t take too much imagination to understand why Aspire have given this pod kit its name. The shape kind of gives that away but it’s also been designed to fit perfectly in the palm of the hand.
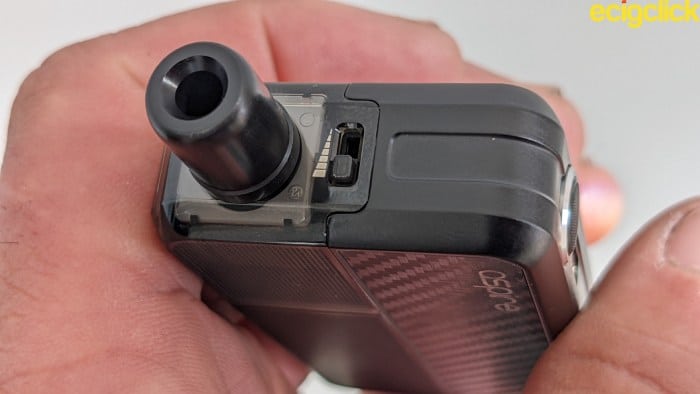
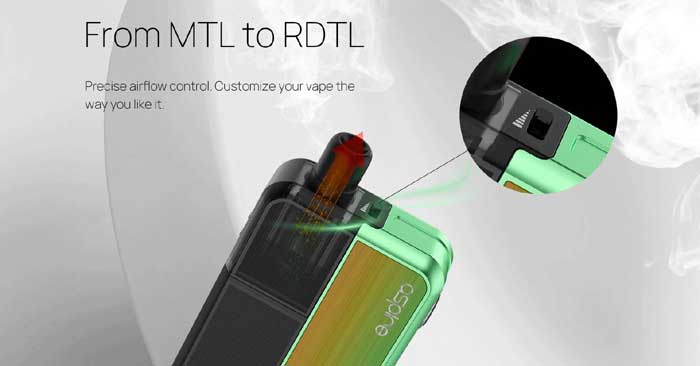
Either style can be achieved via an external precise airflow slider on the top of the pod.
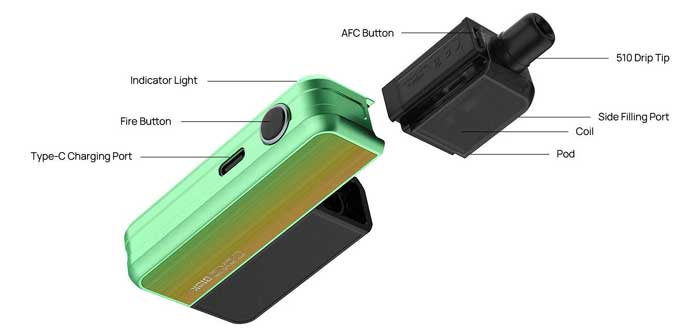
Expect filling to be super easy and like the airflow slider, the port is located externally on the pod. It should make filling on the go an effortless process.
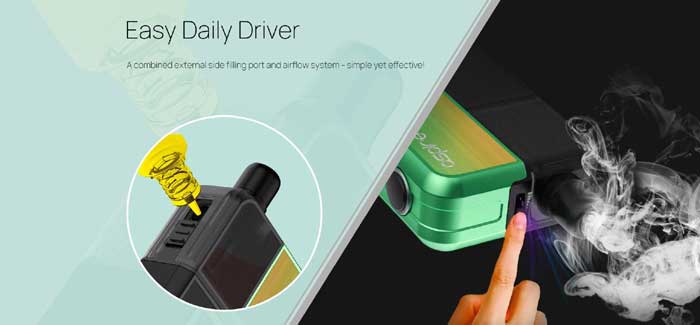
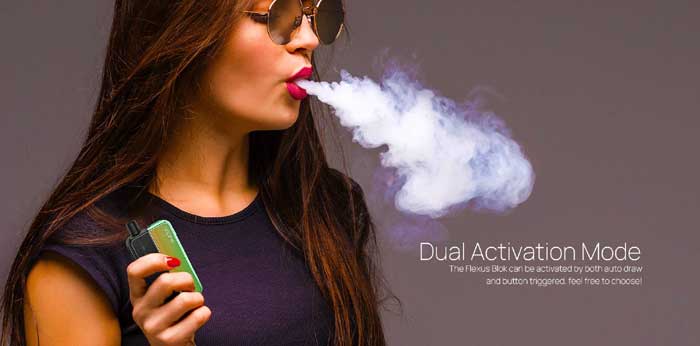
Auto draw is available for those used to disposable e-cigs but there’s also the option of finger firing if you’re into your standard sub ohm box Mods.
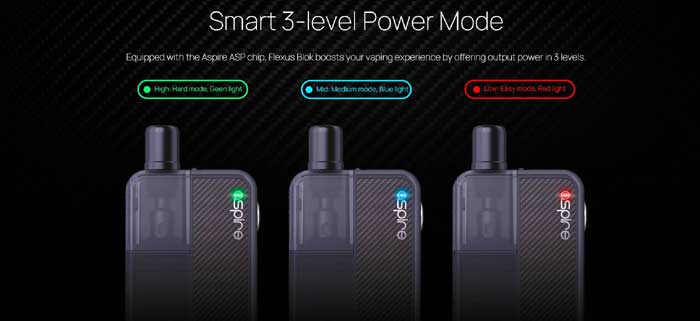
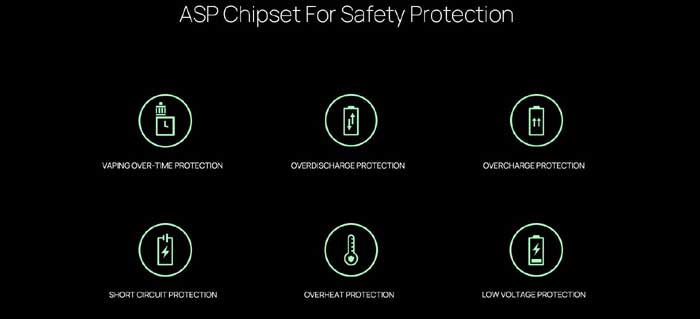
The Aspire Flexus Blok pod kit incorporates a three step power mode for High, Medium or Low power during the vape. The ASP chipset provides six safety measures to prevent problems arising during use.
You can pick the kit up in six different colour schemes. Choose from Snow Mint, Gunmetal, Fuschia, Pearl, Miami Pink and Black (under review).
What’s In The Box?
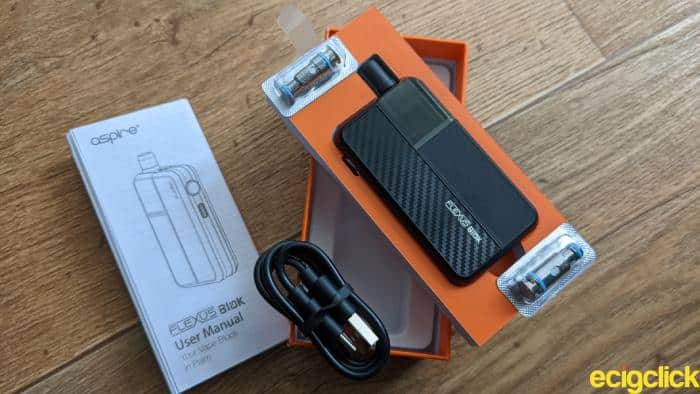
The Aspire Flexus Blok pod kit comes in a traditional Aspire slip case. Two thumb cut outs on the sides make for an easy removal of the outer sleeve. Inside we find:
- Flexus Blok device
- Flexus Blok pod (2ml)
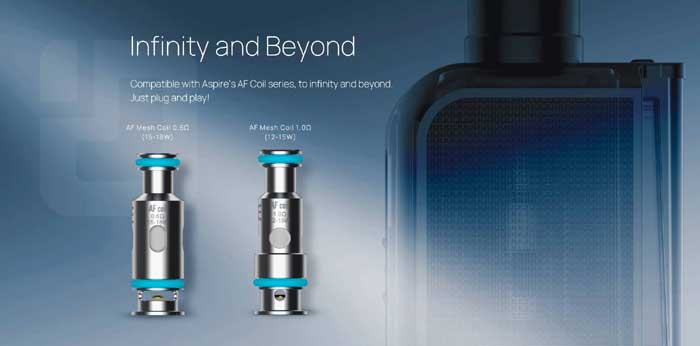
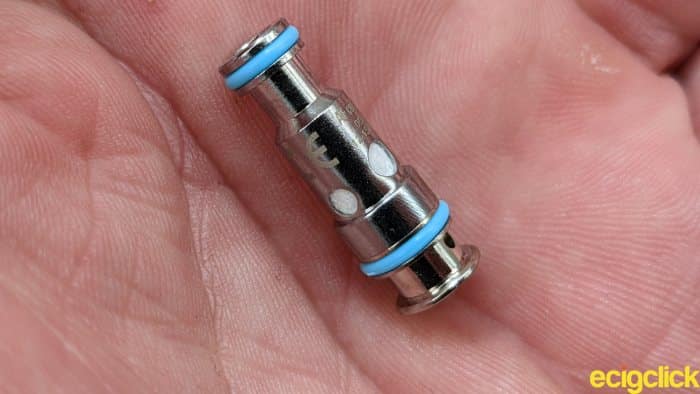
- AF Mesh coil 0.6ohm
- AF Mesh coil 1.0ohm
- USB Type C charging cable
- Instruction manual
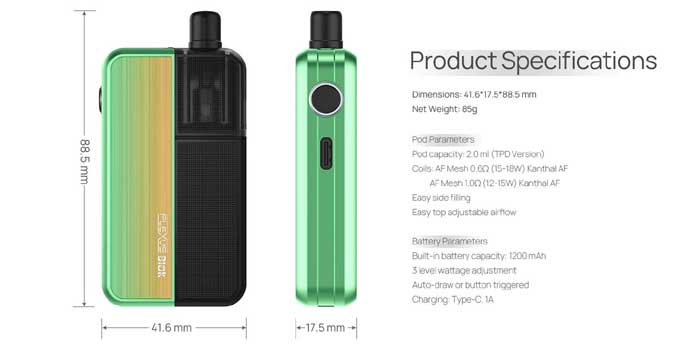
- Dimensions: 41.6 x 17.5 x 88.5mm
- Weight: 85g
- Pod: Capacity 2.0ml – refillable, replaceable coils
- Battery: Built in 1200mAh
- Display: LED
- Coils: AF Kanthal mesh 0.6ohm (15-18W), AF Kanthal mesh 1.0hm (12-15W)
- Resistance range: 0.5 – 2.6ohm
- Charging: Type C USB (1A charge rate)
- Output: 3 power level
- Activation: Auto draw or button activation
- Adjustable airflow
- External side fill port
- ASP chipset
Aspire Flexus Blok Pod Kit – Design and Build Quality
My first impressions are that the kit sits snugly and comfortably in the hand. Being made from Zinc Alloy also keeps the weight down. It’s great that Aspire have included bevelled edging to increase the comfort.
Pod Section
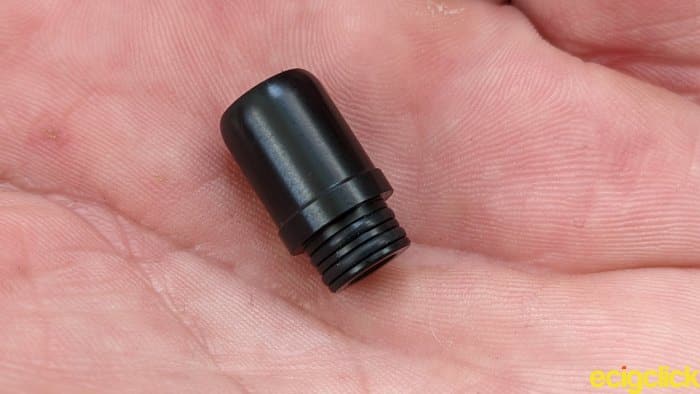
The 510 mouthpiece can be removed and replaced with one of your own providing it has the same double O-ring structure. The one that’s included fits perfectly with no side to side movement.
It has an opening of 4.8mm so as stated, any kind of lung hit is going to be restrictive.
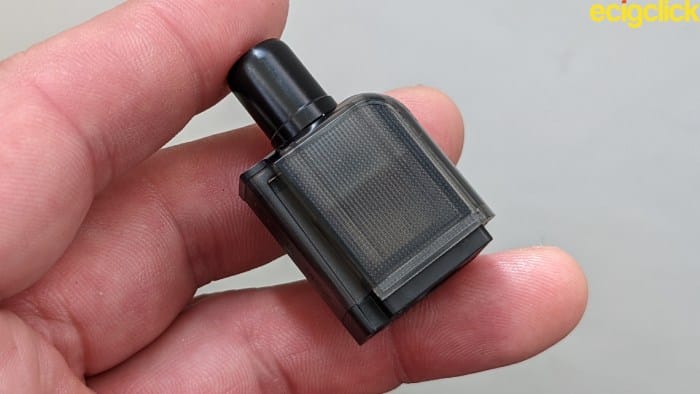
This means the pod won’t ever detach if dropped. More significantly the tracks act to stabilise the passage of air down through the adjustable slider and beneath the coils.
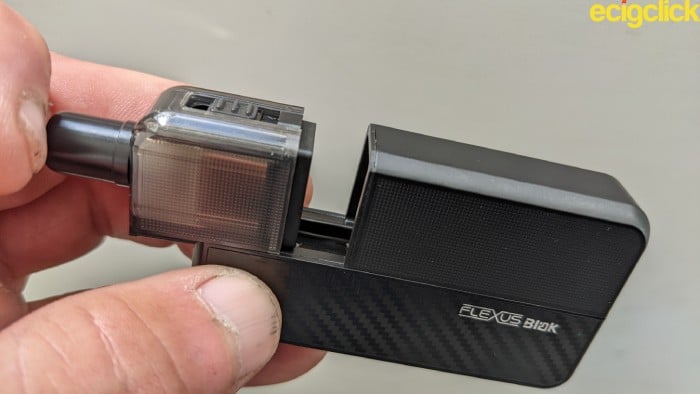
So what’s that fill port like?
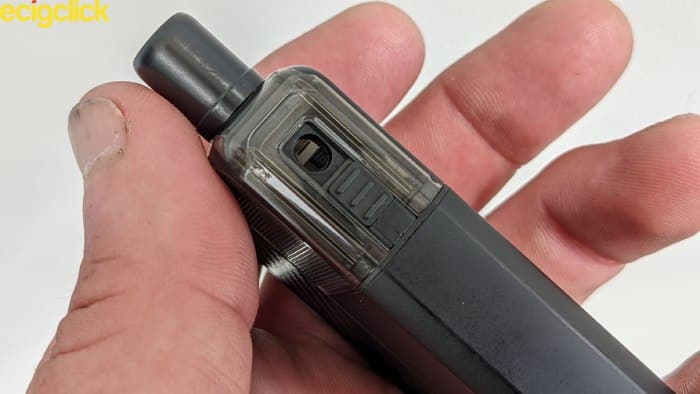
It’s grip-able and has a nice level of resistance when opening and closing. OK it does look a bit cheap and tacky but still appears to be up to task, nevertheless. The obvious statement to make at this juncture is to ensure its closed once filled..
..and don’t go confusing it with airflow adjustment!
The Mod Section
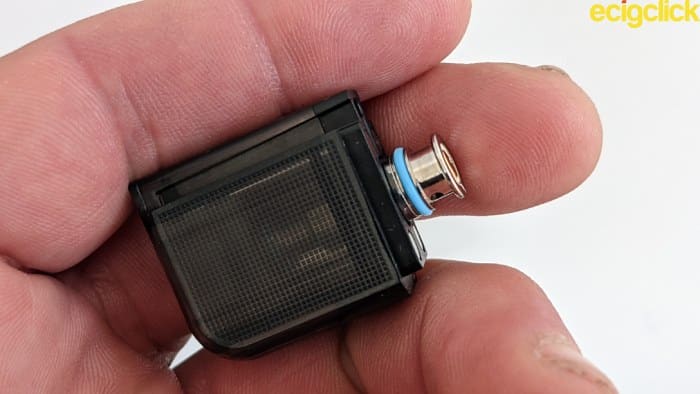
The colour schemes adopt a split pattern. The mesh like pattern of the pod viewing window extends down one half of the Mod while the other adopts a Carbon Fibre sticker.
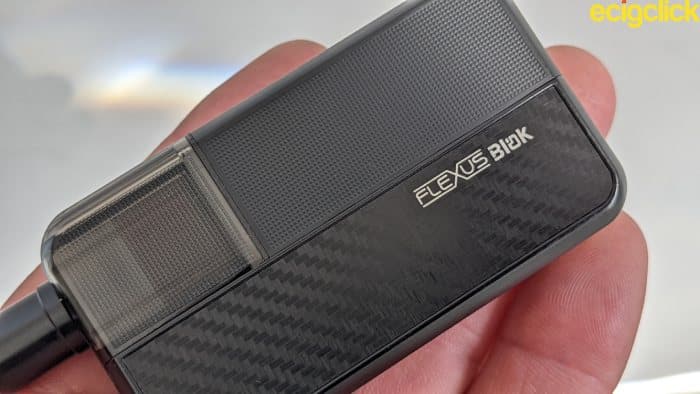
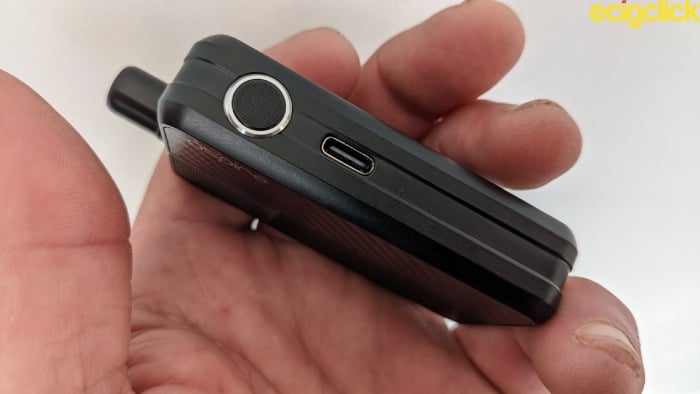
It’s great that Aspire have taken notes about USB port placement. Since there’s no reason to remove the pod they’ve taken sensible and logical steps by mounting it on the side just below the fire button.
However the fire button is another story. It feels very dull when pressed and actually has lots of movement within the housing. It rattles when the Mod is shook so I’m afraid that does cheapen the overall build quality.
Aspire Flexus Blok Pod Kit – Set Up Guide
Installing A Coil and Filling The Pod
- Remove the pod from the battery section
- Push the plug and play coil up into the chamber, ensuring a good seal
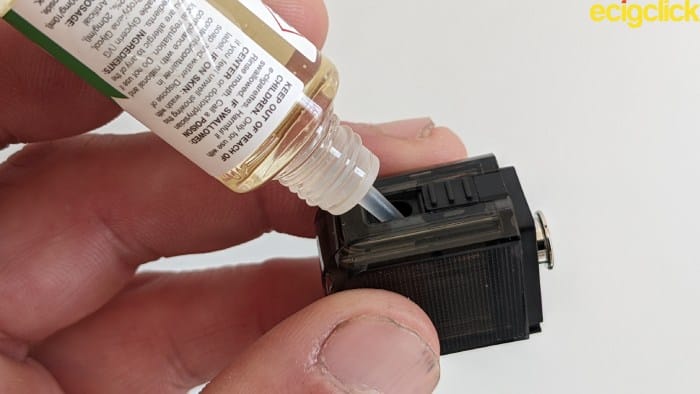
Slide the fill port wide open and gently administer e-liquid into the fill chamber
- Close the fill port
- Return the pod to the battery section
- Let the e-liquid soak into the cotton for around five minutes before vaping
I would suggest turning the pod fully on its side while filling to minimise the chances of over filling.
How To Operate
- Connect the pod to the battery section (LED flashes White once)
- Press the fire button five times to turn the device on or off. (LED flashes White three times)
- Press the fire button three times to scroll through the three power settings.
The LED will illuminate in one of three colours:
- Green – High power setting
- Blue – Medium power setting
- Red – Low power setting
While vaping, the LED will change colour depending on remaining battery strength.
- Green – 3.8V – 4.2V (60 – 100%)
- Blue – 3.5V – 3.8V (30 – 60%)
- Red – <3.5V (0 – 30%)
Built In Safety Features
There are six safety features built in to the ASP chipset.
- Six second vape cut off – LED flashes Red and Blue ten times
- Short circuit protection -LED flashes Red and Blue three times
- Low voltage – LED will flash Red fifteen times
- Overcharge – The device will cease to charge
- Overheat – The LED remains Yellow for three seconds and the device stops working
- Over voltage – When charging is abnormal the device will cease charging and vaping cannot continue
How Does The Aspire Flexus Blok Pod Kit Perform?
0.6ohm AF Mesh Coil
I began by testing the AF 0.6ohm mesh coil for its restrictive lung properties. To begin with the airflow slider was set wide open. I used Cuttwood Blueberry Smoothie, a 70VG/30PG blend with a freebase nicotine strength of 3mg.
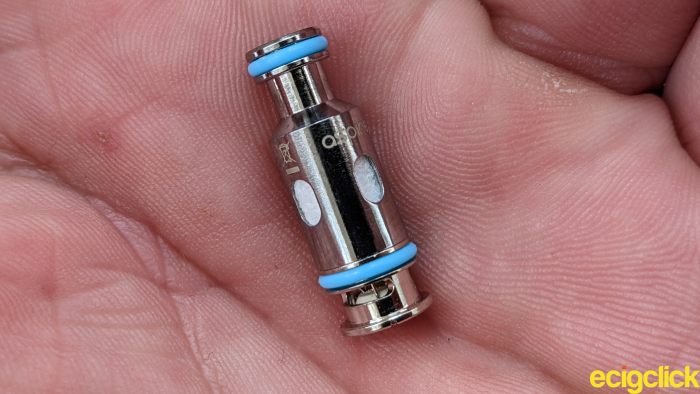
The coil was easily able to handle longer draws with no signs of dry hitting. The vape wasn’t cold – more tepid than anything but that didn’t impact on the flavour quality.
The sweetness of the Blueberry came through and so did the general richness of the flavour. The creaminess of the profile wasn’t as noticeable because that’s reserved to more powerful coils in general.
Cloud production was very, very satisfying although it does swiftly clear the room. I was able to build up a nice fullness in the throat during extended inhales.
Good Stuff!
Further Airflow Restriction
To be honest there isn’t much difference to the airflow when making fine adjustments. Admittedly there’s an increase to the flavour intensity but it’s more about the sugary content than fruit.
It’s around this point when the pod starts to warm up. Also with a mid airflow restriction it starts to become an uncomfortable lung hit. It’s more restricted than I would like yet a little loose for a MTL tug.
You can reduce the slider down further but I don’t think that’s the intention of the 0.6ohm coil. It’s not designed for a MTL vape and that shows with the resulting mundane flavour experience.
1.0ohm AF Kanthal Mesh Coil
For this test I used a generic 50VG/50PG Kiwi Passionfruit Guava flavour with 20mg salt nicotine included for the purposes of MTL vaping. As before I used the highest power setting.
The power to the device is pretty instantaneous when button firing so I thought that was quite impressive.
With airflow wide open I was still able to pull off a restrictive direct lung vape. It’s actually very impressive and not far off the vaping style I prefer. Again, there was nothing much in the way of turbulence and the coil generally produced a very smooth inhale.
The flavour was incredibly good, supplying all the ingredients with a single hit. The blending was reproduced immaculately and sweetness flowed on the exhale.
Coolada pumped through the heart of the vape. This is pretty much as good as it gets for flavour but what of further airflow restriction? The coil should be more favourable to a MTL hit..
Further Airflow Restriction
I notched the slider down to around mid position but it was still a very loose MTL experience. You shouldn’t have to purse lips around the mouthpiece to prevent vapour from escaping with a true mouth to lung vape. Well.. that’s just my opinion of course..
The flavour certainly didn’t falter and vapour production was what’s to be expected from a MTL vape. Stealthy and wispy.
Taking the slider down to the bare minimum for airflow had a detrimental effect. The vape felt very supressed and unnatural, although a MTL was still possible. It took on a spongy, bouncy like nature that wasn’t very suitable at all.
I did eventually find the right restriction, though and it produced a classic MTL pull. The tuning has to be very precise – but that is what Aspire are classing the slider as, after all.
When the optimum airflow positioning is eventually found the Aspire AF 1.0ohm coil behaves itself perfectly. Perhaps its role is to function as a RDL and MTL?
Whether I’m right or wrong you’ll need some patience and perseverance if you’re looking for the ultimate MTL vape from this coil.
Battery Performance and Charging
While using the 0.6ohm AF mesh coil I got around 6 hours use from the battery. It lasted almost three hours longer when using the 1.0ohm coil.
In both cases I was vaping on the highest power setting (Green LED) at all times.
Keep in mind that when battery strength is low (Red LED) you’ll only gain around ten minutes use before having to reach for that USB cable.
I noticed while recharging it only took 5 minutes for the Red LED to turn Blue. It then took a further 10 minutes before it went Green. However, it takes a further 1 hr 15 mins before the battery is fully charged.
..That’s not exactly what I’d call fast charging.
Pros
- Great flavour and appropriate cloud production from both AF mesh coils
- Side filling port makes topping up super fast and super easy
- Easy to view remaining e-juice levels
- The pod has a rock solid connection with the battery
- Ergonomic with and a comfortable fit in the hand
- No leaking from either coil
Cons
- The airflow slider is a bit fiddly to use.
- The fire button is loose and rattles around in the housing
- No battery venting
- Fast type C charging isn’t really that fast
Aspire Flexus Blok Final Review Summary
There are a few things that niggle me about the Aspire Flexus Blok pod kit. I do wish battery venting had been included and the airflow slider maybe widened a little more. Precise airflow adjustment isn’t really what you’re getting.
Aspire could also consider working on that rattling fire button too. It’s the only thing that cheapens an otherwise decent build quality.
I do like the deliberate nod to their brand new Logo though! The LED illuminates inside the revised letter ‘a’ which is quite unique.
The AF mesh coils are already gaining a healthy reputation for delivering the goods and I have no complaints.
At the end of the day it comes down to flavour and cloud production. The Aspire Flexus Blok pod kit gets the job done, and it does it well.
Let us know if you have used the Aspire Flexus Blok in the comments below!

 Slide the fill port wide open and gently administer e-liquid into the fill chamber

Hi my vape won’t work, it only works when I hold in the botton, the coil has been changed and tank has been cleaned out, how do you fix it without holding the botton?
Battery life rubbish, tank leaks, battery doesn’t charge after only afew months. I’ve had a couple of Aspire products and certainly won’t be buying again.
is the colour of vape on box the aspire flexus blok your vape in palm the same colour as the vape inside the box